
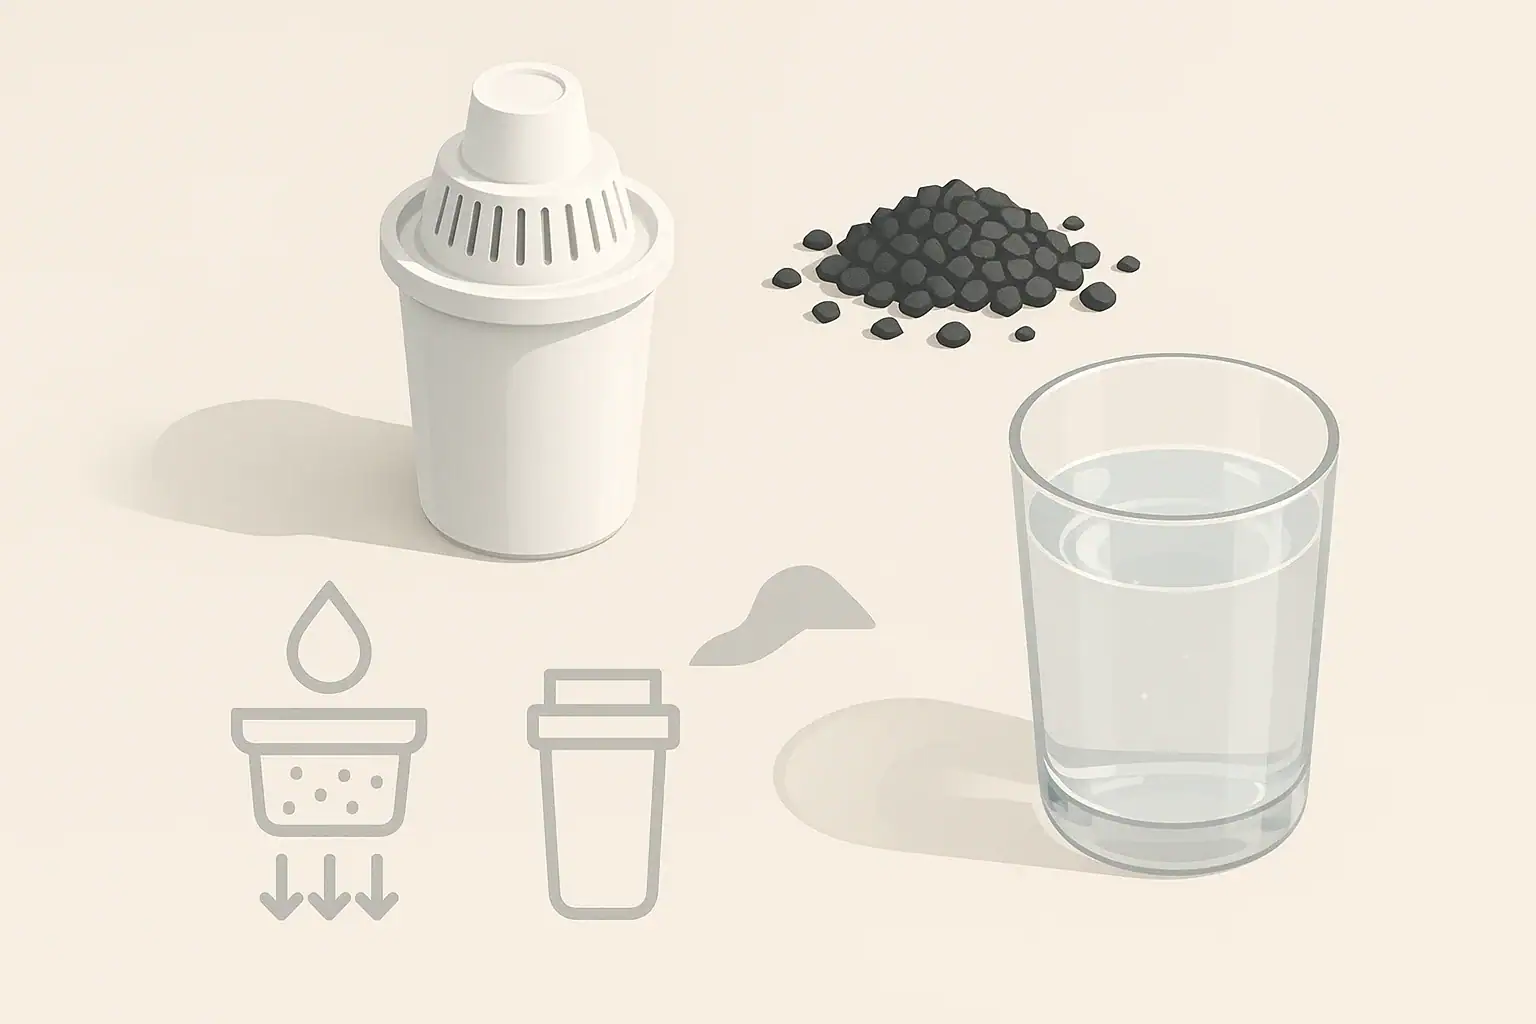
A new pitcher filter cartridge usually needs a short preparation step before it produces water that tastes normal. This process is often called pre-soaking, flushing, priming, or conditioning the cartridge. The details vary by cartridge design, but the goal is similar: wet the filter media evenly, release trapped air, and rinse away harmless loose particles from manufacturing and shipping.
Pitcher filters are simple compared with under-sink systems or reverse osmosis units, but first-use preparation still matters. A cartridge that has not been wetted properly may drain slowly, float, release fine black carbon dust, or create the impression that the filter is not working. In many cases, careful pre-soaking and flushing solve these issues without any tools or plumbing changes.
This article explains a practical, non-brand-specific way to prepare a new pitcher filter cartridge. Always treat the filter instructions that came with your specific cartridge as the primary source, because some cartridges are designed to be soaked while others are designed to be rinsed only.
Why a New Pitcher Filter Cartridge Needs Prep
Most pitcher cartridges contain some combination of activated carbon, ion exchange resin, mesh screens, and flow-control materials. Activated carbon is commonly used to improve taste and odor by reducing certain substances such as chlorine in municipal water. Ion exchange resin may be used for specific water quality goals depending on the cartridge design.
These materials are dry when packaged. During shipping, a small amount of carbon dust or fine media particles can move around inside the cartridge. When water first touches the filter, those particles may appear as gray or black specks. This is usually a first-use rinsing issue, not a sign that the pitcher is unsafe or broken.
Pre-soaking also helps displace air from the cartridge. Trapped air can block water pathways and slow the drip rate. In some designs, a cartridge that floats or releases bubbles is simply not fully saturated yet.
Common reasons for soaking and flushing
- To saturate dry carbon and other media before regular use
- To reduce loose carbon dust in the first few pitchers
- To remove trapped air that can slow water flow
- To help the cartridge seat properly in the reservoir
- To reduce temporary off tastes after installation
Preparation does not make a pitcher filter remove every contaminant, and it does not replace cartridge replacement intervals. It simply helps the cartridge start operating as intended for normal household use.
Before You Start: Read the Cartridge Instructions
Before soaking anything, check the instructions for the exact cartridge model. Some filters are made to be submerged before use. Others are designed to be rinsed under cold water, shaken gently, or installed dry and flushed through the pitcher. Soaking the wrong cartridge type may not damage it, but it may be unnecessary or less effective.
Also check whether the instructions mention a specific soak time, rinse direction, or number of discarded pitcher fills. General examples may call for a soak of several minutes and one to three discarded fills, but those numbers are not universal. If the cartridge instructions differ from general advice, use the cartridge instructions.
Use cold tap water for preparation unless the instructions say otherwise. Hot water can affect plastic housings, seals, and media performance. Do not use soap on the filter cartridge itself. If the pitcher body, lid, or reservoir needs cleaning, wash those parts separately, rinse them thoroughly, and keep soap away from the cartridge openings.
Make sure your hands, counter, and soaking container are clean. Pitcher cartridges sit in water used for drinking and cooking, so basic kitchen hygiene is important. You do not need special equipment, but you should avoid setting the wet cartridge on dirty surfaces.
Example values for illustration.
| Step | What to check | Why it matters |
|---|---|---|
| 1 | Confirm cartridge instructions | Some designs require soaking; others only require rinsing |
| 2 | Use cold water | Helps protect media, seals, and plastic components |
| 3 | Inspect packaging | A cracked or leaking cartridge should not be used |
| 4 | Wash the pitcher parts | Removes dust from the reservoir, lid, and pitcher body |
| 5 | Avoid soap on the cartridge | Soap can leave tastes and residues in the media |
| 6 | Plan to discard first water | First flushes may contain carbon fines or temporary taste |
Step-by-Step: How to Pre-Soak a Pitcher Filter Cartridge
If your cartridge instructions call for soaking, use a clean bowl, cup, or pitcher large enough to fully submerge the cartridge. Fill it with cold tap water. Remove the cartridge from its packaging and inspect it for cracks, loose caps, or unusual damage. A few dry carbon particles in the packaging can be normal, but a damaged housing is not something to ignore.
1. Submerge the cartridge
Place the cartridge in the water. Some cartridges will float at first because air is trapped inside. Hold it under the water gently for a few moments if needed, but do not force water through the cartridge at high pressure.
You may see bubbles escaping from the cartridge. That is expected during pre-soaking. The bubbles are usually air leaving the carbon bed and internal spaces.
2. Gently agitate if instructed
Some instructions recommend shaking or rolling the cartridge under water to help release air. If you do this, keep it gentle. Hard impacts can crack plastic or loosen internal parts. A slow rotation or light tapping against your hand is usually enough.
If the water turns slightly gray or you see fine black particles, discard that soak water after the soaking step. Loose carbon fines are common during startup, especially with carbon-based filters.
3. Soak for the recommended time
Use the time listed in the cartridge instructions. If no time is listed but soaking is recommended, a short soak is generally enough for many pitcher cartridges. The purpose is saturation, not extended storage.
Do not leave the cartridge soaking for days as a substitute for installation. Long, stagnant soaking is not useful for routine preparation and may create avoidable hygiene concerns. Once the cartridge is soaked, move on to rinsing or installation.
Step-by-Step: How to Flush the Cartridge
Flushing means running water through the assembled pitcher and discarding the first filtered water. This is the step that clears loose carbon dust, reduces temporary tastes, and confirms that water is flowing through the cartridge.
1. Install the cartridge firmly
Place the cartridge into the reservoir according to the pitcher design. Most cartridges need to be pressed, twisted, or seated into a gasketed opening. The fit should be snug, but you should not need excessive force.
If the cartridge is tilted or not fully seated, water may bypass the filter and flow around it. That can make the pitcher seem faster than normal because the water is not being directed through the media correctly.
2. Fill the reservoir with cold water
Fill the upper reservoir without overfilling it. Keep the pitcher level and let gravity do the work. Pitcher filters are designed for low-pressure flow. Do not try to speed the process by squeezing the cartridge, forcing water through it, or modifying the reservoir.
The first fill may drain slowly. That can happen when remaining air pockets are leaving the filter. If the flow stops completely, remove the cartridge, soak or re-wet it according to instructions, and reinstall it.
3. Discard the first filtered water
Many pitcher cartridges require one or more initial flushes. The discarded water may look clear, slightly cloudy from air bubbles, or contain a small amount of carbon dust. Use the number of discarded fills stated by the cartridge instructions.
Discarding startup water is different from wasting water during daily use. It is a one-time conditioning step for a new cartridge. After the initial flushing, filtered water should generally look clear and taste normal for that system and water supply.
4. Check the first normal pitcher
After flushing, fill the reservoir again and let it drain. Look for unusual leaks or bypass around the cartridge seat. Taste and odor should be compared to your regular tap water, not to an idea of completely pure water. Pitcher filters can improve certain aesthetic qualities, but their performance depends on cartridge design, water chemistry, and replacement timing.
Common Issues During First Use
First-use problems are usually simple. Carbon dust, floating cartridges, cloudy water from air, and slow flow are the most common. They do not all mean the filter is defective, but they are worth addressing before making the pitcher part of your daily routine.
Black specks in the water
Small black specks are usually carbon fines. Flush the cartridge again and rinse the pitcher body. If particles continue after the recommended flushing steps, reinstall the cartridge and make sure it is not cracked or improperly seated.
Cloudy water that clears from the bottom up
Temporary cloudiness that clears after standing is often tiny air bubbles. This can happen after soaking, flushing, or changes in tap water temperature. If the cloudiness clears within a short time and no sediment remains, it is typically an air issue rather than dirt.
Very slow flow
Slow flow can result from trapped air, a dry cartridge, fine sediment in tap water, or a clogged cartridge near the end of its life. For a new cartridge, remove it, re-soak or rinse it according to the instructions, and reinstall it carefully. If the pitcher has a vent in the lid or reservoir, make sure it is not blocked.
Off taste after flushing
A mild first-use taste can occur if the cartridge has not been flushed enough or if the pitcher parts were not rinsed thoroughly after washing. Discard one additional fill if allowed by the instructions. If the taste is chemical, plastic-like, or persistent, stop using the cartridge and check for damage or improper storage.
Storage, Timing, and Replacement Basics
A pitcher cartridge is not meant to last indefinitely. Even when water still flows, a cartridge can lose effectiveness as its media becomes exhausted or clogged. Replacement timing is usually based on gallons filtered, calendar time, or both. Household use varies widely, so a small household may reach the time limit before the gallon estimate, while a large household may reach the gallon estimate first. For planning ahead, a replacement planner can help estimate your next change date.
Keep unused cartridges sealed in their original packaging until needed. Store them in a cool, dry location away from household chemicals, strong odors, and direct sunlight. Activated carbon can adsorb some airborne odors, so storage next to cleaners, fuel, paint, or fragrances is not a good practice.
Once installed, keep the pitcher clean and refrigerated if that is how you normally store drinking water. Wash the pitcher body and reservoir on a routine schedule according to the product instructions. Let parts dry before reassembly when practical, and avoid leaving filtered water sitting for long periods at room temperature.
If you leave home for several days, follow the pitcher instructions for returning the system to use. In many cases, discarding the standing water and flushing a fresh fill is a practical reset. For longer storage or if the cartridge dries out, check whether the cartridge should be re-soaked, replaced, or flushed before use.
Example values for illustration.
| Observation | Likely cause | Practical next step |
|---|---|---|
| Black specks | Loose carbon fines | Discard startup water and flush again |
| Cartridge floats | Trapped air in media | Pre-soak longer if instructions allow |
| Flow starts then stops | Air lock or poor seating | Remove, re-wet, and reinstall firmly |
| Cloudy water clears quickly | Fine air bubbles | Let water stand and observe before refilling |
| Water tastes flat or different | Normal taste change after carbon filtration | Compare after the full flushing process |
| Persistent unusual taste | Insufficient rinsing, storage odor, or damage | Stop use and check instructions or replace cartridge |
Related guides: How Often Should You Replace Pitcher Filters? • Pitcher Filter Maintenance: Cleaning & Sanitizing Without Off-Flavors • Pitcher Filter Taste Issues: Why Water Tastes Worse After Filtering
Final Practical Notes for First Use
Pre-soaking and flushing are small steps, but they help avoid the most common frustrations with new pitcher filters. The best routine is simple: read the cartridge instructions, use clean cold water, saturate the media if required, flush the first water as directed, and check that the cartridge is seated correctly.
Do not modify the pitcher, drill vents, bypass seals, or force water through the cartridge to increase speed. Pitcher filters are gravity-fed devices, and their slower flow is part of how the cartridge controls contact time with the media. If a pitcher consistently cannot keep up with your household, it may be a sizing or use-pattern issue rather than a preparation problem.
For water concerns beyond taste, odor, and basic aesthetic improvement, compare the cartridge claims and any applicable independent testing information with your local water quality report or private well test results. A pitcher filter can be useful, but it should be matched to the water issue you are trying to address.
Frequently asked questions
Do all new pitcher filter cartridges need to be soaked?
No. Some cartridges are meant to be soaked, while others should only be rinsed or flushed. Check the instructions for your specific cartridge before starting.
How many times should I flush a new pitcher filter cartridge?
Follow the cartridge instructions if they give a number. If they do not, flush until the water looks and tastes normal and no loose particles remain.
Why does my new filter water look cloudy at first?
Cloudiness is often caused by tiny air bubbles trapped in the cartridge or pitcher. If it clears after standing for a short time, that is usually normal startup behavior.
Is it safe if I see black specks in the first water?
Small black specks are often carbon fines from the filter media. Discard the startup water and flush again. If specks keep appearing, check the fit or replace the cartridge.
What should I do if the pitcher drains very slowly?
Make sure the cartridge is fully seated and not air-locked. Re-soak or re-wet it if the instructions allow, then reinstall and try again.
Can I speed up a pitcher filter by forcing water through it?
No. Pitcher filters are designed for gravity flow. Forcing water through the cartridge can damage it or cause bypass around the seal.
Recommended next:
- Best Pitcher Water Filters for Better-Tasting Tap Water (Chlorine Focus)
- Pitcher Filter vs Bottled Water: Cost per Gallon Breakdown
- How Often Should You Replace Pitcher Filters? (By Household Size)
- TDS in Pitcher-Filtered Water: What Changes and What Doesn’t
- Pitcher Filters for Renters: What to Look For (Capacity + Fridge Fit)
- Pitcher Filter Maintenance: Cleaning & Sanitizing Without Off-Flavors
- More in Pitcher Filters →
- NSF/ANSI standards explained (42/53/401/58)
- Clear trade-offs: pitcher vs faucet vs under-sink vs RO
- Maintenance planning: cost per gallon and replacement cadence