Why Under-Sink Filter Installation Matters
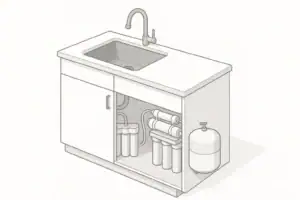
Under-sink water filters are popular in U.S. homes because they improve taste and odor while keeping the system out of sight. A well-installed unit can provide filtered water for drinking and cooking without affecting most of your household plumbing.
Unlike pitcher or faucet-mount filters, under-sink systems are usually plumbed into a dedicated faucet or directly into the cold-water line feeding your main kitchen faucet. That means installation quality affects flow, leaks, and long-term reliability. Understanding the tools, parts, and common mistakes helps you avoid repeated call-backs, wasted cartridges, or water damage inside the cabinet.
Planning Your Under-Sink Filter Setup
Before picking up a wrench, it is worth spending a few minutes assessing your plumbing, cabinet space, and filtration needs. This reduces surprises once water is shut off and fittings are apart.
Decide: Dedicated Faucet vs In-Line to Existing Faucet
Most under-sink filters fall into two broad connection styles:
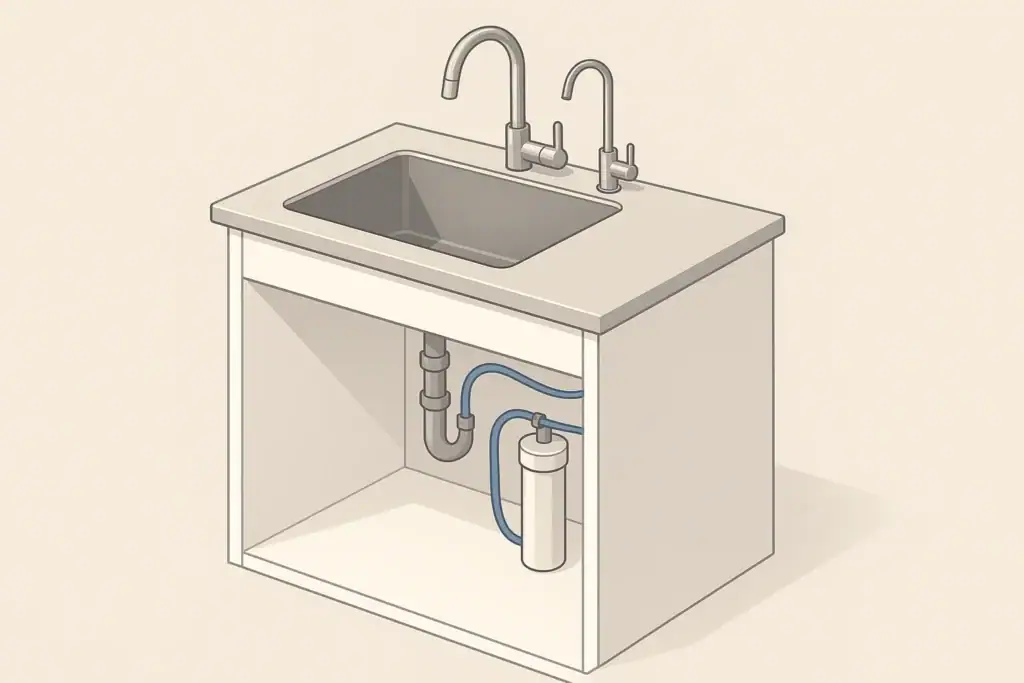
- Dedicated filtered-water faucet: The filter connects to a small auxiliary faucet mounted on the sink or countertop. Only this faucet dispenses filtered water.
- In-line to main cold-water faucet: The filter is installed directly in the cold-water line feeding your main kitchen faucet. All cold water at that faucet passes through the filter.
A dedicated faucet helps preserve flow for washing dishes and can extend filter life, because only drinking and cooking water is filtered. In-line setups are simpler for some people but can reduce flow if the filter has a restrictive cartridge.
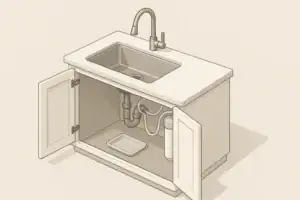
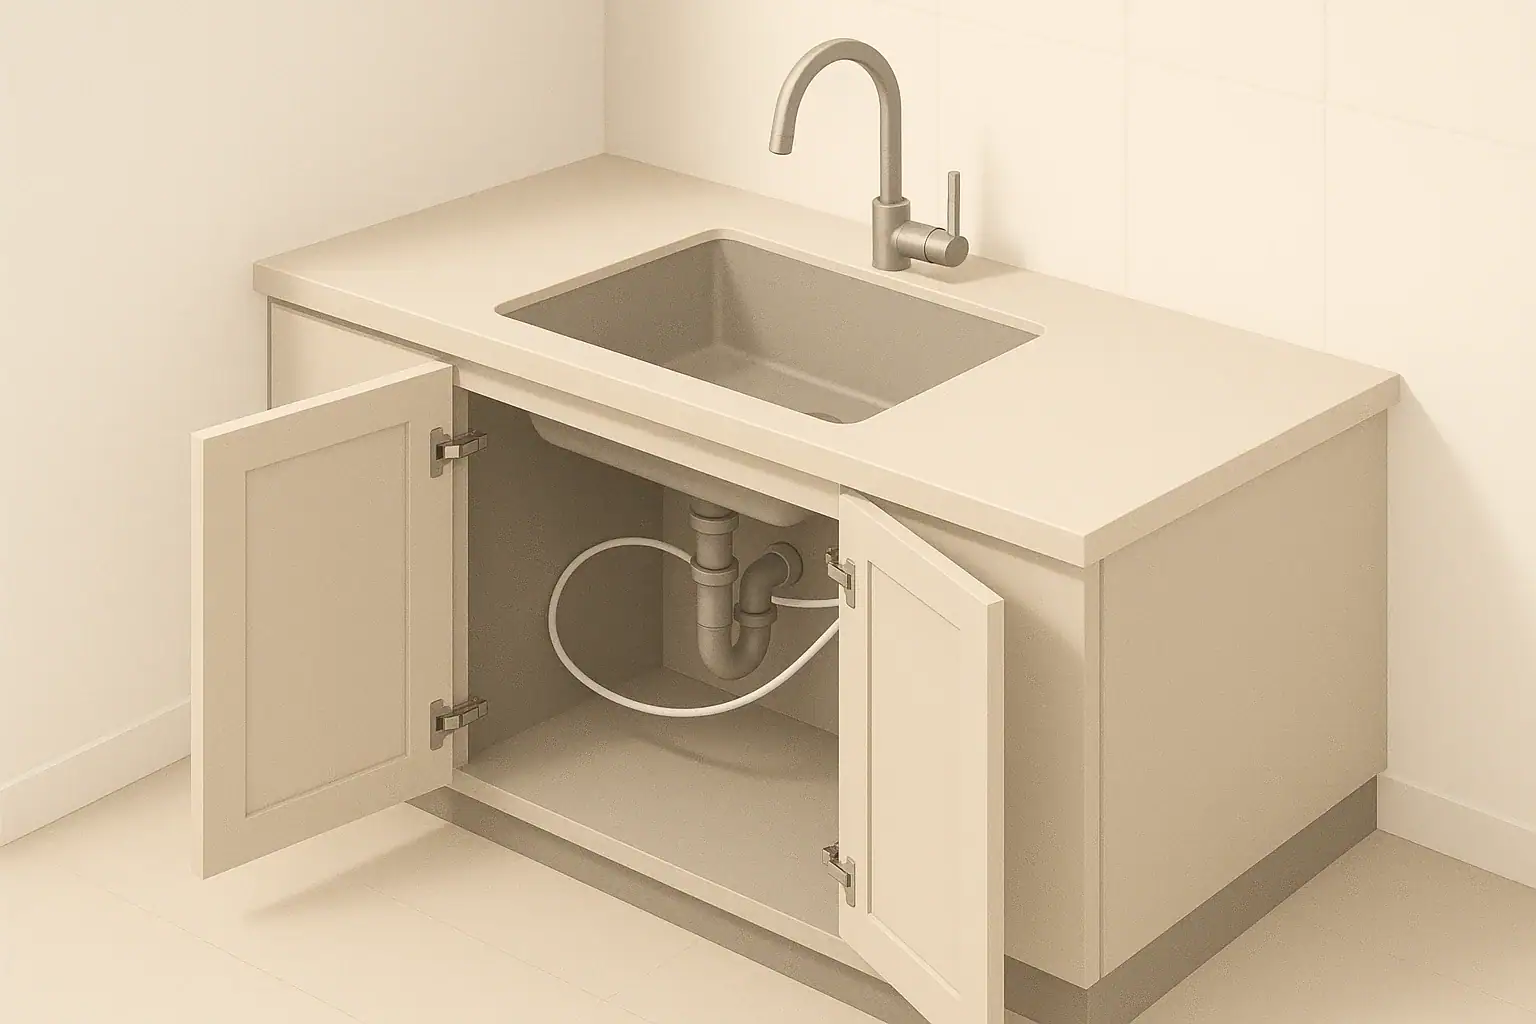
Check Cabinet Space and Layout
Open the under-sink cabinet and look for:
- Vertical clearance: Enough height to mount housings and still remove cartridges for replacement.
- Wall strength: A solid surface (cabinet wall or back) that can hold mounting screws.
- Obstructions: Garbage disposals, pull-out trash bins, or drain traps that may interfere with mounting or tubing runs.
- Access: Room to reach shutoff valves and connections without contorting or stressing tubing.
Understand Your Existing Shutoff Valves and Lines
Identify how water currently reaches your kitchen faucet:
- Shutoff valves: Typically angle stops with compression or threaded outlets.
- Tubing type: Flexible braided supply lines, copper, or plastic (such as PEX).
- Connection size: Commonly around 3/8 inch for faucet supplies in many U.S. homes, though older homes may differ.
Knowing these details helps you select the right adapters and minimizes the urge to overtighten or force mismatched parts during installation.
Example values for illustration.
| Household situation | Recommended setup | Reasoning |
|---|---|---|
| Small household, low cooking volume | Dedicated filtered faucet | Limits filtered volume, extends cartridge life |
| Apartment with limited counter space | In-line to main faucet | Avoids drilling sink or countertop |
| High cooking and tea/coffee use | Dedicated filtered faucet | Separate flow control, consistent filtered supply |
| Renting with restrictions on modifications | Non-drilled in-line or portable option | Reduces permanent alterations to fixtures |
| Weak existing cold-water pressure | Dedicated faucet with low-restriction filter | Preserves main faucet performance |
| Family concerned about lead, PFAS, or VOCs | System compatible with relevant NSF/ANSI standards | Enables verification of tested performance claims |
| Already crowded under-sink space | Compact single- or dual-stage system | Leaves room for cleaning supplies or bins |
Essential Tools and Parts for a Typical Installation
Most under-sink filter installations use common hand tools and readily available plumbing fittings. Having the right items on hand reduces the risk of partial disassembly and emergency store runs.
Hand Tools Most Installers Rely On
- Adjustable wrench: For compression nuts and faucet connections.
- Channel-lock pliers: Helpful for stubborn fittings, used carefully to avoid crushing or deforming parts.
- Drill and bits: Only if installing a dedicated faucet through stainless steel, composite, or wood.
- Phillips and flathead screwdrivers: For mounting brackets and some valve handles.
- Tubing cutter or sharp utility knife: For clean, square cuts in plastic tubing.
- Flashlight or headlamp: To see connections clearly in the back of the cabinet.
- Bucket and towels: To catch residual water when lines are disconnected.
Common Plumbing Parts and Fittings
Exact parts vary by system, but many installations involve:
- Feed water adapter: A tee or adapter that connects the filter to the cold-water shutoff valve.
- Shutoff valve for filter line: Allows you to isolate the filter for maintenance.
- Plastic tubing: Typically flexible polyethylene, sized to match the filter ports.
- Push-to-connect (quick-connect) fittings: Common on modern filter housings and accessories.
- Mounting bracket and screws: To secure the filter housing inside the cabinet.
- Gaskets and O-rings: Seals inside housings and fittings; spares are helpful for long-term use.
Sealants, Tape, and What Not to Use
Whether you use sealing tape or not depends on the thread type:
- Pipe threads (tapered): Often require thread sealant tape or suitable pipe thread compound.
- Compression fittings and straight threads: Usually rely on ferrules, gaskets, or O-rings and do not need tape on the sealing surface.
Using sealant on the wrong connection can prevent proper sealing or interfere with gasket seating. Always check the manufacturer’s instructions for your specific fittings.
Step-by-Step Overview of a Typical Installation
Every model is different, but most under-sink filter installations follow a similar sequence. Read the included instructions carefully and adapt this general outline as needed.
1. Shut Off Water and Depressurize the Line
- Turn off the cold-water shutoff valve under the sink.
- Open the kitchen faucet to relieve pressure and drain residual water.
- Place a towel or shallow pan under the shutoff valve area before loosening any fittings.
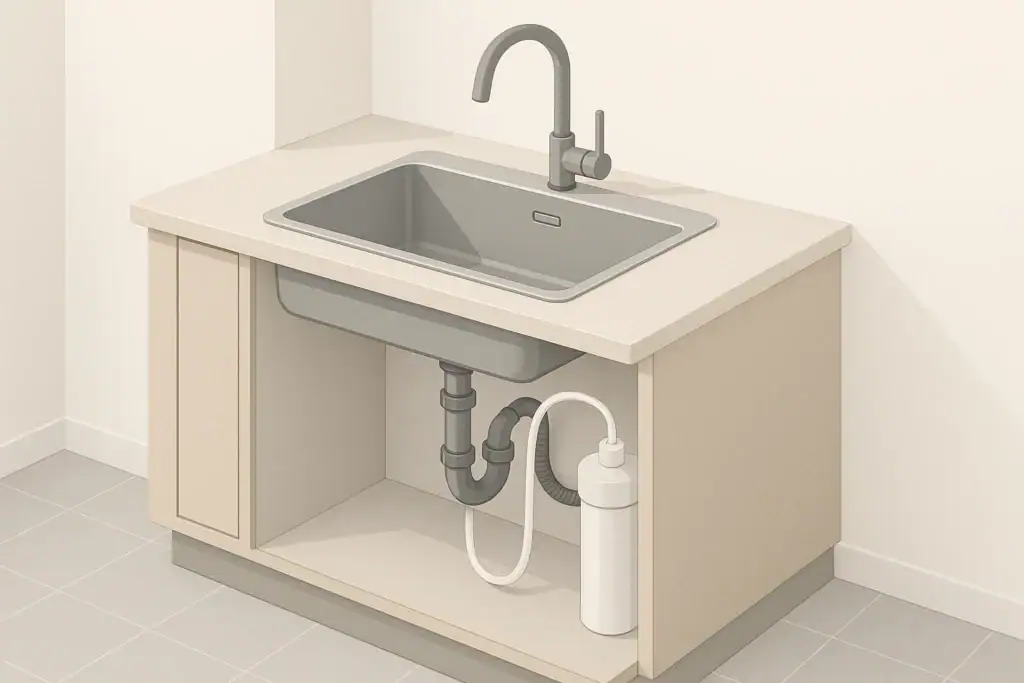
2. Install the Feed Adapter and Filter Shutoff
- Disconnect the existing cold-water supply line from the shutoff valve.
- Attach the feed adapter or tee fitting to the shutoff outlet, following torque and sealing guidelines.
- Reconnect the faucet supply line to the adapter.
- Connect the small-diameter filter supply tubing to the adapter, ideally with its own small shutoff valve.
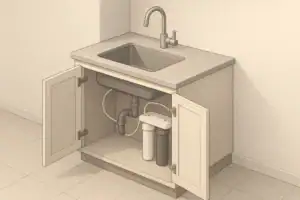
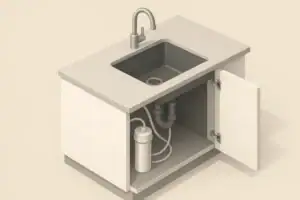
3. Mount the Filter Housing
- Hold the housing and bracket inside the cabinet to choose a location with cartridge clearance.
- Mark mounting screw locations and drill pilot holes if necessary.
- Secure the bracket using appropriate screws, avoiding cabinet damage.
- Confirm that cartridges can be removed downward (or sideways, depending on design) without hitting obstructions.
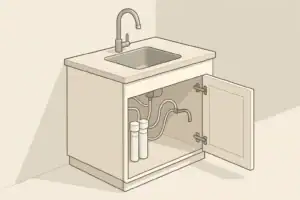
4. Run and Connect the Tubing
- Measure tubing runs with a gentle curve, avoiding sharp bends or kinks.
- Cut tubing squarely using a tubing cutter or sharp blade.
- Push tubing fully into quick-connect fittings until it seats; tug gently to confirm engagement.
- Route tubing away from sharp edges, drawer mechanisms, or heavy stored items.
If using a dedicated faucet, install it according to the instructions. This may involve drilling a new hole in the sink or using an existing accessory hole, then connecting tubing from the filter outlet to the faucet.
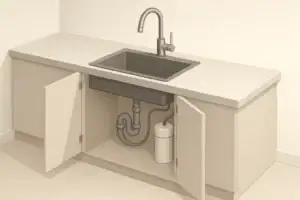
5. Check for Leaks and Flush the Filter
- Close the filtered-water faucet (if present).
- Slowly open the cold-water shutoff valve and the filter’s own shutoff valve.
- Inspect every connection and the filter housing for drips or seepage.
- Open the filtered-water faucet and flush the system for the time or volume specified in the instructions, which helps remove trapped air and initial fines from the filter media.
Expect sputtering and cloudy water during the first few minutes as air is purged. This should clear as flushing continues.
Water Quality, Capacity, and Flow Considerations
Under-sink filters are commonly used to improve taste and odor related to chlorine, and many systems are designed to address other substances such as certain metals or organic compounds. For home use, two practical concepts are important: capacity and flow.
Filter Capacity and Replacement Timing
Capacity is often expressed as an estimated number of gallons or an approximate time interval, such as several months. Actual life varies depending on:
- Incoming water quality: Higher particulates or certain unwanted substances can load filter media faster.
- Household usage: Homes that cook frequently or drink most water from the tap may reach capacity sooner.
- Water pressure and temperature: Flow conditions can influence how media is used over time.
Tracking replacement intervals using a simple log or reminder can help maintain consistent performance and avoid running well past the recommended capacity.
Flow Rate and Household Expectations
Under-sink filters can restrict flow compared with an unfiltered cold-water faucet, especially if they use fine filtration media. Factors influencing flow include:
- Incoming water pressure, which varies by building and floor level.
- Filter design, including media type and internal passage size.
- Condition of the cartridge; a partially clogged cartridge flows less than a fresh one.
If filtered flow is lower than expected, confirm that valves are fully open, tubing is not kinked, and cartridges are replaced on schedule. Some households choose a dedicated filtered faucet so that the main faucet maintains higher flow for washing and rinsing.
Common Installation Mistakes and How to Avoid Them
Many under-sink filter issues trace back to small installation errors that are easy to prevent with a little attention to detail.
Overtightening Fittings and Housings
It is tempting to add a quarter turn “for good measure,” but overtightening can:
- Crack plastic housings.
- Distort O-rings, causing leaks.
- Damage threads and make future maintenance difficult.
Snug connections according to instructions, and use hand tightening plus a small additional turn when specified. If you see stress marks on plastic parts, back off and reassess.
Using Thread Tape Where It Does Not Belong
Applying thread sealant tape to compression fittings or gasketed straight threads can prevent proper sealing. Signs of misuse include leaks around ferrules or gaskets and fittings that never feel fully seated. When in doubt, identify the connection type before reaching for tape.
Ignoring Tubing Routing and Support
Loose tubing can catch on sliding trash bins, hinge hardware, or stored items, potentially pulling on fittings over time. To avoid this:
- Use gentle curves rather than tight bends.
- Secure long runs with clips or adhesive-backed clamps.
- Keep tubing away from sharp metal edges and heat sources.
Skipping the Full Flush After Installation
Filters often release air and initial fines when first pressurized. If flushing is rushed:
- Water may appear cloudy longer than necessary.
- Air pockets can cause spitting or uneven flow.
- Downstream plumbing may carry more initial fines than intended.
Following the specified flush volume or time helps the filter settle into stable operation.
Not Checking Connections Again After a Few Hours
Some minor leaks appear only after the system has been sitting under pressure. A quick re-check several hours after installation and again the next day can catch:
- Slow drips from slightly underset tubing.
- Gaskets that have seated differently as pressure equalizes.
- Condensation mistaken for leaks, which can be monitored over time.
Maintenance, NSF/ANSI Standards, and Long-Term Reliability
Once installed, an under-sink filter becomes part of your regular household routine. Basic maintenance and awareness of relevant standards can help you get consistent performance over the life of the system.
Cartridge Replacement and Simple Record-Keeping
Creating a basic maintenance plan keeps the system from becoming “out of sight, out of mind.” Helpful habits include:
- Marking installation and replacement dates on the cartridge or inside the cabinet.
- Estimating daily filtered water use for rough capacity planning.
- Setting reminders based on the shorter of time-based guidance or your own usage estimate.
Cost per gallon can be approximated by dividing cartridge cost by its practical life in gallons. This makes it easier to compare under-sink filtration with other options like pitchers or whole-house systems.
NSF/ANSI Standards: What They Mean for Under-Sink Filters
Many U.S. under-sink filters reference NSF/ANSI standards. These standards do not guarantee performance for every situation, but they provide a framework for testing specific claims under controlled conditions. Commonly referenced standards for point-of-use drinking water systems include:
- NSF/ANSI 42: Typically associated with aesthetic effects, such as taste and odor reduction.
- NSF/ANSI 53: Often associated with claims for certain substances of health concern, such as specific metals or organic compounds.
- NSF/ANSI 401: Covers some emerging compounds, such as selected pharmaceuticals and chemicals found in trace amounts.
- NSF/ANSI 58: Applies primarily to reverse osmosis systems, which are a particular category of under-sink filtration.
When reviewing documentation, it is useful to check which substances were actually evaluated and under which standard. Looking for third-party listings or reports can help verify that claims have been independently assessed.
Example values for illustration.
| What to track | Typical cue or interval | Planning method |
|---|---|---|
| Cartridge replacement date | Every 6–12 months (example range) | Write date inside cabinet and set calendar reminder |
| Estimated gallons used | Approximate daily use × days in service | Keep a simple log or spreadsheet |
| Flow rate changes | Noticing slower fill of a standard container | Time how long it takes to fill a known-volume glass |
| Under-sink moisture check | Brief inspection monthly | Look and feel around fittings and cabinet base |
| Filter housing condition | Visual check during cartridge change | Inspect for cracks, discoloration, or warped parts |
| Documentation and standards | Whenever purchasing replacement components | Confirm compatibility and any referenced NSF/ANSI listings |
| Shutoff valve operation | Exercise valves a few times per year | Gently open and close to ensure free movement |
Fitting Under-Sink Filtration into Your Overall Water Strategy
Simple pitchers and under-sink filters occupy a middle ground between simple pitchers and more complex whole-house systems.
Under-sink filters occupy a middle ground between simple pitchers and more complex whole-house systems. They focus treatment where you drink and cook, and they can be combined with other approaches such as shower filters or whole-house sediment filters.
Thinking through installation details, maintenance scheduling, and how the system fits with other filtration options in your home helps you get steady, predictable performance. With a modest toolkit, a careful approach to fittings and tubing, and periodic checks for moisture and flow changes, many homeowners are able to install and maintain under-sink filters that support their everyday kitchen water needs.
Frequently asked questions
How do I choose between a dedicated faucet and an in-line connection during under-sink filter installation?
Choose a dedicated filtered faucet if you want to preserve main faucet flow and extend cartridge life by filtering only drinking and cooking water. An in-line connection is simpler and avoids drilling a sink or countertop, but it can reduce flow at the main cold-water faucet if the cartridge is restrictive. Consider cabinet layout, drilling permissions, and household water usage when deciding.
What tools and fittings should I have ready before starting an under-sink filter installation?
At minimum, have an adjustable wrench, tubing cutter or sharp utility knife, a flashlight, mounting screws and bracket, feed adapter or tee, and compatible plastic tubing or quick-connect fittings. Also keep towels, a bucket, and spare O-rings or gaskets on hand, and check whether any threaded pipe connections will require thread sealant tape or compound. Having these items avoids mid-install trips to the hardware store.
What are the most common causes of leaks after under-sink filter installation and how can I prevent them?
Common causes include overtightened or cracked plastic housings, using thread tape on compression or gasketed connections, tubing not fully seated in quick-connect fittings, and stress from poorly routed tubing. Prevent leaks by following torque guidance, identifying connection types before applying sealant, pushing tubing fully into fittings, and securing tubing away from moving parts.
How long should I flush a new under-sink filter and why is flushing necessary?
Flush for the volume or time recommended in the product instructions—typically several minutes or a specific number of liters—to remove trapped air and initial fines from the filter media. Proper flushing clears cloudy water and helps the filter reach steady operating conditions, reducing spitting and particulate discharge during first use. If no guidance is given, run the filtered tap until the water is clear and free of sputtering.
What signs indicate an under-sink filter cartridge needs replacing?
Replace cartridges when you notice reduced flow rate, a return of taste or odor issues the filter previously removed, visible discoloration of the cartridge, or when you reach the manufacturer’s recommended time or gallon-based interval. Keeping a simple log of installation and replacement dates helps ensure timely changes and consistent performance.
Recommended next:
- NSF/ANSI standards explained (42/53/401/58)
- Clear trade-offs: pitcher vs faucet vs under-sink vs RO
- Maintenance planning: cost per gallon and replacement cadence