
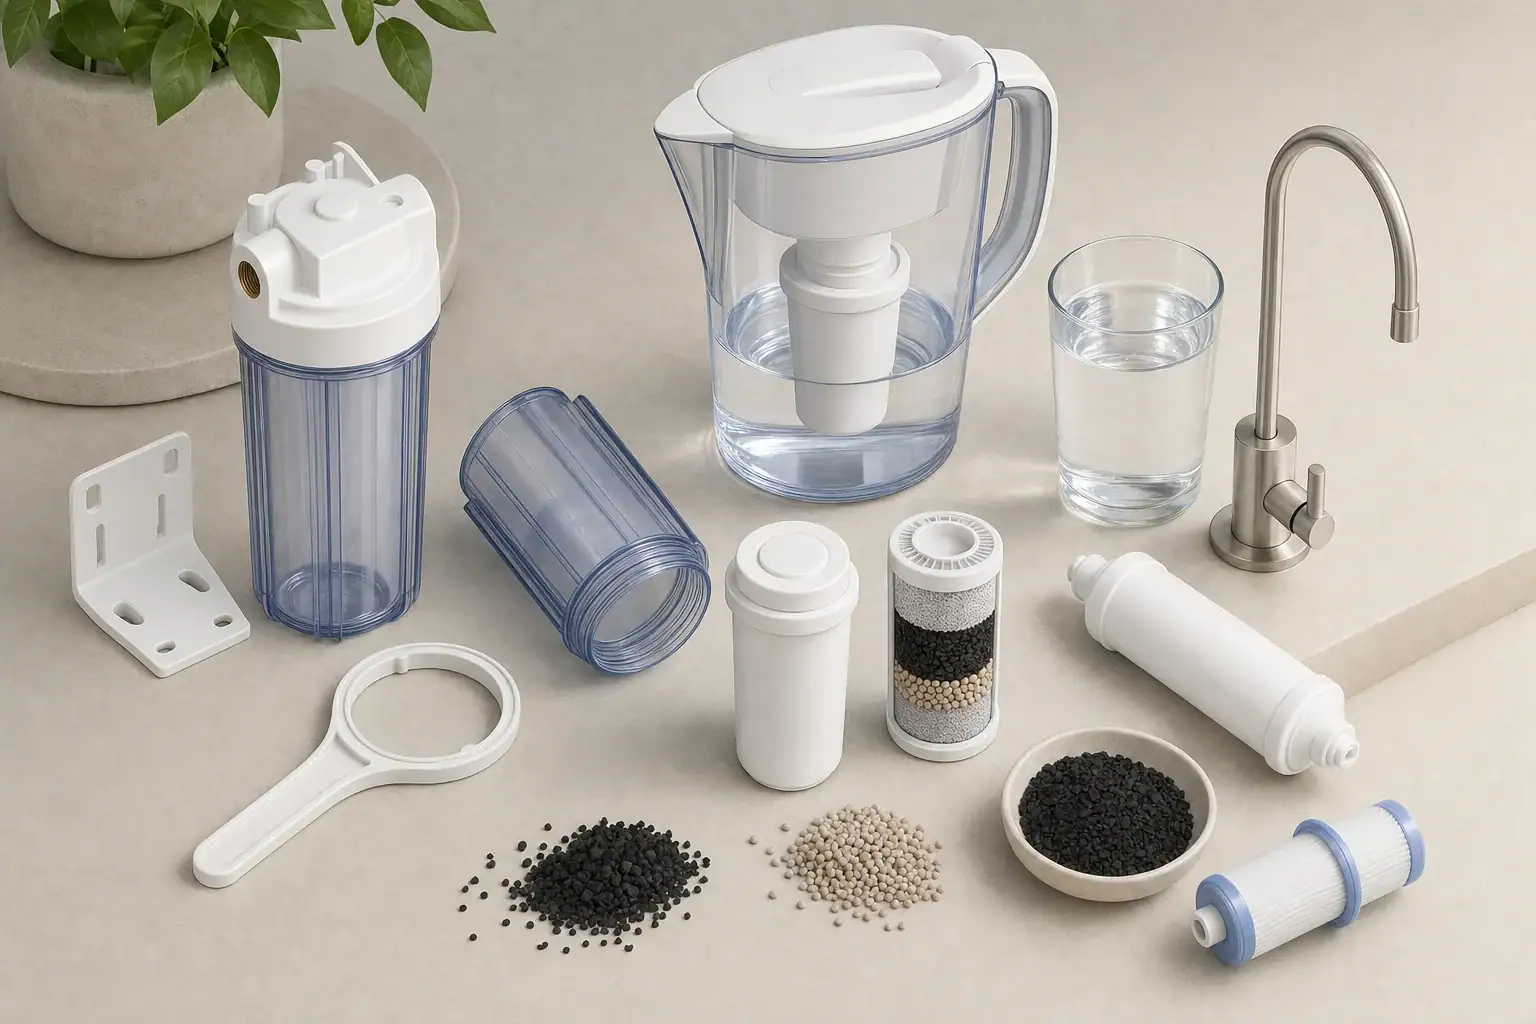
A pitcher filter cartridge that rises, tilts, or floats out of its opening may not be making the seal needed to direct water through the filter media. Common causes include trapped air, incomplete seating, a misplaced seal, debris around the opening, or a cartridge that does not match the pitcher.
Floating does not always mean the cartridge is defective. Some cartridges are naturally buoyant when dry, and certain designs fit loosely until the upper reservoir contains water. The important question is whether the cartridge settles into its intended position and whether water passes through it rather than around it.
Before replacing the cartridge, use a methodical check that follows the pitcher manufacturer’s instructions. Avoid improvised weights, tape, trimmed plastic, or other modifications that could damage the pitcher or create an uncontrolled bypass path.
Why a Pitcher Filter Cartridge May Float
Most pitcher cartridges contain porous media such as activated carbon, ion-exchange material, or a combination of media. A new or fully dried cartridge can hold air inside those pores. When the cartridge is placed in water, that trapped air increases buoyancy and may cause the filter to rise or tilt.
Air is especially likely after long storage, after a cartridge has dried between uses, or when the cartridge is lowered quickly into water. Small bubbles may continue leaving the media for several minutes during soaking or rinsing.
Mechanical fit is another factor. Many pitchers rely on a tapered cartridge body, gasket, O-ring, twist-lock feature, or molded tabs to hold the filter in place. If one of these features is misaligned, the cartridge may appear installed while sitting slightly above its intended position.
A filter can also rise because of water pressure from below. For example, filling the lower pitcher chamber above the bottom of the cartridge may create upward force. An overfilled lower chamber can make a correctly installed filter appear loose even though it stays seated during normal filtration.
First Check Seating and Remove Trapped Air
Inspect the cartridge opening
Empty the pitcher and remove the cartridge. Examine the cartridge socket and nearby surfaces under good lighting. Look for packaging material, carbon particles, mineral deposits, a folded gasket, or food residue that could keep the filter from reaching the bottom of the opening.
Confirm that any removable seal is in the position shown in the care instructions. A seal that is doubled, twisted, upside down, or attached to an old cartridge can prevent a new filter from seating correctly.
Align the cartridge without forcing it
Reinstall the cartridge using the specified orientation. Some filters push straight down, while others require a partial turn or alignment with molded slots. Apply only normal hand pressure. If substantial force is required, stop and recheck compatibility and alignment.
A properly seated cartridge may produce a slight change in resistance or a gentle stop. It should generally sit level and remain stable when the empty reservoir is moved carefully. A loose-looking top edge is not necessarily a problem if the sealing surface underneath is fully engaged.
Prime or soak the cartridge as directed
Priming helps water displace air inside the media. Depending on the design, instructions may call for soaking, rinsing under cold water, or filling and discarding one or more batches. Use the method supplied for the specific cartridge because priming procedures are not interchangeable. See how to pre-soak and flush a new pitcher filter cartridge for more setup guidance.
If soaking is allowed, place the cartridge in clean, cold water and gently rotate it so bubbles can escape. Do not shake it aggressively, strike it against the container, or use hot water unless the instructions specifically permit it. Heat can affect plastic parts and filter media.
Example values for illustration.
| Check | What to look for | Practical response |
|---|---|---|
| Trapped air | Bubbles escaping from a dry cartridge | Prime or soak as directed |
| Orientation | Tabs or flat sides not aligned | Remove and reinstall in the specified position |
| Seating depth | Cartridge stops above the socket | Inspect for debris or a misplaced seal |
| Gasket condition | Seal is twisted, damaged, or missing | Reposition it or obtain the correct replacement part |
| Lower chamber level | Water reaches the cartridge from below | Pour out enough water to restore normal clearance |
| Cartridge dimensions | Body, flange, or locking features differ | Verify the exact compatible cartridge type |
| Housing condition | Socket is cracked or visibly distorted | Stop using the pitcher until the housing is assessed |
Verify Cartridge and Pitcher Compatibility
Pitcher cartridges that look similar are not necessarily interchangeable. Small differences in diameter, taper, flange height, seal placement, or locking tabs can determine whether water is directed through the media. A cartridge that is slightly too narrow may float or allow water to move around its exterior.
Check the pitcher model or cartridge specification listed in the original instructions. Compare the new filter with a known-correct old cartridge if one is available. Useful details include:
- Overall height and body shape
- Diameter at the sealing surface
- Location and thickness of gaskets
- Number and position of alignment tabs
- Shape of the top flange or handle
- Required push-in or twist-lock installation method
Packaging statements such as universal, compatible, or replacement style do not by themselves confirm an exact fit. The cartridge should be specifically identified as suitable for the pitcher model and should install according to the pitcher’s normal procedure.
Account for pitcher and cartridge revisions
Manufacturers sometimes revise pitcher housings or cartridge geometry while preserving a similar exterior appearance. An older pitcher and a newer cartridge may therefore have different seating details. Model identifiers, replacement charts, and current care instructions are more reliable than appearance alone.
If several cartridges from the same package all rise in the same way, the issue may involve compatibility or the pitcher socket rather than trapped air in one cartridge. If only one cartridge behaves differently, compare it for warping, missing seals, or visible manufacturing damage.
Use Filtration Behavior to Narrow Down the Cause
The cartridge’s position is only one clue. Observe what happens during a normal fill cycle without pressing, holding, or weighting the filter. Note whether it stays seated, how water moves through the reservoir, and whether the filtered water shows an unexpected change in taste, odor, or visible particles.
The cartridge rises before water is added
A cartridge that will not remain in an empty, dry socket usually points to incomplete engagement, a deformed seal, or a fit mismatch. Trapped air cannot lift a cartridge when no water is present.
The cartridge rises only when submerged
If it stays in place when dry but rises when water surrounds it, buoyancy or overfilling is more likely. Prime the filter according to its instructions and keep the lower chamber below the intended maximum level.
Water drains unusually fast
A much faster flow than usual can suggest that water is bypassing the filter, although flow also varies with cartridge design, water temperature, filter age, and trapped air. Look for water moving around the cartridge’s outer edge or through a visible gap.
Do not attempt to seal a suspected gap with tape, adhesive, putty, or an added gasket. These materials may not be suitable for drinking-water contact and can interfere with proper installation.
Water drains unusually slowly
Slow flow can occur while a new cartridge releases air. It can also result from incomplete priming, fine particles blocking a surface screen, or an older filter reaching the end of its useful service period. Repeated pressing or squeezing can damage the cartridge and should be avoided.
Clean and Reassemble the Pitcher Carefully
If seating and compatibility appear correct, clean the pitcher before another test. Wash removable pitcher components according to their care instructions. Some parts may be hand-wash only, and high dishwasher temperatures can distort a cartridge socket or reservoir. Follow proper pitcher filter maintenance practices to avoid off-flavors after cleaning.
Use clean hands and a clean work surface when handling the cartridge and seals. If mild dish soap is permitted for the pitcher parts, rinse them thoroughly. Do not apply soap directly to filter media unless the cartridge instructions explicitly allow it.
During reassembly:
- Confirm that the lower chamber is not already overfilled.
- Install each seal in its intended groove.
- Insert the cartridge in the specified direction.
- Check that the cartridge is level and stable.
- Add water gradually during the first test fill.
- Watch the cartridge edge for movement or bypass.
If the pitcher was dropped or exposed to excessive heat, inspect the reservoir and socket for cracks, oval-shaped openings, or warped surfaces. A damaged housing may not hold even the correct cartridge securely.
Decide Whether Priming or Replacement Is Appropriate
A floating cartridge does not automatically mean it has reached the end of its service life. A new filter may only need correct priming, while an older filter may have a separate flow or taste issue. Base replacement on the recommended service interval, water use, local water conditions, and observed performance rather than floating alone.
Cartridge life is commonly affected by the amount of water treated and the level of sediment or other substances in the source water. Calendar estimates assume typical use and may not match every household. Keep a replacement record if the pitcher does not include a reliable usage indicator. See how often to replace pitcher filters for household-size planning.
After correcting the fit, complete any required initial rinses or discarded batches. Temporary carbon-colored particles in initial water can come from loose filter media, but persistent particles, a damaged screen, or material escaping from the cartridge warrants further assessment. Learn more about black specks in filtered water if particles continue to appear.
Example values for illustration.
| Observation | Likely category | Next step |
|---|---|---|
| New dry filter releases bubbles | Priming | Follow the specified priming procedure |
| New filter does not fit the socket | Compatibility or alignment | Verify model match and installation direction |
| Filter rises only when lower chamber is full | Water level | Keep water below the intended fill limit |
| Older filter has steadily slower flow | Service life or loading | Review usage and replacement guidance |
| Water consistently bypasses the cartridge edge | Seal, fit, or housing problem | Stop and inspect components before use |
| Cartridge is cracked or leaking media | Physical damage | Replace the damaged cartridge |
Related guides:
How to Pre-Soak and Flush a New Pitcher Filter Cartridge •
Pitcher Filter Maintenance: Cleaning & Sanitizing Without Off-Flavors •
How Often Should You Replace Pitcher Filters? •
Pitcher Filter Taste Issues
When to Stop Using the Pitcher and Seek Support
Stop using the pitcher until the issue is resolved if the cartridge cannot be secured, the socket is cracked, a seal is missing, filter media continually escapes, or water visibly travels around the cartridge instead of through it. Holding the cartridge down during every fill is not a reliable solution.
Product documentation or customer support can help confirm whether the pitcher and cartridge versions match. Have the model information, cartridge description, approximate purchase date, and photos of the socket and filter shape available if requested.
For a cartridge that simply releases bubbles and settles after correct priming, continued normal operation may be reasonable once it remains seated and water follows the intended path. For persistent floating, repeated bypass, or structural damage, replacing the correct component is safer than modifying the pitcher.
Frequently asked questions
Why does my new pitcher filter float in water?
A new or dry cartridge can retain air in its filter media, making it buoyant. Follow the cartridge-specific soaking, rinsing, or priming instructions and allow bubbles to escape before testing it again.
Should a pitcher filter stay in place when the reservoir is empty?
In most designs, the cartridge should remain level and reasonably stable in an empty socket. If it rises or will not engage when dry, check the orientation, seal placement, debris, and cartridge compatibility.
Can I hold down a floating filter cartridge while filling the pitcher?
No. Holding it down does not correct the underlying fit or seal issue and may conceal water bypass. Remove the cartridge and inspect the seating surfaces instead.
Does fast water flow mean the cartridge is not filtering?
Not always, because flow can vary by design and cartridge condition. However, unusually fast drainage with visible gaps or water moving around the cartridge can indicate bypass and should be checked before use.
When should I replace a floating pitcher filter cartridge?
Replace it if it is cracked, warped, leaking media, missing an essential seal, or still cannot seat correctly after following the specified priming and installation steps. Also verify that it is the correct cartridge type for the pitcher.
- NSF/ANSI standards explained (42/53/401/58)
- Clear trade-offs: pitcher vs faucet vs under-sink vs RO
- Maintenance planning: cost per gallon and replacement cadence