
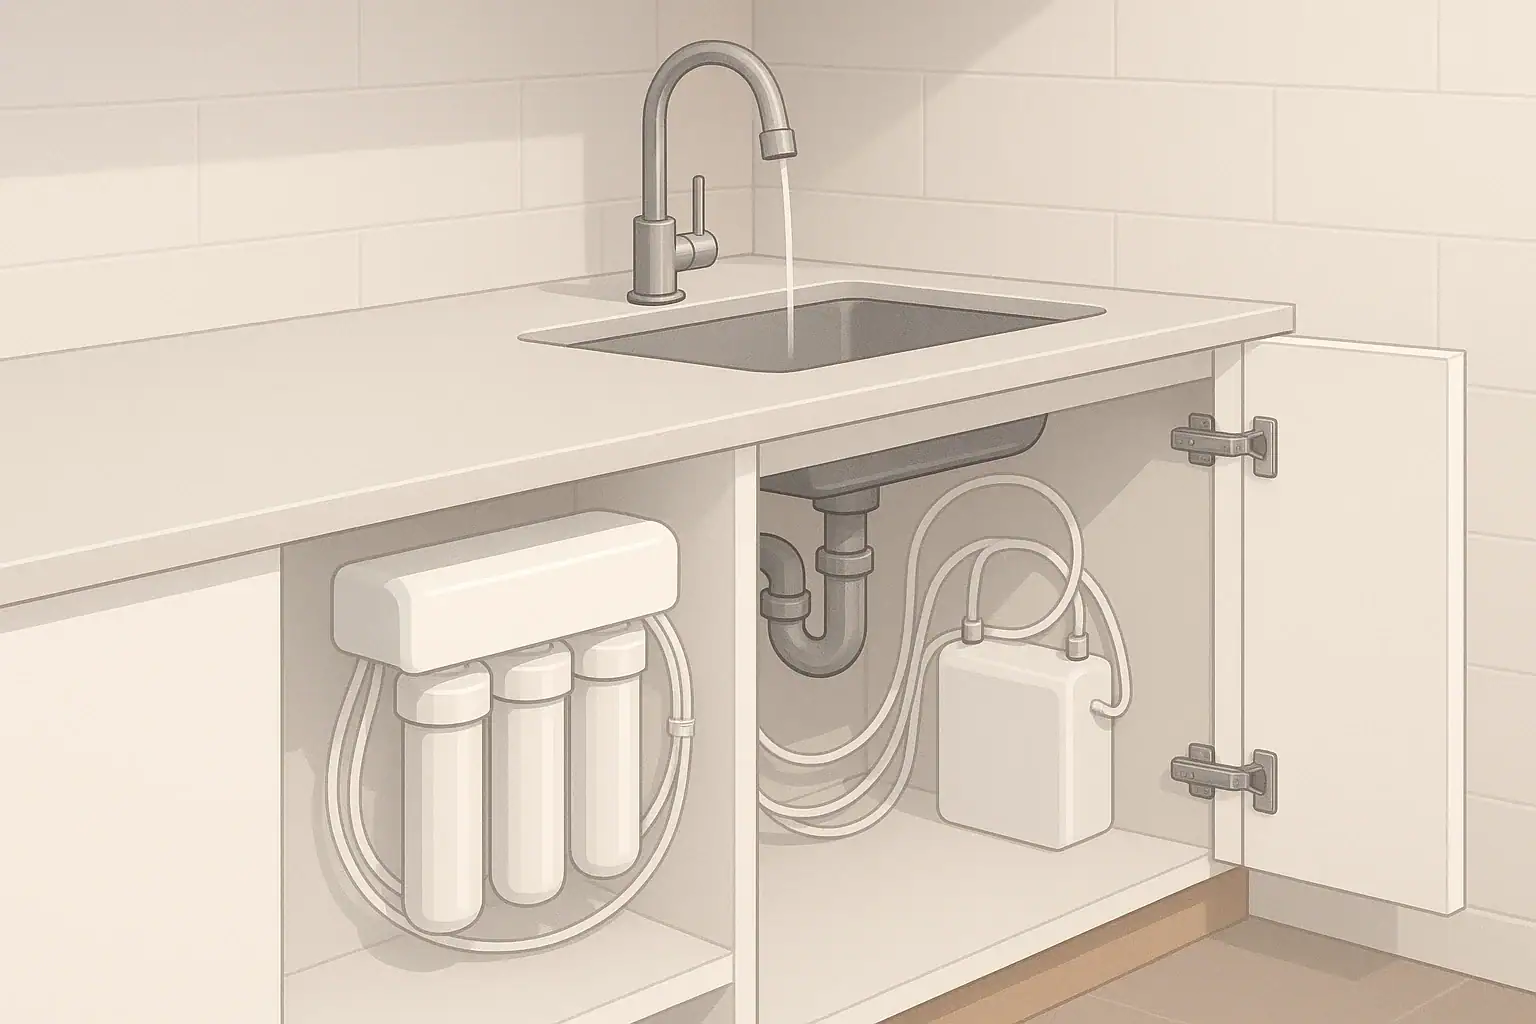
Installing a water filter adds resistance while water is moving, so some reduction in flow may be expected. A large or sudden change, however, can point to a partially opened valve, kinked tubing, incorrect flow direction, an unsuitable cartridge, incomplete startup, trapped debris, or an undersized system.
There is no single pressure-loss figure that is normal for every filter. The result depends on the exact housing, cartridge, flow rate, plumbing and incoming supply. Use the installation manual and performance data for your model rather than relying on a generic estimate.
Why Water Pressure Drops After Installing a Filter
A filter creates a pressure drop while water flows through its housing and media. That dynamic pressure drop generally increases as demand rises, which is why a shower may seem acceptable by itself but become weak when another fixture is opened.
The loss is model-specific. For example, Pentair’s Pentek Big Blue housing specification lists different initial pressure drops for different port sizes and shows pressure drop rising with flow. Those housing figures should not be treated as the total performance of every assembled system because the selected cartridge adds its own resistance. Compare the exact housing, cartridge and required household flow using the manufacturer’s data. See the Pentek Big Blue specification sheet.
The checks below cover common under-sink, inline, reverse-osmosis and whole-house systems. Pitchers and non-plumbed gravity filters can have slow filtration, but they do not lower pressure in the home’s plumbing.
Diagnostic Overview
| Symptom | Safe check | Possible next step | When to stop and get help |
|---|---|---|---|
| One filtered faucet is weak | Check its shutoff valve, tubing, aerator and filter status without opening a pressurized housing | Correct a kink or clean an aerator if the product instructions permit it | Stop if a connection leaks, the tubing is damaged or the required repair is unclear |
| Every fixture became weak after a whole-house installation | Confirm accessible valves are in their documented service positions and compare demand with the system’s rated flow | Have the installer check pressure drop, cartridge selection and sizing | Use a qualified plumber for modifications to the main supply or pressure controls |
| Flow is weak only when several fixtures run | Repeat the observation with one fixture and then with simultaneous demand | Compare the required peak flow with the housing and cartridge data | Seek a system-design review if the filter is undersized |
| Flow declined gradually after initially working well | Check the replacement indicator, elapsed service time and permitted cartridge inspection steps | Replace the cartridge with the specified compatible part when its limit is reached | Investigate the source water if replacements repeatedly clog much earlier than expected |
| Sputtering or cloudy water immediately after installation | Follow the exact startup and flushing procedure in the manual | Complete the specified flush or tank cycles and inspect for leaks | Stop for persistent abnormal noise, leakage, housing damage or symptoms that remain beyond the documented startup period |
1. Confirm Whether It Is Pressure or Flow Rate
Pressure is force in the piping, usually measured in pounds per square inch (psi). Flow rate is the volume delivered over time, often expressed in gallons per minute (gpm). A restriction may leave static pressure looking normal when every fixture is closed but cause a substantial pressure drop and reduced flow when water is running.
- Compare the same outlet under the same conditions. Use the same faucet position and make sure no other fixtures or appliances are drawing water.
- Use a timed-volume check. Record how long the outlet takes to fill a container before and after a permitted correction. This compares delivered flow without assuming a particular “normal” rate.
- Map the affected outlets. One weak faucet suggests a local restriction; a house-wide change after a point-of-entry installation warrants checking the main filter and supply.
- Measure pressure correctly. A static reading and a reading while water is flowing answer different questions. Pressure measurements across a filter should be taken at suitable test points and under a defined flow condition.
For a general home check, EPA WaterSense describes measuring static service pressure at a hose bib while all indoor and outdoor water uses are off. It identifies 45–60 psi as a preferred operating range for efficient homes, not as a universal plumbing-code limit. See EPA WaterSense home-maintenance guidance.
For more detail, see water pressure vs. flow rate.
2. Check All Valves and Bypass Settings
A valve left partly closed during installation can restrict flow. Check only accessible controls whose correct positions are identified in the product instructions or by the installer:
- Main and branch shutoffs: Confirm that valves used during the work were returned to their normal positions.
- Filter isolation valves: Verify that upstream and downstream valves are in the documented service position.
- Bypass assembly: Use the manufacturer’s diagram because bypass arrangements differ. Do not guess from handle position alone.
- Point-of-use shutoffs: Check the cold-water stop supplying an under-sink filter or refrigerator line.
The 3M AP Easy Full Flow manual, for example, includes confirmation that the main water valve is open as a troubleshooting step. It also warns that kinked tubing impedes flow. These details support checking valves and tubing, but the instructions for your exact model control. See the 3M AP Easy installation manual.
Do not loosen a housing or connection while it is pressurized. Shut off the supply and use the manufacturer’s depressurization procedure before any permitted cartridge work.
3. Check the Housing and Cartridge Specifications
A cartridge can be compatible with a housing yet still be unsuitable for the required flow. Review the performance sheet or manual for:
- rated service flow or production rate;
- pressure-drop data at relevant flow rates, if published;
- permitted inlet-pressure and temperature ranges;
- capacity and replacement conditions;
- approved replacement-cartridge model numbers; and
- whether the product is intended for point-of-use or point-of-entry service.
Micron Rating and Media Type
A smaller nominal micron number does not, by itself, predict the pressure loss of a complete system. Media type, surface area, cartridge construction, housing design, contaminant loading and actual flow all matter. A fine cartridge may be more restrictive than a coarse option in the same product family, but compare the manufacturer’s rated flow and pressure-drop data rather than selecting by micron rating alone.
Line Size and Overall Demand
Port size, pipe size, fittings, tubing and cartridge area can all affect delivered flow. For a whole-house system, compare its documented performance with the peak demand created by showers, faucets and water-using appliances running together. For an under-sink filter, compare the filter’s service flow with the faucet it supplies.
Do not install an unapproved cartridge simply to increase flow. A substitute may not seal correctly or retain the original system’s validated contaminant-reduction performance.
4. Verify the Direction of Flow and Installation Orientation
Many inline filters and housings designate an inlet and outlet. Compare the installed plumbing with the arrow, port labels and diagram for the exact model. The 3M AP Easy manual specifically says not to reverse inlet and outlet connections and directs installers to avoid kinked tubing. Review the manufacturer’s diagram.
Also check, without disturbing pressurized components:
- whether flexible tubing has been bent, crushed or kinked;
- whether a cartridge was installed in the orientation shown in the manual;
- whether an external leak indicates a sealing problem; and
- whether protective caps or shipping plugs were removed as directed.
If correcting the orientation requires cutting pipe, changing a main-line connection or opening a point-of-entry housing, shut off and depressurize the system first. The 3M AP902/AP903/AP904 manual requires depressurization before cartridge removal and says those point-of-entry models must be installed by a qualified professional; local rules may also require a licensed installer. See the 3M point-of-entry installation instructions.
5. Look for Sediment, Debris, or Construction Residue
Plumbing work can release particles that collect in an aerator, inlet screen or new cartridge. This is a possible explanation for an immediate decline, not something to assume without inspection.
- One faucet affected: Check its removable aerator or screen if the fixture instructions permit cleaning.
- Refrigerator or dedicated faucet affected: Look for a kinked line and check any documented inlet screen.
- Whole home affected: Have the cartridge and pressure drop evaluated using the housing’s safe shutdown procedure.
- Repeated early loading: Review the source-water conditions instead of repeatedly fitting a less restrictive cartridge without understanding what the filter is capturing.
If sediment is an ongoing issue, see the site’s guide to whole-house sediment filtration. Any pre-filter must still be sized for the required flow and installed according to applicable plumbing requirements.
6. Follow the Model-Specific Startup Procedure
Air, carbon fines and preservative flushing requirements vary substantially among products. Do not apply a generic “run it for several minutes” rule to every filter.
As one point-of-use example, the 3M AP Easy Full Flow manual specifies flushing 10 gallons—approximately 5 to 7.5 minutes for the listed system—to remove trapped air and carbon fines. That amount applies to the named 3M models, not to all filters. Consult the AP Easy manual.
Reverse-osmosis startup can be much longer. Pentair’s GRO-350B instructions specify a model-specific sequence that includes an initial 12-hour period, filling the storage tank, four drain-and-refill cycles and leak inspections. The manual says trapped air may take up to a week to dissipate. This example shows why an RO owner should follow the exact manual rather than a universal flush time. See the Pentair GRO-350B manual.
For background on how these systems work, read Reverse Osmosis 101.
7. Evaluate Whole-House Filter Sizing and Home Water Pressure
If every fixture weakened after a point-of-entry filter was installed, compare the system’s documented flow performance with household demand. A housing specification alone is not enough; the cartridge, fittings, pipe and water conditions contribute to the operating pressure drop.
Useful observations include:
- whether one fixture performs normally but simultaneous use causes a sharp decline;
- whether upper floors are affected more severely;
- whether an outlet upstream of the filter performs differently, if such an outlet exists; and
- whether measured pressure changes substantially while water flows through the filter.
A coarse pre-filter followed by another treatment stage, dedicated point-of-use treatment, or professionally designed parallel equipment may be appropriate in some systems. These are design choices, not universal DIY fixes. They must preserve the required treatment performance, safe pressure rating, sanitation and code compliance.
For a whole-house installation that remains weak, see troubleshooting whole-house low pressure after installation or ask the installer to document pressure and flow upstream and downstream under the same demand.
8. Check Cartridge Condition and Maintenance Limits
If flow was acceptable after installation and then declined, the cartridge may have loaded with captured material or reached another replacement limit. Follow whichever condition the manufacturer specifies, such as elapsed time, treated capacity, an indicator or noticeable flow loss.
For example, the instructions for 3M AP902/AP903/AP904 models call for replacement at 12 months, at rated capacity, or sooner if a noticeable flow reduction occurs. Those limits belong to the named products and should not be transferred to a different filter. Review the 3M replacement instructions.
Track:
- installation and replacement dates;
- the exact compatible cartridge model;
- changes in timed flow at the same outlet;
- estimated water use or meter readings when capacity matters;
- documented changes in source-water quality; and
- leaks, pressure changes or unusually short service intervals.
For a decline that occurs well after installation, use the filtered-water flow diagnostic checklist.
Verify the Result After a Correction
After any correction permitted by the product instructions:
- Restore the water supply slowly as directed by the manufacturer.
- Flush the specified volume or complete the required startup cycles.
- Inspect every disturbed connection and the housing for leaks.
- Repeat the timed-flow check at the same outlet with other water uses in the same state.
- If pressure was measured, repeat it at the same location and under the same static or flowing condition.
Stop using the system and obtain appropriate help if there is leakage, cracked or distorted equipment, persistent abnormal noise, continued sputtering beyond the documented startup period, or house-wide low pressure that the basic checks do not explain. Do not exceed a housing’s rated pressure or adjust a pressure regulator merely to overcome an unidentified restriction.
Review Water Quality, Claims and System Design
Select treatment based on the water and the substances you need to address. CDC recommends testing private-well water or reviewing a public utility’s annual water-quality report, then choosing a filter for the substances identified. See CDC guidance on choosing a home water filter.
Check the performance data for the exact system and replacement elements. Certification to a broad standard should not be interpreted as proof that every product reduces every contaminant covered somewhere within that standard. Official listings identify claims for named models and components. For example, NSF’s listing for the Pentair GRO-350B identifies its specific replacement elements, certified claims and production rate; those details do not apply to generic RO systems. View the official NSF listing.
If a less restrictive cartridge is being considered, confirm that it still addresses the substances found in the source water and is an approved replacement for the housing. Improving flow by abandoning a needed treatment claim is not a successful repair.
Frequently Asked Questions
Why did flow drop immediately after installing a new filter?
Possible causes include a valve left partly closed, kinked tubing, reversed inlet and outlet connections, an unsuitable cartridge, incomplete startup or debris in a local screen. Compare the installation with the exact manual before opening any housing.
How can I tell whether I have low pressure or reduced flow?
Measure delivered volume over time at the same outlet and under the same conditions. If using a gauge, distinguish a static reading with all outlets closed from pressure while water is flowing. A restriction can produce normal-looking static pressure but poor flow under demand.
Is rapid clogging after plumbing work normal?
It can happen if the work releases sediment, but it should not automatically be treated as normal. Inspect only the screens or cartridges the manual allows you to access, follow the depressurization procedure and investigate repeated early loading.
Will a finer micron cartridge always cause more pressure loss?
No single micron number predicts system pressure loss. Media, surface area, cartridge construction, loading, housing and flow rate also matter. Compare rated flow and pressure-drop data for the exact cartridge and housing combination.
When should I call a professional?
Use a qualified plumber or the original installer when low flow affects the whole home, the repair involves the main supply or pressure controls, the housing leaks or appears damaged, or pressure and flow remain unacceptable after documented startup and valve checks. Some point-of-entry manufacturers and local rules require professional installation.
Recommended next:
- NSF/ANSI standards explained (42/53/401/58)
- Clear trade-offs: pitcher vs faucet vs under-sink vs RO
- Maintenance planning: cost per gallon and replacement cadence