Faucet-mount filters are popular because they are compact, affordable, and easy to install compared with under-sink systems. Yet many users experience slow drips or steady leaks soon after installation. Most of these problems come down to a few predictable causes and are preventable with careful setup.
Common reasons faucet-mount filters leak include:
- Poor seal at the faucet threads – worn faucet threads, damaged rubber gasket, or missing adapter.
- Wrong adapter or no adapter – many kitchen faucets need a specific adapter to convert from internal to external threads.
- Cracked or cross-threaded connections – overtightening or forcing pieces together at an angle.
- High water pressure or flow – turning the faucet fully open can stress seals and O-rings.
- Mineral scale or debris – buildup between the faucet outlet and adapter prevents a flat, even seal.
Understanding these causes makes it easier to install the filter correctly the first time and avoid repeated adjustments.
Why Faucet-Mount Filters Leak in the First Place
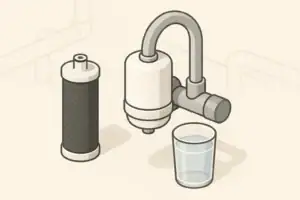
Tools, Parts, and Prep Before You Start
Most faucet-mount filters are designed for simple, tool-light installation. Still, a bit of preparation goes a long way toward a leak-free result.
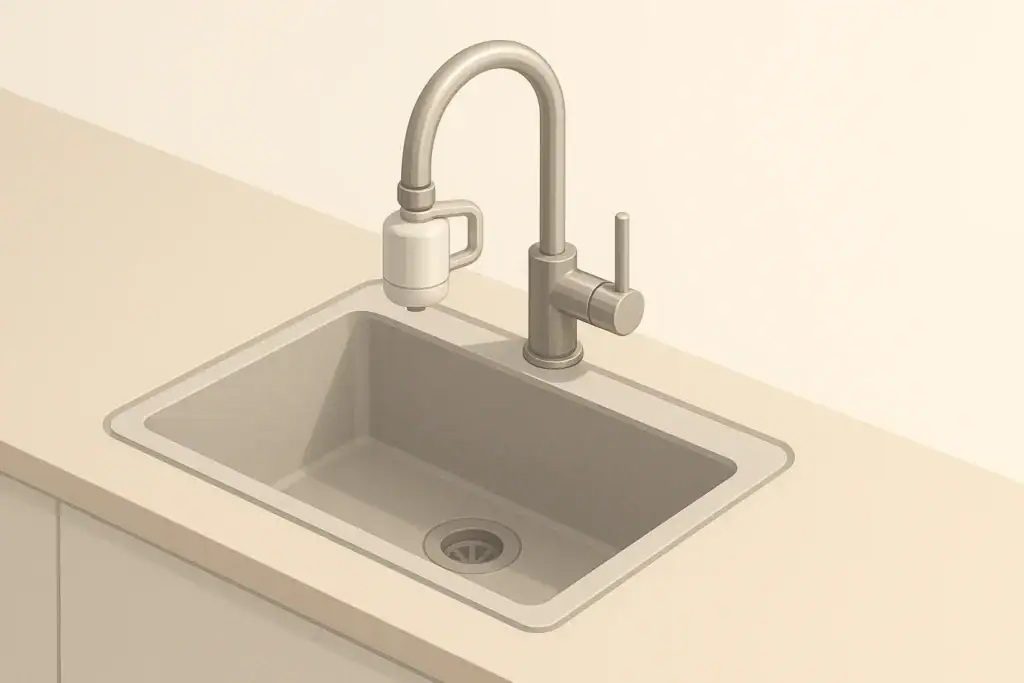
Check that Your Faucet Is Compatible
Faucet-mount filters are typically designed for standard, threaded kitchen faucets. They often do not work with:
- Pull-out or pull-down sprayer faucets
- Faucets with non-removable aerators
- Designer spouts with unusual shapes or built-in spray heads
Before buying or installing, confirm:
- Your faucet aerator unscrews (use a dry cloth for grip if needed).
- The exposed faucet outlet has threads that match one of the supplied adapters (if required).
- There is enough clearance between the faucet and sink or backsplash for the filter body to rotate between “filtered” and “unfiltered” modes.
Gather Basic Tools and Supplies
You usually only need a few simple items:
- Soft cloth or non-scratch sponge (for cleaning and for grip on the aerator)
- Adjustable wrench or pliers with padded jaws (optional, for stubborn aerators only)
- Teflon (PTFE) thread-sealing tape (optional; only if recommended by the manufacturer)
- Small bowl or towel (to catch any water drips during installation)
Have the filter unit, all included adapters, O-rings, and the instruction sheet laid out where you can easily see them. Check that the rubber gaskets are present and undamaged.
Example values for illustration.
| Sink / Faucet Situation | Install Faucet-Mount Filter? | Reasoning |
|---|---|---|
| Standard threaded kitchen faucet, removable aerator, good clearance | Yes, typically straightforward | Most faucet-mount filters are designed for this setup. |
| Pull-down sprayer style faucet | Usually not recommended | Moving hose and head can strain or obstruct a filter attachment. |
| Non-threaded or hidden threads with no adapter available | Not compatible | Filter needs a solid threaded connection to seal and prevent leaks. |
| Low backsplash clearance behind faucet | Maybe, check dimensions | Filter body may hit wall when rotated; measure before installing. |
| Very shallow sink prone to splashing | Maybe, adjust flow | Filtered stream may splash; lower flow rate can help. |
| High mineral deposits on faucet | Yes, after cleaning | Scale must be removed to allow gaskets to seal properly. |
| Household needs filtered water at multiple locations | Partial solution | Faucet-mount covers one sink; other points may need separate solutions. |
Step-by-Step: Installing a Faucet-Mount Filter Without Leaks
The exact steps depend on the specific product, but most faucet-mount filters follow a similar pattern. Use the instructions that came with your filter along with the general guidance below to reduce the chance of leaks.
1. Turn Off Water Flow and Relieve Pressure
You usually do not need to shut off the home’s water supply. Instead:
- Turn the faucet handle to the “off” position.
- If your faucet has a spray hose, make sure it is not under tension.
- Place a towel or bowl in the sink to catch any residual water.
2. Remove the Existing Aerator Carefully
The aerator is the small fitting at the end of the faucet spout that shapes and smooths the water stream. To remove it without damage:
- Wrap a dry cloth around the aerator to improve grip.
- Turn counterclockwise by hand. Many aerators loosen easily.
- If stuck, use pliers or a wrench gently over the cloth to avoid scratching.
- Set aside any small washers or screens in case you need them later.
Once removed, briefly turn the water on and off to flush out any loose debris before installing the adapter.
3. Clean the Faucet Threads and Sealing Surface
Leaks often come from a poor seal where the adapter or filter attaches to the faucet. To maximize contact:
- Use a non-scratch sponge to remove mineral deposits, rust flakes, or old tape.
- Wipe the threads and surrounding flat surface dry with a cloth.
- Inspect threads for damage; if they are stripped or misshapen, sealing will be difficult.
If mineral buildup is severe, you may need to soak the end of the faucet in a small bag of diluted vinegar for a short time, then scrub gently and rinse. Dry thoroughly afterward so rubber gaskets can grip.
4. Select the Correct Adapter and Gasket
Many faucet-mount filters include a small set of adapters to fit different thread sizes and types. There are two main cases:
- Faucet with external (male) threads: The filter or its base may attach directly, often with a rubber gasket inside. No additional adapter may be needed.
- Faucet with internal (female) threads: You will likely need a male-thread adapter that screws into the faucet, providing an external threaded end for the filter.
Before attaching anything, ensure that:
- The correct rubber gasket or O-ring is seated flat inside the adapter or filter base.
- No gasket is twisted, cracked, or missing.
- You align the adapter by hand and do not force it if it feels rough or misaligned.
Do not apply thread tape unless the manufacturer specifically recommends it. Many faucet and filter connections rely on gaskets for sealing, and tape can interfere if used incorrectly.
5. Attach the Adapter Snugly, Not Excessively Tight
To avoid leaks and prevent damage:
- Screw the adapter onto the faucet by hand, turning clockwise.
- Stop if you feel strong resistance before it seats fully; back off and realign the threads.
- Once hand-tight, use fingers only to give a final gentle turn if needed.
- If you must use pliers on metal adapters, use minimal force and a cloth for padding.
Overtightening can deform gaskets or crack plastic components, leading to leaks that are harder to fix.
6. Mount the Filter Body
Once the adapter is secure, attach the faucet-mount filter body according to the product’s design. Common approaches include:
- Threaded collar: The filter body or a collar threads onto the adapter’s external threads.
- Quick-connect clamp: The filter body snaps onto the adapter with a click or latch.
General tips for leak-free mounting:
- Keep the internal O-ring or gasket clean and lightly damp (a bit of clean water can help it seat).
- Align the filter straight, not at an angle, before tightening.
- Tighten by hand only until snug; avoid using tools on plastic housings.
- Check that the filter can rotate smoothly between filtered and unfiltered modes without strain.
7. Install or Unlock the Cartridge
Some faucet-mount filters ship with the cartridge already inside; others require you to insert it.
- Open the housing as instructed (twist or press-release mechanism).
- Insert the cartridge with the correct orientation; alignment tabs or arrows usually indicate this.
- Ensure the cartridge seats fully so internal seals engage properly.
- Close the housing securely but do not over-tighten.
A partially seated cartridge can cause internal bypassing or leaks around the housing seam.
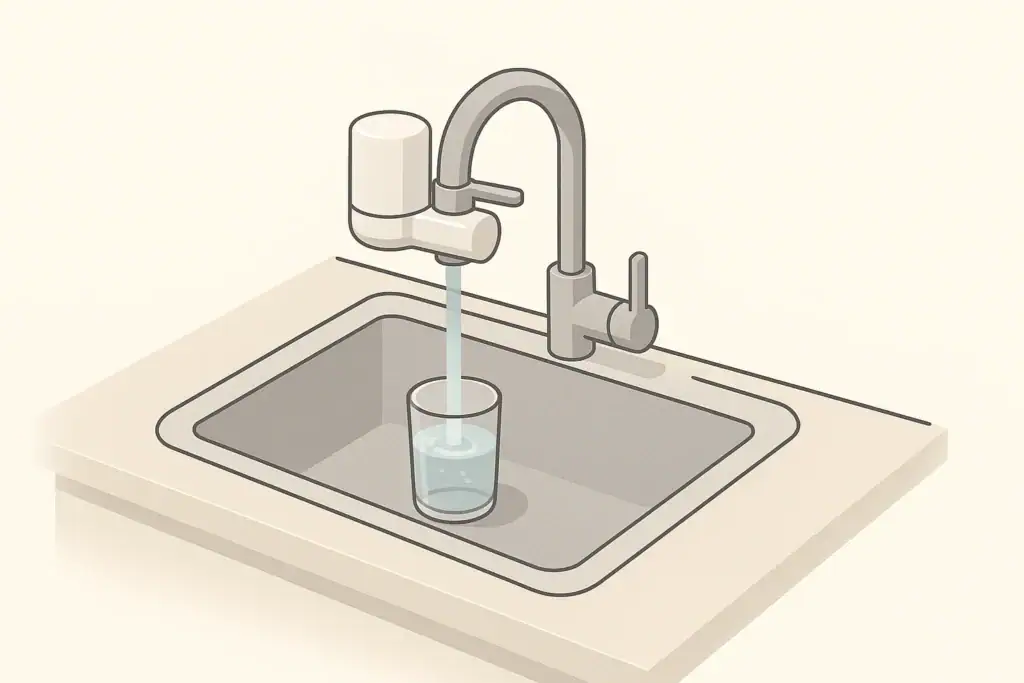
First Flush and Leak Check
Most faucet-mount filters require an initial flush to remove loose filter media particles and air. This step is also key for confirming that everything is watertight.
8. Perform a Gentle Initial Test
Start with a cautious test before the full flush:
- Turn the faucet handle slowly to a low flow setting.
- Start in unfiltered mode if your unit has a bypass setting.
- Observe the faucet-adapter joint, adapter-filter joint, and housing seams for any droplets.
If you see immediate leaking at low flow, turn the water off and recheck gaskets and thread alignment before proceeding.
9. Complete the Recommended Flush
Follow the product’s instructions for initial flushing time. Many faucet-mount filters suggest flushing for several minutes in filtered mode.
- Gradually increase the flow until you reach a moderate, steady stream.
- Run filtered water for the full recommended time to clear air and fine particles.
- Check again for leaks periodically as pressure and temperature stabilize.
During this flush, you may see cloudiness or fine dark particles at first; this usually comes from carbon-based filter media and should diminish as flushing continues.
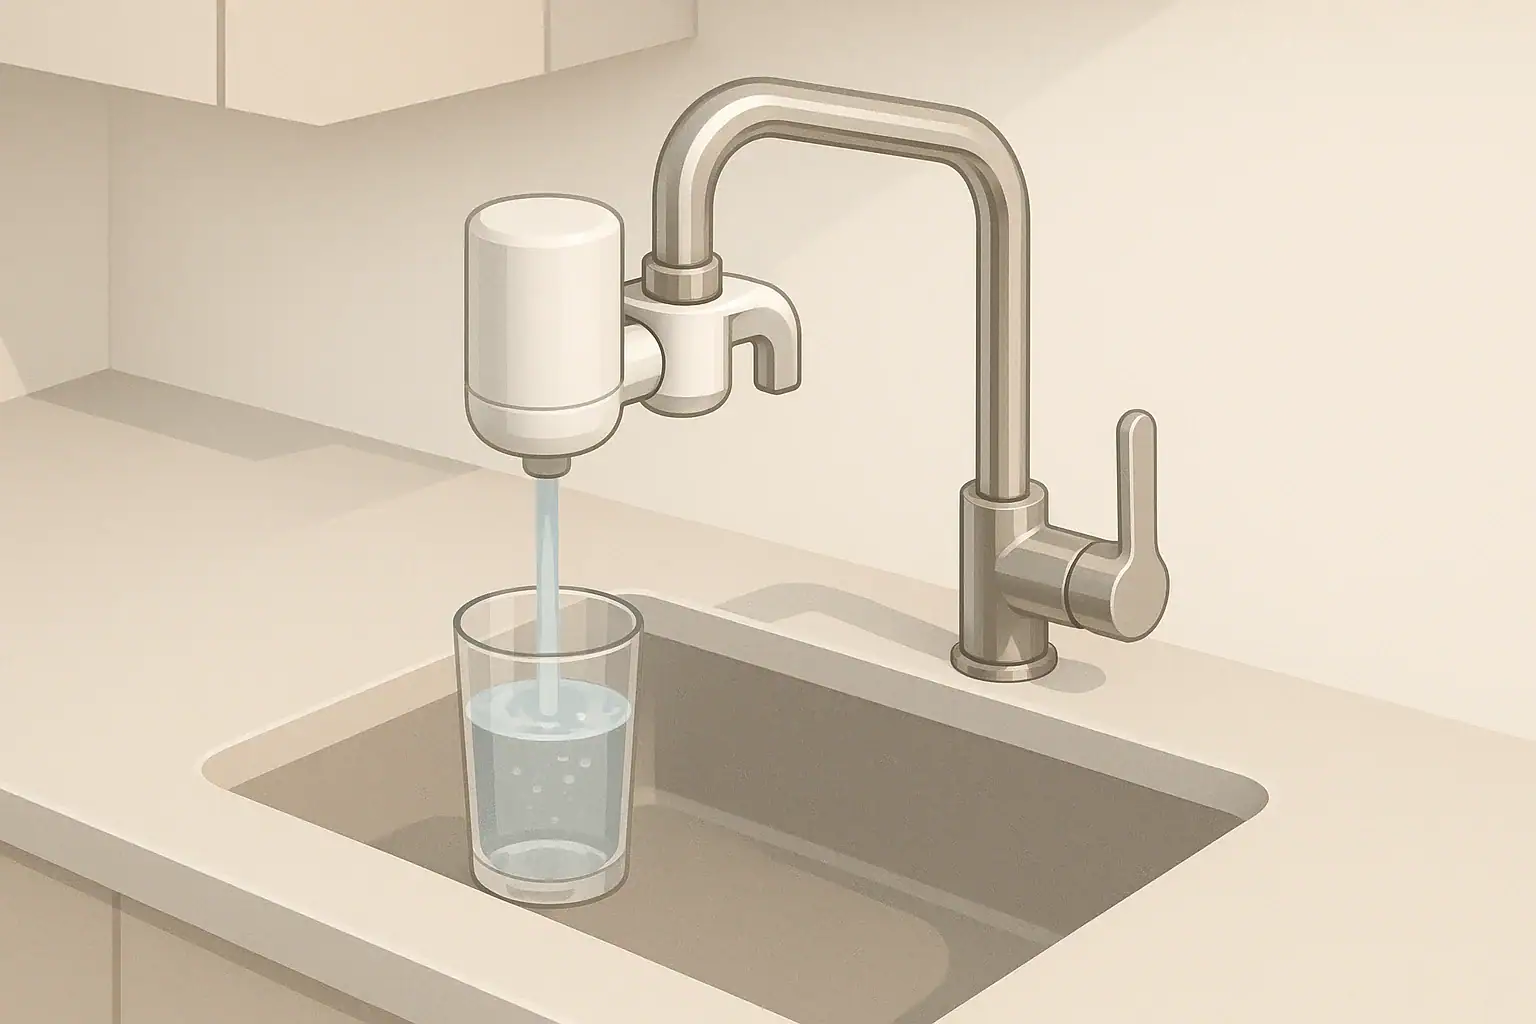
10. Confirm Flow Rate and Spray Pattern
A faucet-mount filter will typically reduce flow compared with an open faucet. To help avoid future issues:
- Verify that water flows smoothly and does not spray sideways from the joints.
- If water spurts or pulses, air may still be trapped; cycle briefly between filtered and unfiltered modes to help release it.
- Use moderate flow during regular use; running at maximum faucet opening can stress seals and shorten cartridge life.
Preventing and Fixing Leaks Over Time
Even a perfect initial installation can develop small leaks later due to wear, mineral buildup, or repeated handling. A few habits and checks can prevent most issues.
Handle the Filter Gently
Because faucet-mount filters are frequently switched between modes, avoid using them as a handle or lever. Instead:
- Rotate the mode selector smoothly without twisting the entire body.
- Do not push or pull the filter to move the faucet spout.
- Avoid bumping the filter with large pots or pans in the sink.
Mechanical stress can loosen joints or gradually compromise the seals.
Watch for Early Warning Signs of Leaks
Check the filter area regularly when you use the sink. Early indicators include:
- Drops forming at the bottom of the adapter or filter body after the water is turned off.
- Fine spray or mist from the joint between adapter and faucet when in use.
- Water tracking down the outside of the filter body.
Addressing these signs early usually only requires gentle re-tightening or cleaning, instead of part replacement.
How to Respond to Specific Leak Locations
- Leak between faucet and adapter: Remove the adapter, clean both surfaces, confirm the gasket is present and undamaged, and reinstall by hand, ensuring no cross-threading.
- Leak between adapter and filter body: Check that the filter’s O-ring is seated correctly and free of debris. Reattach the filter, making sure the connection is straight before tightening.
- Leak from housing seam: Turn off the water, open the housing, verify cartridge is seated, inspect the housing O-ring for wear, clean and reinstall. Replace the O-ring if it appears flattened, cracked, or stretched.
Managing Mineral Buildup and Debris
In areas with higher hardness or sediment, faucet ends and adapters may accumulate deposits that interfere with sealing or clog fine screens.
- Periodically remove the filter (following the instructions) and inspect the adapter for scale.
- Clean mineral buildup gently with a non-scratch pad; if needed, use a short soak in diluted vinegar followed by thorough rinsing and drying.
- Check any small screens in the adapter for trapped particles and rinse them under running water.
Regular cleaning helps maintain both leak resistance and stable flow rate.
Checking Performance, Certifications, and When to Replace
Once your faucet-mount filter is installed and leak-free, it is worth confirming that it performs as expected and planning for routine cartridge replacement. This helps you balance taste and odor improvement, basic contaminant reduction, and cost per gallon.
Understand What Your Filter Is Designed to Do
Faucet-mount filters can be certified under several NSF/ANSI standards, each addressing different performance claims. Common ones include:
- NSF/ANSI 42: Focuses on aesthetic improvements such as chlorine taste and odor reduction and particulate reduction.
- NSF/ANSI 53: Addresses reduction of specific contaminants with potential health relevance, such as certain metals or organic compounds, depending on the product.
- NSF/ANSI 401: Covers reduction of select emerging compounds like some pharmaceuticals or chemical residues.
Some faucet-mount filters may also be part of a reverse osmosis system certified under NSF/ANSI 58, but typical single-unit faucet-mount devices are more often associated with standards 42 and 53.
How to Verify Certifications in Practice
To confirm what your specific faucet-mount filter is tested for:
- Check the product packaging or instruction manual for a list of applicable NSF/ANSI standards.
- Look for information describing which contaminants or water characteristics the device is certified to reduce.
- Review any capacity rating (for example, an approximate number of gallons) associated with those performance claims.
Certification does not guarantee that every water quality concern is addressed. It shows the device has been tested for specific claims under controlled conditions.
Relating Performance to Everyday Use
Homeowners often care about a few practical outcomes:
- Taste and odor: Many faucet-mount filters focus on improving chlorine taste and smell, which can be noticeable in municipal water supplies.
- Visible particles: Sediment and particulate reduction can help with clarity.
- Overall convenience: On-demand filtration at the tap, without waiting for a pitcher or installing under-sink plumbing.
If you have specific concerns such as lead, PFAS, or volatile organic compounds (VOCs), verify whether the model you are using is certified to reduce those substances and under what conditions.
Know When to Replace the Cartridge
Cartridge replacement intervals are typically given in two ways: a time period (for example, several months) and a maximum volume of water filtered (for example, a few hundred gallons). Actual life depends strongly on your water quality and daily use.
Common cues that it is time to replace the cartridge include:
- Noticeable drop in flow rate in filtered mode while unfiltered flow remains normal.
- Return of chlorine taste or odor that had previously improved.
- Manufacturer’s timer, indicator, or recommended schedule coming due.
Using cartridges beyond their recommended capacity can diminish performance and increase the risk of clogging or uneven flow, though it is not the same as a sudden on/off switch in effectiveness.
Example values for illustration.
| Item to Track | Typical Cue or Interval | Simple Planning Method |
|---|---|---|
| Cartridge replacement | Every few months or after an estimated volume of filtered water | Write replacement date on a calendar or set a digital reminder. |
| Leak inspection | Quick visual check each week | Glance at joints and housing seams after using the faucet. |
| Flow rate changes | Noticeable slowdown in filtered mode | Note when filling a standard container starts taking significantly longer. |
| Scale and debris buildup | Visible deposits on adapter or faucet outlet | Schedule light cleaning every 1–3 months, more often with hard water. |
| Seal and O-ring condition | Minor seepage or drips at joints | Inspect gaskets when changing cartridges; replace if worn. |
| Certification and documentation | When purchasing new cartridges or a new unit | Review labels and manuals to match certifications with your water goals. |
Integrating Your Faucet Filter Into a Broader Water Plan
A faucet-mount filter is one part of a larger strategy to manage water quality in a home. It is well suited to treating cold water at a single kitchen sink for drinking, cooking, and sometimes small appliance use. It does not affect water in showers, other bathrooms, or appliances elsewhere in the house.
As you live with the filter, pay attention to how often you rely on it and whether other points of use might also benefit from filtration. You may decide to supplement it with solutions such as a pitcher for the refrigerator, a shower filter, or an under-sink system, depending on your household’s needs and local water characteristics.
By installing the faucet-mount filter carefully, monitoring for leaks, and following a simple maintenance routine, you can keep day-to-day operation straightforward and predictable, while using performance and certification information to guide any future upgrades.
Frequently asked questions
How can I tell if my faucet is compatible with a faucet-mount filter?
Confirm the aerator unscrews and exposes threads that match one of the supplied adapters, and make sure there is enough clearance for the filter body to rotate between modes. Avoid pull-out/pull-down faucets or spouts with non-removable aerators, as these commonly are incompatible.
Should I use PTFE (plumber’s) tape on the adapter threads to prevent leaks?
Only use PTFE tape if the manufacturer explicitly recommends it; most faucet-mount connections rely on rubber gaskets or O-rings for the seal, and tape can interfere with proper gasket seating. If tape is advised, apply it sparingly and avoid covering gasket contact surfaces.
What is the first thing to do if the filter leaks immediately after installation?
Turn off the water, disassemble the connection, and inspect gaskets and threads for debris, damage, or cross-threading. Clean and dry the mating surfaces, reseat an undamaged gasket, realign by hand, and tighten only until snug before testing at low flow.
How often should I inspect or clean the adapter to prevent leaks from mineral buildup?
Perform a quick visual check each week and plan light cleaning every 1–3 months, increasing frequency with hard water or visible scale. Use a non-scratch pad and short vinegar soak when needed, then rinse and dry thoroughly before reinstalling the adapter.
Can high water pressure cause leaks and what can I do about it?
Yes — consistently high pressure or running the faucet fully open can stress seals and cause seepage at joints. Use moderate flow during filtered operation and, if leaks persist, consider installing a pressure-reducing valve or consulting a plumber to confirm system pressure is within safe limits.
Recommended next:
- Best Faucet-Mount Filters for Chlorine Taste (High Flow Picks)
- Faucet-Mount Filter Compatibility: How to Check Your Faucet Type
- Faucet-Mount vs Under-Sink Filters: Convenience vs Performance
- Faucet-Mount Filters for Renters: No-Drill Setup Guide
- Troubleshooting a Faucet-Mount Filter with Slow Flow
- Do Faucet-Mount Filters Remove Lead? Reading the Label
- More in Faucet-Mount Filters →
- NSF/ANSI standards explained (42/53/401/58)
- Clear trade-offs: pitcher vs faucet vs under-sink vs RO
- Maintenance planning: cost per gallon and replacement cadence