Why Cartridge Changes Often Lead to Leaks
Changing a water filter cartridge sounds simple, but it is one of the most common times for leaks to appear in pitchers, faucet-mount units, under-sink systems, and whole-house filters. During a change, seals are disturbed, housings are loosened, and trapped air is introduced. Any small mistake in this process can leave a gap where water can escape.
Leaks are not just an inconvenience. They can damage cabinets and floors, reduce water pressure, waste filtered water, and in some cases allow unfiltered water to bypass the cartridge entirely. Understanding what typically goes wrong during a cartridge change helps you prevent problems before they start.
This article focuses on practical, step-by-step aspects of cartridge replacement for common residential water filters in the United States, including how to avoid leaks, how to check your work, and how to plan safer maintenance habits.
Skipping the Instructions and Shutoff Steps
One of the most frequent cartridge change mistakes is treating every filter housing as if it works the same way. In reality, different formats — pitcher, faucet-mount, under-sink, reverse osmosis (RO), whole-house, refrigerator, and shower filters — have different sealing methods and pressure limits.
Not Fully Shutting Off Water and Relieving Pressure
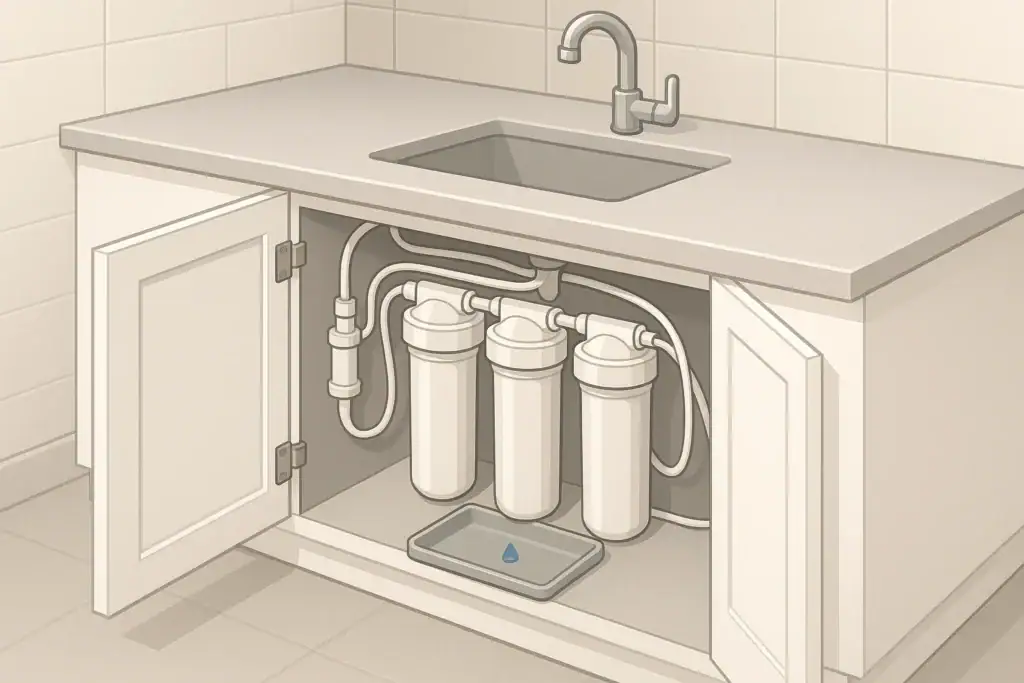
For any pressurized system (faucet-mount, under-sink, RO, whole-house, and many refrigerator filters), water should be fully shut off and pressure relieved before you open the housing. If this step is rushed or skipped, the system can leak afterward because seals are disturbed under load.
Common issues include:
- Leaving the main or local shutoff valve partially open
- Forgetting to open a downstream faucet to release trapped pressure
- Removing a cartridge while the system is still under pressure, which can deform O-rings or threads
A safe basic sequence is usually:
- Turn off the relevant shutoff valve (under-sink valve, main line, etc.).
- Open the nearest cold-water faucet to relieve pressure.
- Place a towel or tray under the housing before opening it.
Pitchers and some refrigerator filters are not under line pressure in the same way, but it is still important to follow the manufacturer’s steps to avoid twisting or cracking parts that keep the system watertight.
Ignoring Model-Specific Directions
Different systems seal differently. Some rely on a single large O-ring in a sump housing, others on quick-connect fittings, bayonet-style twist-lock cartridges, or gaskets built into the cartridge itself. Assuming the method instead of checking the quick-start sheet or user guide can lead to:
- Cartridges not fully seated in twist-lock mounts
- Quick-connect fittings not pushed in all the way
- Dislodged internal spacers or support screens
- Over-tightened housings that pinch or roll O-rings
Even if you have changed the same cartridge before, rechecking the diagram can prevent small alignment errors that later show up as slow drips or sudden sprays when flow or pressure increases.
Example values for illustration.
| Filter format | Typical sealing points | Common leak cause during changes |
|---|---|---|
| Pitcher filter | Cartridge-to-reservoir seat | Cartridge not fully snapped or pressed into place |
| Faucet-mount | Gasket at faucet, housing threads | Misaligned gasket or cross-threaded housing |
| Under-sink cartridge | O-ring in sump, quick-connect tubing | Twisted O-ring or tubing not fully inserted |
| RO system | Pre/post filter housings, membrane housing, tubing | Disturbed tubing connections while changing cartridges |
| Whole-house filter | Large O-ring in main canister | O-ring not cleaned, lubricated, or properly seated |
| Refrigerator filter | Twist-lock or push-in cartridge seat | Cartridge not fully rotated or pushed to the stop |
| Shower filter | Gaskets at inlet/outlet | Gaskets missing or overtightened housing |
Problems With O-Rings, Gaskets, and Threads
Most leaks around filter housings and cartridges trace back to small sealing components: O-rings, flat gaskets, and threaded connections. These parts are responsible for holding back household water pressure, which can easily reach levels where tiny gaps turn into steady drips or sprays.
Reusing Damaged or Dirty O-Rings
O-rings and gaskets are designed to compress slightly and form a seal. Over time, they can flatten, crack, or collect grit. During a cartridge change, they may also fall out of their groove or twist out of place when the housing is screwed back on.
Common O-ring mistakes include:
- Not inspecting the O-ring for nicks, cracks, or flattening
- Reinstalling an O-ring with visible damage instead of replacing it
- Allowing dust or sediment to remain in the groove
- Skipping lubrication where the instructions recommend a food-grade silicone lubricant
A properly seated O-ring should sit evenly in its groove, free of twists or bumps. It should not be stretched so much that it pops out repeatedly, nor so dry or sticky that it drags and rolls when the housing is tightened.
Cross-Threading and Over-Tightening Housings
Threaded housings, especially on under-sink and whole-house filters, are another point where mistakes lead directly to leaks. Two opposite habits both cause problems:
- Cross-threading: Starting the housing at an angle so the threads do not engage properly. This leaves gaps where water can escape and can permanently damage the threads.
- Over-tightening: Using excessive force or tools beyond what the instructions recommend, which can deform plastic, crack housings, or pinch O-rings.
A safer approach is to start threading by hand, turning backward slightly until you feel the threads click into place, then tightening by hand until the housing meets the recommended mark or feels snug. Many systems include a wrench for removal and final snugging only, not for heavy force.
Forgetting Flat Gaskets and Washers
Some faucet-mount, shower, and refrigerator connections use flat rubber or fiber gaskets or washers rather than O-rings. During a cartridge change, these are easy to drop or accidentally discard with the old parts.
If a gasket is missing or installed on the wrong side of a connector, water can escape as a fine spray around the fitting. Keeping a small container nearby for all loose parts while you work can prevent these seals from being lost or mixed up.
Incorrect Cartridge Positioning and Alignment
Even when the housing and seals are in good condition, a cartridge that is not fully seated can allow water to bypass the media or leak at joints and interfaces.
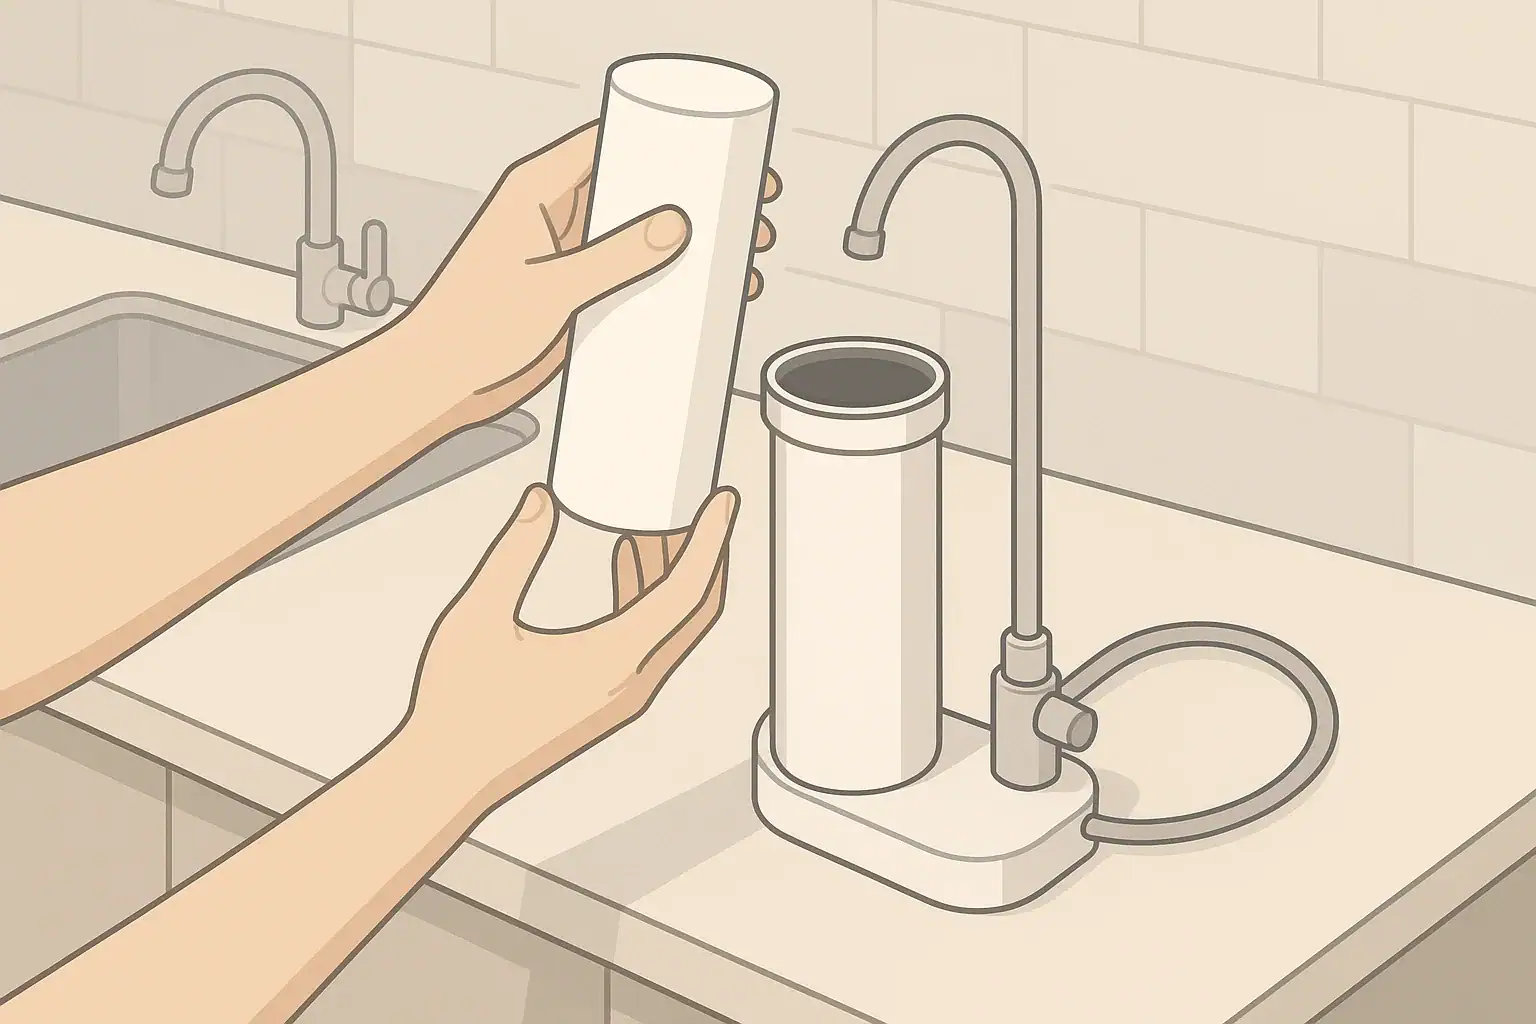
Not Fully Seating Pitcher and Reservoir Cartridges
Pitcher and some countertop systems rely on gravity rather than pressure, but they can still leak between the upper reservoir and the lower tank, or allow unfiltered water into the clean side, if the cartridge is not properly installed.
Typical mistakes include:
- Not pressing the cartridge firmly into the reservoir opening until it clicks or feels solid
- Leaving a gap where water can run around the sides instead of through the media
- Not aligning tabs or keys that orient the cartridge
After installing the cartridge, adding a small amount of water and watching for water flowing around (not through) the cartridge can reveal positioning problems before you fill it completely.
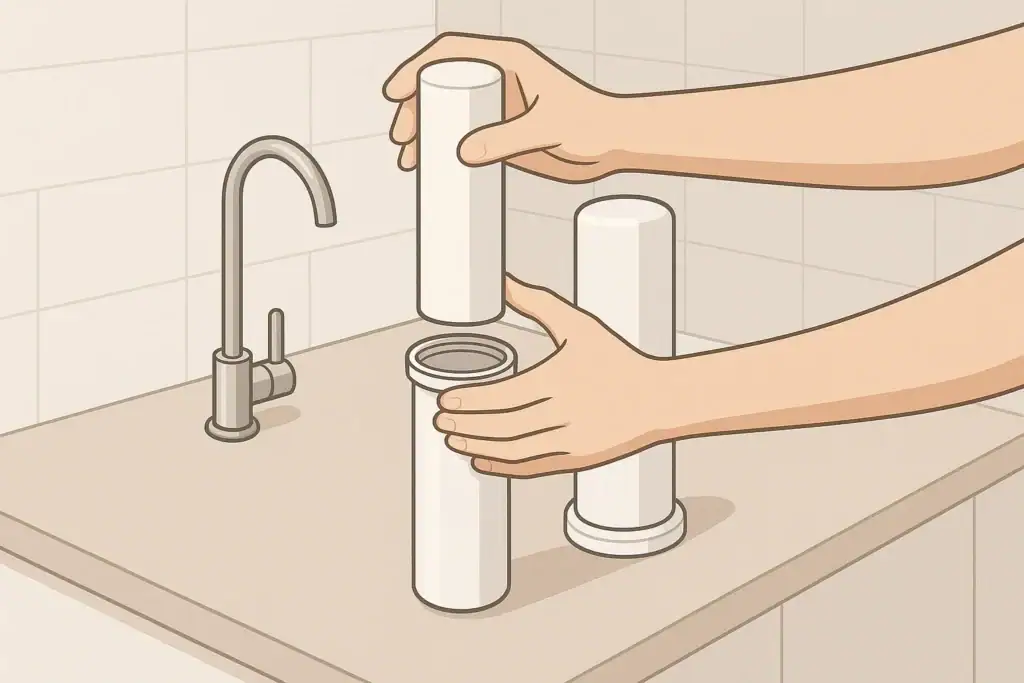
Misaligned Under-Sink and RO Cartridges
Under-sink and RO units often use either screw-in cartridges or bayonet-style twist-and-lock designs. If the cartridge is slightly off-angle or not rotated fully into place, the internal seals may not engage correctly.
To reduce the risk of leaks:
- Align the arrows, notches, or keyed shapes as shown in the system diagram.
- Push the cartridge straight in before twisting if required, rather than using it as a lever.
- Confirm that the cartridge does not wobble or back itself out when you gently tug.
For RO systems in particular, the membrane housing and its end caps must be closed evenly. If the cap is not fully tightened or the internal seals are disturbed, small leaks can develop slowly and go unnoticed in the cabinet for some time.
Overlooking Quick-Connect Fittings and Tubing Depth
Many modern filters use push-fit or quick-connect fittings for 1/4-inch or 3/8-inch tubing. During cartridge changes, these fittings can be bumped or partially dislodged, especially if tubing is under tension or sharply bent.
Two important checks are:
- Ensure tubing is inserted to the full recommended depth, not just barely inside the fitting.
- Gently pull back on the tubing after insertion to confirm the internal collet has gripped it.
Cuts in tubing should be square and clean. Angled cuts or crushed ends do not seal well and are more likely to leak when pressure cycles on and off.
Skipping Flushing and Early Leak Checks
Once the new cartridge is installed and the housing is closed, the most important step for preventing leaks is careful flushing and inspection. Omitting this step or rushing through it may leave small issues undetected until water has had time to collect under sinks, behind refrigerators, or near whole-house units.
Not Flushing the Cartridge
Most cartridges require an initial flush to remove air, fines, and manufacturing residues. This flushing step also acts as a stress test for the new seal under normal flow and pressure.
Common flushing-related mistakes include:
- Turning water to full flow immediately instead of ramping up gradually
- Skipping the recommended flushing volume or time
- Walking away before confirming the flow is steady and clear
During flushing, watch for drips around housings, joints, and tubing, and listen for hissing or sputtering that might signal trapped air or incomplete sealing.
Failing to Recheck After an Hour or a Day
Some leaks do not appear immediately; they develop as pressure changes or as a previously dry O-ring absorbs water and slightly shifts. A quick recheck after the system has been in use for a short time can catch these slow leaks.
Helpful habits include:
- Placing a dry paper towel or absorbent pad under under-sink and whole-house units after changes.
- Checking behind refrigerators and near shower connections after several uses.
- Monitoring water pressure and flow for unexpected changes, such as pulsing or reduced flow that might indicate internal bypassing or blockages.
Changing Cartridges at the Wrong Time or Under Stress
The timing and conditions under which you change a cartridge can also impact leak risk. Certain situations increase the strain on seals and housings, making careful technique especially important.
Waiting Until Flow Is Extremely Low
When a cartridge is heavily loaded with sediment or other particulates, water pressure across the media increases. Changing a cartridge very late in its life can mean dealing with more trapped pressure and more internal debris.
Potential leak risks include:
- Sediment dislodging and lodging in O-ring grooves during the change
- Housings being harder to open, leading to the use of more force and greater chance of cracking
- Higher pressure spikes when the system is restarted with a fresh, low-resistance cartridge
Following the recommended capacity or time guidelines for your cartridge, rather than waiting for severely reduced flow, can make changes smoother and less stressful on components.
Performing Changes During High-Demand Periods
Changing cartridges when household water use is high (laundry running, sprinklers on, multiple taps open) can make it difficult to fully shut off and stabilize the system. If someone opens a valve while you are working, pressure may return unexpectedly or create surges when you are finished.
Choosing low-demand times and letting household members know you are working on the water system reduces the likelihood of sudden pressure changes that can expose small sealing issues.
Planning Maintenance to Reduce Leak Risk
While most leak prevention happens during the change itself, planning your maintenance routine makes each replacement more predictable and controlled. Tracking what you do and when helps you notice patterns, such as repeated O-ring issues or specific fittings that need extra attention.
Tracking Intervals, Conditions, and Parts
Simple records can make a difference, even if you only jot them on a label inside a cabinet or in a household notebook. Useful items to track include:
- Date of cartridge change and system location (under-sink, whole-house, refrigerator, etc.)
- Any O-rings, gaskets, or tubing pieces replaced
- Observed water conditions (unusual sediment, discoloration, or odor)
- Any small drips or dampness noted during post-change checks
Over time, these notes help you anticipate when components might need proactive replacement rather than waiting for leaks to appear.
Coordinating With Other Water System Tasks
Cartridge changes can be combined with other low-frequency checks around your home water system, such as:
- Inspecting shutoff valves for corrosion or stiffness
- Checking visible plumbing joints for signs of previous leaks
- Reviewing any system certifications and labels to confirm cartridge compatibility
Coordinating these checks helps ensure that leaks are not just prevented at the filter housing, but also at nearby connections that may be disturbed during cartridge replacement.
Example values for illustration.
| What to track | Typical cues to check | Planning method |
|---|---|---|
| Change dates | Time since last replacement | Write on housing, calendar, or app note |
| O-ring condition | Cracks, flattening, or discoloration | Quick visual inspection at every change |
| Gaskets and washers | Missing, brittle, or compressed seals | Keep a small spare set nearby |
| Threaded joints | Difficulty starting threads or signs of cross-threading | Re-thread carefully, avoid heavy tools unless needed |
| Quick-connect fittings | Tubing not fully seated or easily pulled out | Push firmly, then gently pull to confirm grip |
| Post-change checks | Drips on towels, damp cabinet floors, or unusual sounds | Inspect right after flushing and again within 24 hours |
| Water appearance and odor | Cloudiness, particles, or new odors | Note any changes after installing the cartridge |
Putting It All Together During Your Next Cartridge Change
A leak-free cartridge change is mostly a matter of slowing down and following a consistent routine: shut off and relieve pressure, inspect and clean seals, seat the cartridge correctly, tighten by hand without forcing, flush while watching closely, and recheck later. When combined with basic record-keeping and occasional replacement of inexpensive sealing parts, these habits make it far less likely that your next filter change will end with a puddle under the sink or a drip from the faucet.
By focusing on the small details at each step, you keep your filtration system functioning as intended, maintain good taste and clarity in your drinking water, and avoid unnecessary cleanup and repairs from preventable leaks.
Frequently asked questions
What is the single biggest cartridge change mistake that causes leaks?
Failing to fully shut off the water and relieve system pressure before opening a housing is the most common mistake that leads to leaks. Working on a pressurized system can deform O-rings, dislodge seals, or force water into places that should be dry, so always close the correct shutoff and open a downstream faucet to bleed pressure first.
How can I tell if an O-ring or gasket needs to be replaced during a cartridge change?
Inspect seals for visible cracks, flattening, nicks, or embedded grit and feel for hardness or stickiness. If the seal shows any damage, unevenness, or does not sit evenly in its groove, replace it rather than reinstalling, and follow any lubricant recommendations in the instructions.
How tight should I make a filter housing to avoid leaks without damaging threads or seals?
Tighten housings by hand until they feel snug and meet any recommended marks; use the provided wrench sparingly for a final snug only. Over-tightening with excessive force or tools can deform plastic threads and pinch O-rings, which often causes leaks later.
How long should I flush a new cartridge and what should I look for during flushing?
Flush for the volume or time the manufacturer recommends—typically a few minutes—until the water runs clear and free of fines. While flushing, watch for external drips, listen for hissing or sputtering that indicates trapped air, and inspect under sinks or around fittings for any signs of dampness.
What quick post-change checks help catch slow leaks before they cause damage?
Place an absorbent towel or pad beneath the housing immediately after the change, recheck for dampness after an hour, and inspect again within 24 hours. Also gently pull on quick-connect tubing to confirm seating, monitor flow and pressure for unexpected changes, and keep a close eye on nearby joints and fittings.
Recommended next:
- NSF/ANSI standards explained (42/53/401/58)
- Clear trade-offs: pitcher vs faucet vs under-sink vs RO
- Maintenance planning: cost per gallon and replacement cadence