Choosing the correct replacement filter for your refrigerator affects more than just taste. A compatible cartridge maintains proper water flow, avoids leaks, and ensures the filtration claims you expect. This guide explains how to identify the filter type in your fridge, compare physical connections, and verify performance standards so you can select a replacement that fits and functions as intended. It covers internal and inline styles, common connection mechanisms, pressure and temperature considerations, and how to read model and capacity information. You’ll also find a practical, step-by-step checklist for documenting your setup, confirming physical fit, comparing filtration options, and planning installation and flushing. Finally, the guide reviews maintenance schedules, signs a filter needs replacement, and common installation mistakes to avoid. Use these sections to quickly locate the right replacement without guesswork and to keep your dispenser and ice maker working reliably.
Why Refrigerator Filter Compatibility Matters
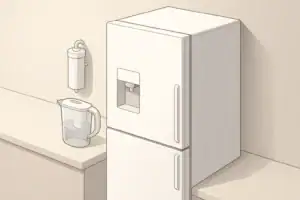
Refrigerator water and ice dispensers are convenient, but they depend on a correctly sized and properly rated filter cartridge. Using the wrong filter can lead to poor taste, low flow, leaks, or a cartridge that does not fit at all. In some cases, an incompatible filter may bypass water around the media rather than through it, reducing its effectiveness.
Compatibility is more than matching a shape. A suitable replacement should:
- Fit securely in the filter housing or compartment
- Connect correctly to the water line and seals
- Handle the normal water pressure of your home
- Provide filtration that aligns with your water quality goals
- Comply with relevant standards (for example, NSF/ANSI 42 or 53)
Understanding these factors makes it easier to narrow down replacement options and avoid guesswork.
Types of Refrigerator Filters and Connection Styles
Refrigerator filters generally fall into two main physical categories: internal cartridges that sit inside the fridge, and external or inline filters that mount on the water supply line behind or beneath the unit. Each design has its own connection style and compatibility considerations.
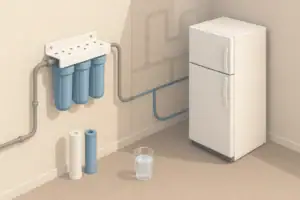
Internal Cartridge Filters
Internal cartridges are typically found in the fresh food compartment or in the upper interior area of side-by-side and French-door refrigerators. Common locations include:
- Grille-mounted: In the kick plate or base grille below the doors
- Upper-right interior: Mounted horizontally or vertically in the top right corner
- Back wall compartment: A small door or cover on the rear interior wall
Connection mechanisms for internal filters can include:
- Push-and-twist bayonet: Insert the cartridge and rotate to lock
- Push-to-release button: Press a button and pull the filter straight out
- Quarter-turn grilles: Twist the filter head to install or remove
Each internal design has specific dimensions, O-ring placement, and locking tabs. Even filters that look similar may not seal properly if they are not designed for the same housing.
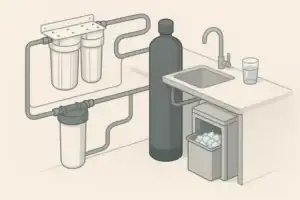
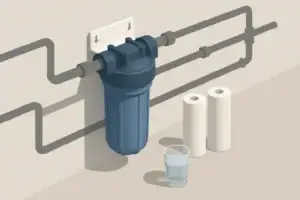
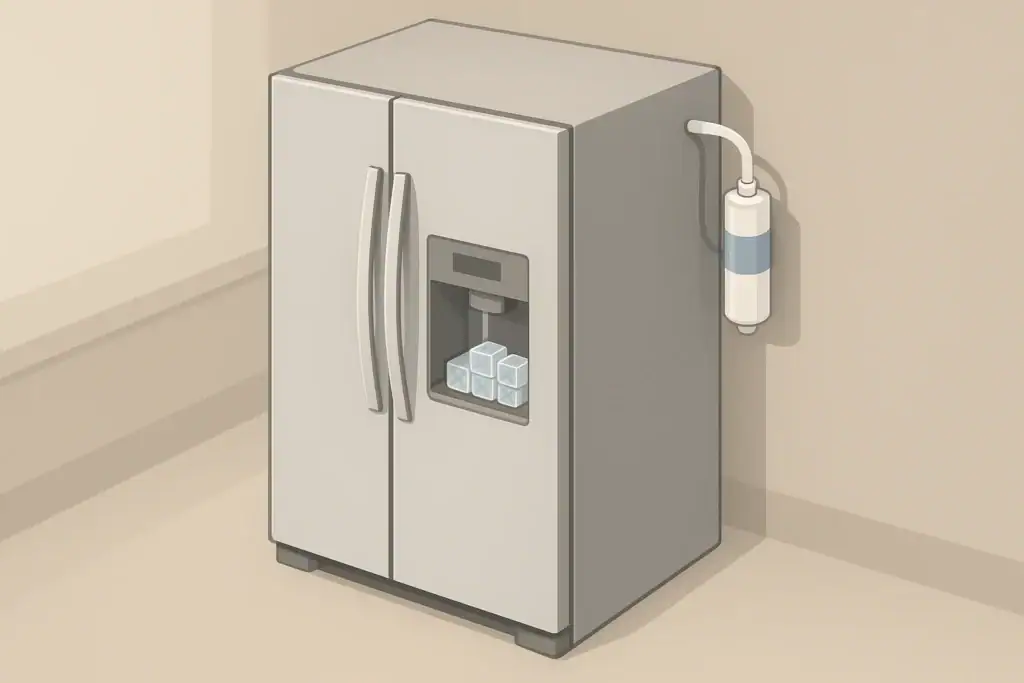
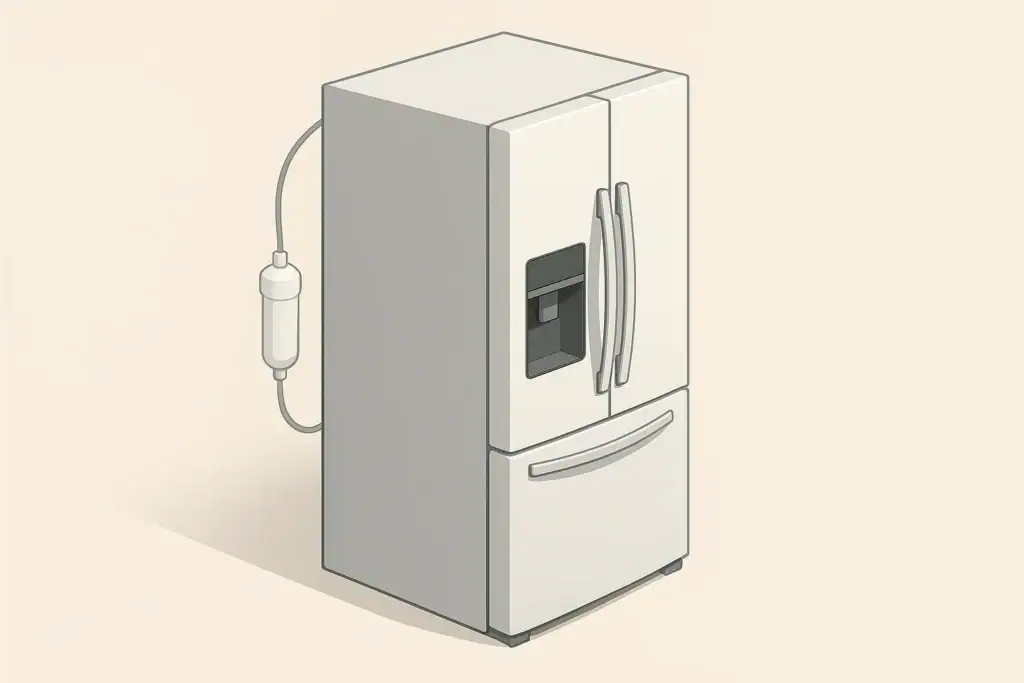
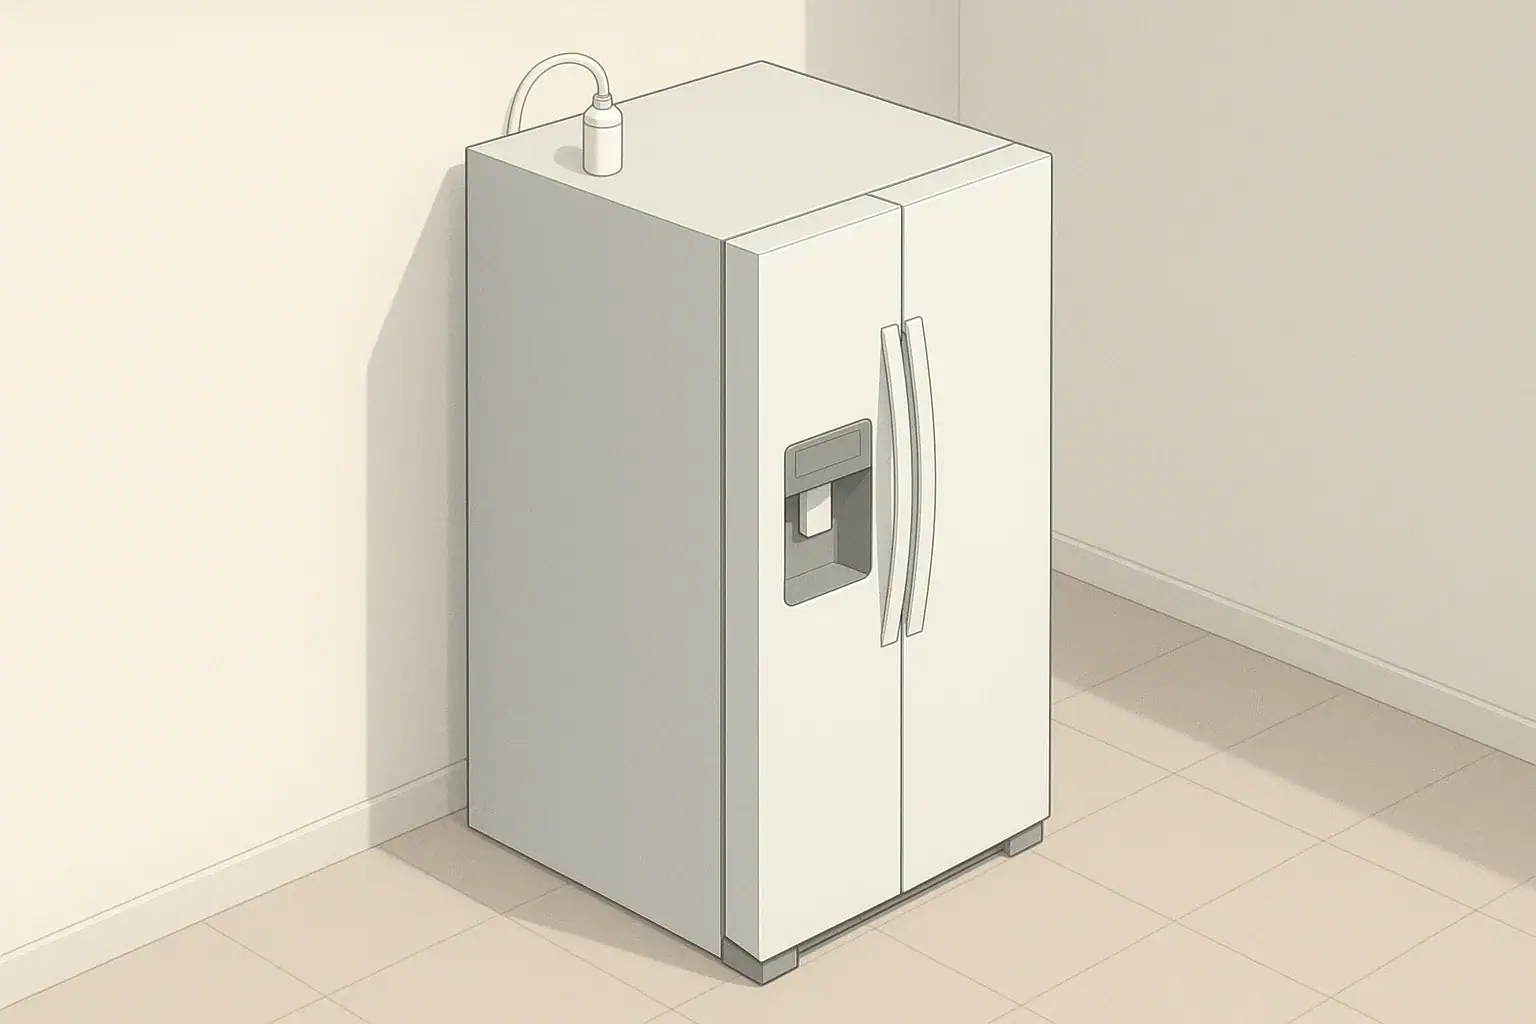
External Inline Filters
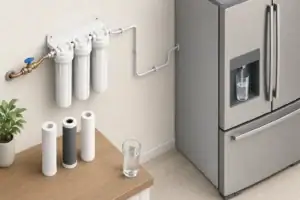
External or inline filters are mounted directly on the water supply tubing, usually behind the refrigerator or in a nearby cabinet or basement. They are common on older fridges without built-in filter housings and on some newer installations where additional filtration is desired.
Key compatibility points for inline filters include:
- Tubing size: Most household fridge lines use 1/4-inch outer-diameter plastic or copper tubing, but always verify.
- Connection type: Compression fittings, push-to-connect fittings, or barbed fittings with clamps.
- Flow direction: Many inline filters are directional; installing them backwards can reduce performance.
Because inline filters are not tied to a specific refrigerator housing, there is more flexibility in brand and model choice. However, they still need to be compatible with your water line size, pressure, and intended filtration level.
Example values for illustration.
| Household situation | Likely filter type | Compatibility focus |
|---|---|---|
| Modern fridge with built-in dispenser | Internal cartridge | Exact housing style and model number match |
| Older fridge with no filter housing | External inline | Tubing size, fitting type, pressure rating |
| Fridge in area with high sediment | Internal plus optional inline prefilter | Flow rate impact and maintenance schedule |
| Rental home with unknown plumbing history | Inline filter on accessible supply line | Reversible installation and easy access |
| Household wanting longer change intervals | Larger-capacity inline filter | Capacity rating and space behind fridge |
| Limited clearance around fridge interior | Shorter internal cartridge | Exact length and diameter of filter |
How to Identify Your Existing Refrigerator Filter
Matching refrigerator filter compatibility starts with correctly identifying what you already have. This involves checking labels, the appliance documentation, and sometimes the plumbing around the unit.
Locate the Filter and Housing
Begin by finding the filter location on your refrigerator:
- Look along the base grille for a cylindrical or rectangular cartridge.
- Check the upper corners of the fresh food compartment for a labeled cover.
- Inspect the back interior wall for a small door or decorative cover.
- Trace the water line behind the fridge for an external inline filter.
Turn off the ice maker and water dispenser while you are working. For inline filters, closing a nearby shutoff valve is also a good idea before disconnecting any tubing.
Read the Model Information on the Filter
Most cartridges have information printed or stamped on the label or plastic shell. This may include:
- A filter model or part number
- A compatible refrigerator series or list of model families
- Flow direction arrows (for inline filters)
- Capacity and basic performance notes
Write down all numbers and letters as they appear, including dashes or suffixes. Even small differences in a part number can indicate a different connection style or updated design.
Check the Refrigerator’s Model and Serial Tag
If the existing filter label is unreadable or missing, the refrigerator’s model tag can help you identify compatible filter ranges. The tag is often located:
- On the inside wall of the fresh food compartment
- Behind a crisper drawer
- On the door frame near the hinge area
The combination of refrigerator model and filter style (grille, upper interior, or inline) can be used to cross-reference suitable replacement filters in manufacturer literature or generalized compatibility charts.
Matching Physical Compatibility: Size, Shape, and Connections
Once you know your current filter style and model markings, confirm that any replacement you consider will physically fit and seal correctly. Physical compatibility is the first step before you even look at filtration claims.
Dimensions and Orientation
Internal cartridges are designed to fit tightly into specific housings. Key aspects include:
- Overall length and diameter: A longer or wider cartridge may not clear surrounding shelves or doors.
- End cap design: Some filters have keyed tabs or notches that must align with slots in the housing.
- Orientation: Horizontal filters may require a narrower body or specific shape to rotate into place.
For external inline filters, measure the available space behind or beside the refrigerator. Consider the bend radius of the tubing and whether there is room for the filter body plus fittings without kinking the line.
Connection Types and Sealing Surfaces
Different connection styles demand matching replacement designs:
- Quarter-turn bayonet: Needs a matching bayonet collar and O-ring seating surface.
- Push-in cartridge: Requires the same internal tube depth and seal placement.
- Inline compression fittings: Must match tubing diameter and thread size on the nut and ferrule.
- Push-to-connect fittings: Designed for specific tubing outer diameters, usually marked on the fitting.
A cartridge that appears to fit but does not align with the sealing surfaces may leak or allow water to bypass the filter media. Never force a cartridge into a housing if resistance feels abnormal.
Pressure and Temperature Ratings
Refrigerator filters normally operate within common household cold-water pressure ranges. For compatibility and safety, verify that the replacement filter’s stated operating range covers:
- The typical municipal or well pressure supplied to your home
- Any pressure fluctuations from pumps or regulators
Also check the recommended temperature range. Most refrigerator filters are designed for cold water only and should not be subjected to hot water lines.
Filtration Performance and Standards to Consider
After confirming that a filter physically fits, examine how well it matches your water quality goals. Performance can vary widely between cartridges that fit the same refrigerator.
Common Contaminant Targets for Fridge Filters
Most refrigerator filters are carbon-based cartridges intended primarily to improve taste and odor. Depending on design, they may help reduce:
- Chlorine taste and odor
- Chloramine taste and odor (in some designs)
- Particulate matter such as sediment or rust
- Some volatile organic compounds (VOCs)
Some advanced filters are also tested for certain heavy metals or additional categories of contaminants. Because performance claims differ, rely on published standards and testing rather than generic marketing terms.
NSF/ANSI Standards for Refrigerator Filters
Filters used at the point of use, such as refrigerator cartridges, are often tested against NSF/ANSI standards. These standards help you understand what a filter has been evaluated to do under laboratory conditions. Common standards in this category include:
- NSF/ANSI 42: Aesthetic effects, such as chlorine taste and odor or particulate reduction.
- NSF/ANSI 53: Certain health-related contaminants, such as some heavy metals or organic compounds, when applicable.
- NSF/ANSI 401: Emerging or incidental contaminants, such as some pharmaceutical or chemical residues, for filters specifically tested to this standard.
Not every refrigerator filter is certified to all of these standards. Look for clear identification of which standard(s) apply and what specific claims are included in the testing.
Capacity, Flow Rate, and Taste
Filters are typically rated for a certain capacity, often expressed as a volume of water. With higher usage, this capacity may be reached sooner than the calendar-based replacement reminder suggests. Factors that can influence how long a filter maintains its performance include:
- Volume of water dispensed and ice made: A large household may reach capacity more quickly.
- Incoming water quality: Higher levels of sediment or chlorine can load a filter faster.
- Flow rate demands: Very high flow rates may reduce contact time between water and media.
Changes in taste, odor, or flow can be indications that the filter is approaching the end of its useful life, even if a filter-change indicator light has not yet activated.
Generic vs. OEM and Third-Party Filters
When searching for replacements, you will encounter a mix of original equipment manufacturer (OEM) filters and third-party alternatives designed to be compatible with the same housings. There are trade-offs to consider when deciding between these options.
Fit and Compatibility Considerations
OEM filters are produced to match the refrigerator’s original specifications. Third-party filters may use the same connection style and approximate shape. When considering alternatives, evaluate:
- Whether the cartridge is explicitly described as compatible with your exact refrigerator model or filter part number
- The clarity of installation instructions and any notes about slight design differences
- User-accessible information about sealing surfaces, O-rings, and orientation
If a third-party filter does not insert smoothly or leaves noticeable gaps at the housing interface, it may not be fully compatible even if it fits at first glance.
Standards, Documentation, and Transparency
Consider how thoroughly each option documents its performance and testing. Useful information includes:
- Specific NSF/ANSI standards and claims, if applicable
- Example capacity ratings, clearly described as such
- Operating pressure and temperature ranges
- Recommended replacement intervals in months or gallons
Clear, verifiable information makes it easier to compare filters that physically fit the same refrigerator but may differ in filtration approach.
Step-by-Step Process to Choose a Compatible Replacement
To simplify the process of choosing a refrigerator filter, use a consistent checklist each time you replace it or consider an alternative model.
Step 1: Document Your Current Setup
- Write down the refrigerator brand, model number, and serial number.
- Record the existing filter’s model or part number, if readable.
- Note whether the filter is internal or inline, and where it is mounted.
- Take clear photos of the filter, housing, and any connection fittings.
Step 2: Confirm Physical Fit Requirements
- Identify the connection style (quarter-turn, push-in, inline fittings).
- Measure available space and orientation if you are considering a different physical style.
- Ensure the tubing diameter (for inline filters) matches the fittings you plan to use.
Step 3: Define Your Water Quality Priorities
- Decide whether taste and odor improvement is your main goal.
- Consider any specific contaminants you are concerned about, such as chlorine, sediment, or certain metals.
- Review your local water utility report or private well test results for general guidance.
Step 4: Compare Filter Options
- Check which filters explicitly list compatibility with your refrigerator model or original filter part number.
- Compare the standards listed (such as NSF/ANSI 42, 53, or 401) and claimed capabilities.
- Make note of example capacity and suggested change intervals.
Step 5: Plan for Installation and Flushing
- Review installation instructions before removing the old filter.
- Place a towel or shallow container under the filter area in case of drips.
- Flush the new filter as recommended, typically several minutes of running water to clear air and carbon fines.
- Reset any filter-change indicator lights according to the refrigerator’s manual.
Maintenance, Replacement Intervals, and Practical Tracking
Even the most compatible refrigerator filter will gradually lose effectiveness as it captures particulates and adsorbs compounds from the water. Planning timely replacements helps maintain taste and flow while staying within the filter’s intended capacity.
Typical Replacement Time Frames
Many refrigerator filters are labeled for replacement about every six months under typical household use. However, this interval is a general guideline. You may need to adjust based on:
- Household size and daily water/ice usage
- Local water quality characteristics
- Presence of prefiltration (for example, whole-house sediment filters)
Some households find that a shorter interval better aligns with taste and flow preferences, while others with lower usage may be able to use the full recommended period.
Signs It May Be Time to Replace the Filter
In addition to calendar reminders or indicator lights, watch for practical signs that your filter is nearing the end of its life:
- Noticeable change in taste or odor compared with earlier in the filter’s life
- Reduced water dispenser flow compared with a fresh filter
- Increased cloudiness or visible particles in dispensed water
- Ice that appears off-colored or has a stronger taste than usual
If these changes occur significantly before the expected change date, consider examining your upstream water quality or adding prefiltration to extend filter life.
Practical Methods to Track Filter Changes
Because filters are replaced infrequently, it is easy to lose track of when the last change occurred. Simple tracking methods include:
- Writing the installation date on the filter body with a marker
- Keeping a small log or checklist inside a kitchen cabinet
- Using calendar reminders or phone apps to schedule the next change
For households tracking water usage more closely, comparing approximate daily dispenser and ice use to the filter’s example capacity can provide a more tailored schedule.
Example values for illustration.
| What to track | Typical cue | Planning method |
|---|---|---|
| Installation date | Calendar month and year | Write on filter and add digital reminder |
| Estimated capacity used | Approximate gallons per day | Multiply daily use by days since installation |
| Water taste and odor | Noticeable change from baseline | Note changes in a simple maintenance log |
| Dispenser flow rate | Fills a glass slower than usual | Compare time to fill a standard glass periodically |
| Ice quality | Cloudier cubes or stronger taste | Check ice appearance when emptying trays or bins |
| Upstream sediment | Visible particles in pre-filter water | Consider sediment prefilter if clogging is frequent |
Safety Checks and Common Mistakes to Avoid
Careful installation and basic checks can reduce the risk of leaks or unexpected issues after changing a refrigerator filter.
After-Installation Leak Check
Once the filter is installed and the water supply is back on:
- Inspect the housing or inline fittings for any slow drips or beading water.
- Run the dispenser for the recommended flush period while monitoring the filter area.
- Check the floor around and under the fridge a few hours after installation.
If you see moisture, turn off the water supply and re-seat the filter, confirming that it is fully inserted and locked in place.
Avoiding Cross-Threading and Over-Tightening
When working with threaded fittings on inline filters, start threads by hand and confirm they are straight before tightening. Over-tightening can damage fittings, crush ferrules, or crack plastic housings. For push-to-connect fittings, ensure tubing is cut squarely and fully inserted.
Do Not Bypass Safety Features
Some refrigerators will not dispense water or make ice without a filter or without a bypass plug installed. Avoid modifying housings or wedging in filters that are not designed for the system. Any change that prevents the housing from sealing correctly can lead to leaks or inconsistent performance.
Keep Documentation Accessible
Store your refrigerator manual, filter instructions, and basic water quality information in a consistent location. Having this material on hand makes it easier to verify compatibility, confirm replacement intervals, and troubleshoot flow or taste issues in the future.
Frequently asked questions
How can I confirm an inline filter will fit my refrigerator’s water line?
Measure the tubing outer diameter and verify the connector type (compression, push-to-connect, or barbed) used on your supply line. Also check the filter’s flow direction arrow, operating pressure and temperature ranges, and ensure there is enough clearance to mount the filter without kinking the tubing.
Can a third-party filter cause reduced flow or leaks even if it fits?
Yes. A third-party cartridge that does not match the sealing surfaces, O-ring placement, or internal tube depth can restrict flow or allow water to bypass the media and leak. Choose replacements that explicitly list compatibility with your refrigerator model and perform a leak check after installation.
Are filters with the same physical fit interchangeable for contaminant removal?
Not necessarily. Two filters that physically fit the same housing can have very different media and certifications, so they may not remove the same contaminants. Always compare stated NSF/ANSI standards, tested contaminant lists, and capacity before assuming equivalence.
What should I document on the old cartridge if the printed part number is unreadable?
Record physical details such as whether it’s internal or inline, the end-cap shape, keyed tabs or notches, O-ring locations, approximate length and diameter, and connection type. Take clear photos of the filter and housing to use when cross-referencing replacement specifications.
How can I extend refrigerator filter life if my water has high sediment?
Install a sediment prefilter or whole-house sediment filter upstream of the refrigerator to remove larger particles before they reach the cartridge. This reduces loading on the refrigerator filter and helps preserve flow rate and media life, along with following recommended flushing and replacement intervals.
Recommended next:
- NSF/ANSI standards explained (42/53/401/58)
- Clear trade-offs: pitcher vs faucet vs under-sink vs RO
- Maintenance planning: cost per gallon and replacement cadence