Why Filter Housing Cleaning Matters
Water filter housings do more than just hold cartridges. Over time, they can collect fine sediment, biofilm, mineral deposits, and harmless but unpleasant slime. Cleaning and sanitizing housings on a regular schedule helps keep your filtration system working as intended and can reduce issues like odors, cloudiness, or slow flow.
This routine is especially important for:
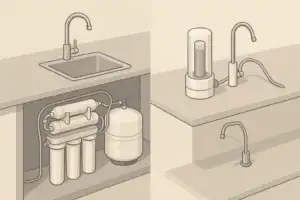
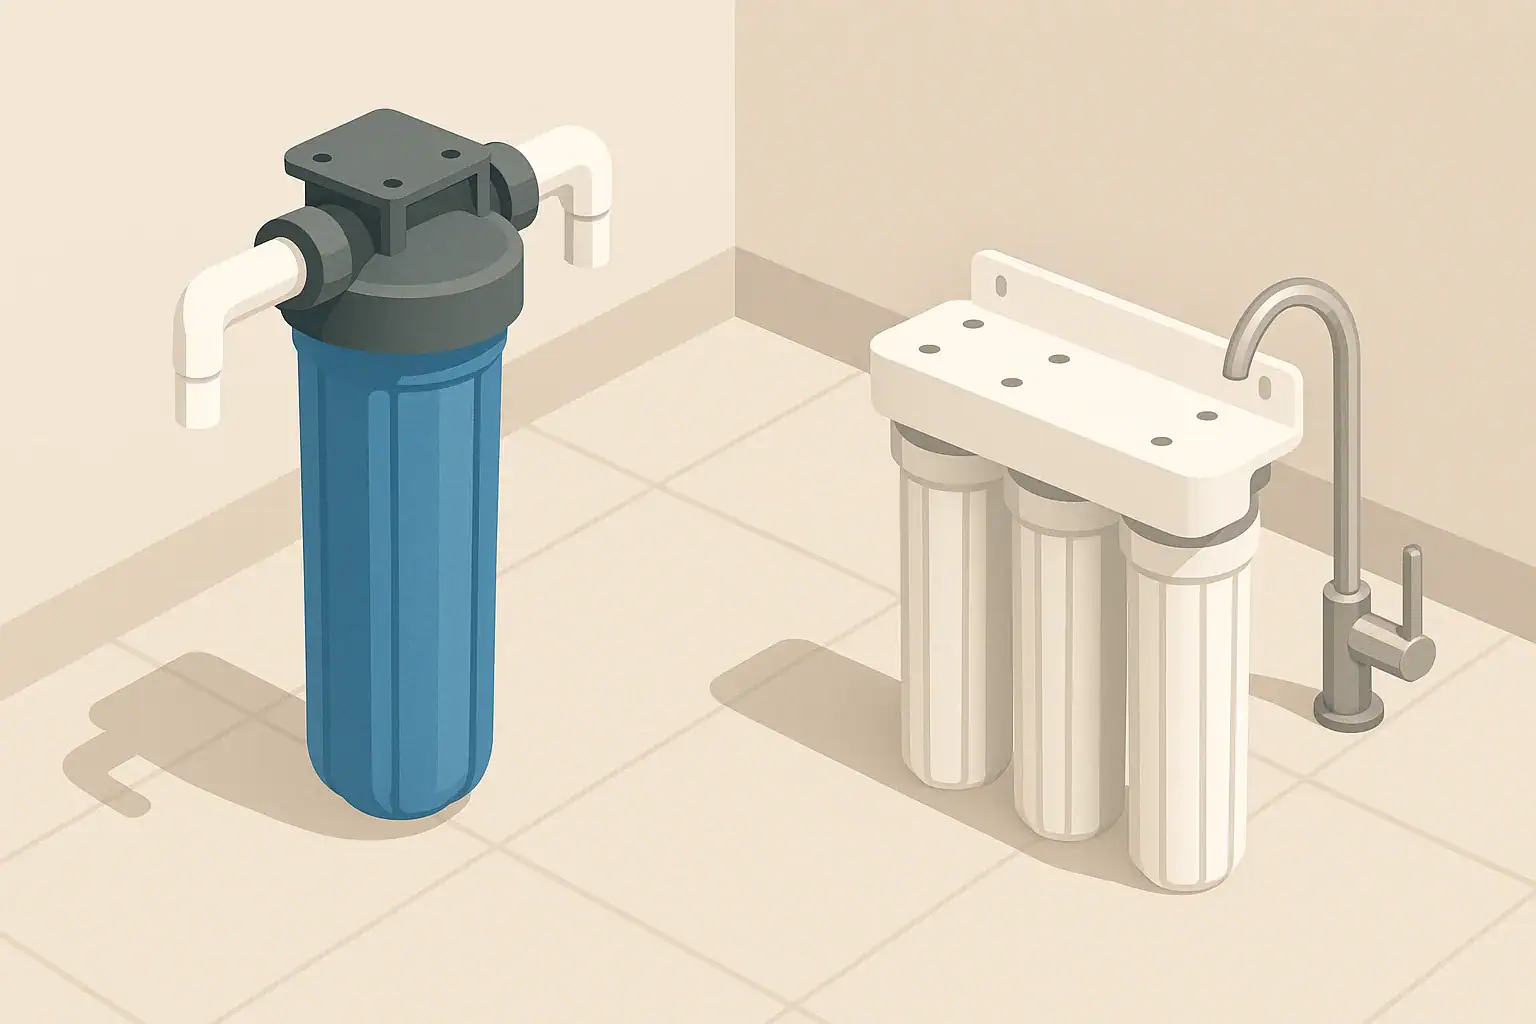
- Whole-house cartridge systems on city or well water
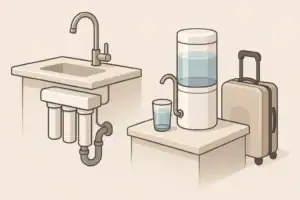
- Under-sink carbon or sediment filter housings
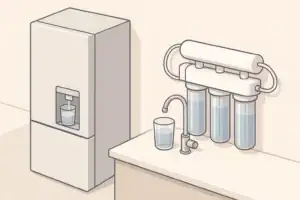
- Pre-filters that protect reverse osmosis or UV systems
Most homeowners can handle housing cleaning as part of normal filter replacement, without special tools or chemicals. The key is to work methodically, avoid contamination, and follow the basic safety features already built into the plumbing.
How Often to Clean and Sanitize Filter Housings
There is no single schedule that fits every home, but you can match housing cleaning to your cartridge changes. When the housing is already open for a new cartridge, it is the ideal time to clean and, when appropriate, sanitize.
Typical timing examples
Many households follow timing similar to these examples:
- Whole-house sediment filters: every 3–6 months, or when pressure drop becomes noticeable.
- Under-sink carbon cartridges: every 6–12 months, or as recommended by the system manufacturer.
- Pre-filters for RO or UV: at each pre-filter change, often every 6–12 months.
- Well water systems with visible iron or slime: often at the shorter end of these ranges.
Cleaning generally means removing physical debris and residue from the housing and O-rings. Sanitizing adds a mild disinfecting step to reduce microbial growth inside the housing. You do not necessarily need to sanitize every time, but many people choose to sanitize at least once a year, or when they notice odors or slime.
Example values for illustration.
| Task | When to Do It (Example) | Notes |
|---|---|---|
| Inspect housing exterior | Every cartridge change | Look for cracks, leaks, discoloration |
| Clean housing interior | Every cartridge change | Remove sediment, film, and debris |
| Sanitize housing | About once per year | Or when odors or slime are noticed |
| Inspect and clean O-ring | Every cartridge change | Check for nicks, flattening, or dirt |
| Replace O-ring | Every 1–3 years (example) | Or immediately if damaged or deformed |
| Check pressure before/after | Every maintenance visit | Watch for unusual drops or spikes |
| Record date of service | Every maintenance visit | Helps track trends and intervals |
- Intervals vary with water quality and usage.
- Follow any instructions specific to your system.
Supplies and Safety Basics
Before starting, gather the supplies you will need. Keeping everything on hand helps you move quickly, which reduces the time your plumbing is depressurized and open.
Common supplies
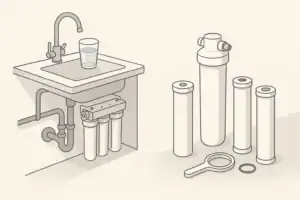
- Filter housing wrench designed for your housing size and style
- Soft, clean cloths or paper towels
- Non-abrasive sponge or soft bottle brush
- Mild, unscented dish soap
- Household bleach (regular, unscented) if sanitizing
- Clean bucket or basin
- New filter cartridge(s) and replacement O-ring if needed
- Food-grade silicone grease for O-rings (not petroleum-based)
Safety and plumbing considerations
Most modern housings are installed with basic safety and service features. Do not attempt to add or remove safety devices, and do not bypass shutoff valves or pressure-relief devices.
Before opening any housing:
- Turn off water supply to the housing using the existing shutoff valves.
- Relieve pressure using the built-in pressure relief button on the housing head (if present) or by briefly opening a downstream faucet.
- Protect electrical devices near under-sink systems from drips or spills.
- Avoid hot plumbing work: do not work on housings connected to very hot water lines; most are intended for cold or room-temperature water only.
Step-by-Step: Cleaning a Filter Housing
The basic process is similar for most cartridge housings, whether they are part of a whole-house system or an under-sink filter. Always check any instructions that came with your housing in case of model-specific differences.
1. Shut off water and depressurize
- Close the inlet valve to the housing.
- If there is a dedicated bypass valve, set it only as intended, following system markings.
- Press the pressure relief button on the housing head, if present, to release trapped pressure.
- Open a nearby cold-water faucet downstream to verify that pressure has been reduced.
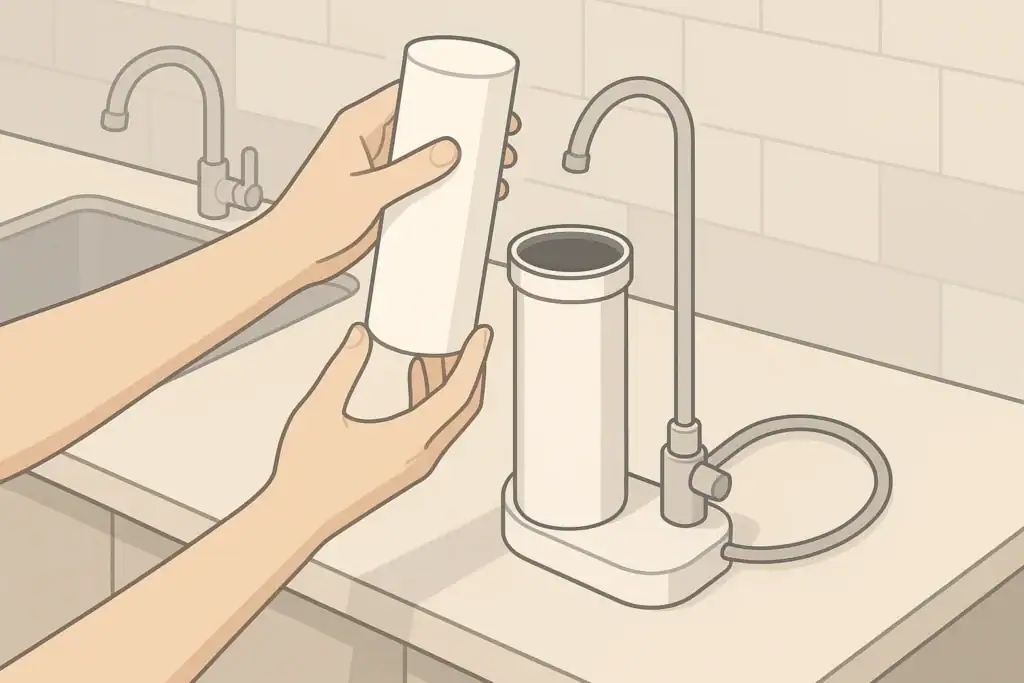
2. Remove the housing and old cartridge
- Place a towel or shallow pan under the housing to catch drips.
- Use the housing wrench to carefully loosen the sump (the lower cup).
- Support the sump with your other hand as it loosens to avoid dropping it.
- Lift out the used cartridge and place it in a bucket to drain before disposal, following local guidance.
3. Empty and inspect the housing
- Pour remaining water from the housing into the bucket.
- Look for sand, rust flakes, or other debris at the bottom.
- Check the inside walls for slimy film, staining, or scaling.
- Inspect the threads and the seating surfaces where the O-ring contacts the housing.
4. Wash the housing with mild soap
- In a basin, mix warm water with a small amount of mild dish soap.
- Use a soft sponge or bottle brush to gently scrub the inside and bottom of the housing.
- Avoid abrasive pads that can scratch the plastic; scratches can harbor residue.
- Rinse thoroughly with clean tap water until no soap remains.
5. Clean and check the O-ring
- Carefully remove the O-ring from its groove if your housing allows it.
- Wipe the O-ring and groove with a clean, damp cloth.
- Inspect for cracks, flattening, or cuts; replace if damaged.
- Apply a very thin layer of silicone grease around the O-ring before re-seating it, if recommended for your housing.
Step-by-Step: Sanitizing a Filter Housing
Sanitizing focuses on the housing and plumbing immediately around it, not the entire home plumbing system. The goal is to contact interior surfaces with a dilute sanitizing solution for a short period, then flush thoroughly.
Many homeowners choose to sanitize when installing a new system, after long periods of disuse, or when they notice recurring odors or visible slime.
1. Prepare a dilute bleach solution
Use regular, unscented household bleach and clean, cold tap water. A commonly used example ratio for housings is roughly 1–2 teaspoons of bleach for each 10-inch housing, or as recommended in your system instructions. The idea is to create a mild solution that can contact interior surfaces without leaving strong residual odor once flushed.
Steps:
- Measure the small amount of bleach into the empty, clean housing.
- Partially fill the housing with clean water to mix the solution.
Avoid overfilling, since you still need space for the new cartridge if your process calls for adding the cartridge before reattaching the housing.
2. Reinstall housing with sanitizing solution
- Place the new cartridge into the housing if the design calls for it.
- Make sure the O-ring is seated correctly in its groove.
- Carefully screw the sump back onto the head by hand, then gently snug it with the wrench. Do not overtighten.
3. Bring system up to pressure slowly
- Close any open faucets downstream.
- Gradually open the inlet shutoff valve to the housing.
- Allow the housing to fill slowly to reduce stress on the canister and O-ring.
- Check for leaks around the housing as it pressurizes.
4. Allow contact time
Once the housing is full and leak-free, allow the sanitizing solution to remain in the housing and immediate plumbing for a short contact period, such as 15–30 minutes, unless your system instructions specify otherwise.
During this time:
- Keep the inlet valve open and avoid using water from fixtures supplied by this line.
- Do not leave the system unattended for extended periods.
5. Flush thoroughly
- After the contact time, open a downstream cold-water faucet.
- Let the water run for several minutes to flush the housing and lines until bleach odor is no longer noticeable.
- If you have multiple filters in series (e.g., sediment then carbon), follow the sequence recommended for flushing each stage.
Once flushing is complete, your housing and cartridge are ready for normal use.
Dealing with Common Housing Problems
Regular cleaning and sanitizing can prevent many issues, but some problems still appear over time. Addressing them early can extend the life of your filtration components and reduce surprises.
Odors after cartridge changes
A temporary smell can occasionally appear after installing a new cartridge, especially if the housing was not rinsed or flushed well. To minimize this:
- Rinse the housing thoroughly after cleaning or sanitizing.
- Flush water for a few minutes after each cartridge change.
- If odors persist, review your sanitizing routine and intervals.
Slime or discoloration inside the housing
A slimy layer or discolored film can be caused by microorganisms that occur naturally in many water supplies, especially on well water. While this is often more of an aesthetic concern, it is a sign that more frequent cleaning and periodic sanitizing may be helpful.
- Shorten the interval between housing cleanings.
- Sanitize at each cartridge change for a few cycles and monitor improvement.
- Confirm that the housing is installed on the cold-water side, as warm conditions can encourage growth.
Repeated leaks after reassembly
Leaks around the housing threads or O-ring usually trace back to a few common causes. See Cartridge Change Mistakes That Cause Leaks for detailed fixes.
- O-ring out of position or twisted in the groove.
- O-ring hardened, flattened, or cracked from age.
- Debris on the sealing surfaces.
- Overtightening, which can distort the O-ring or threads.
Inspect, clean, and if needed, replace the O-ring. Always tighten by hand first, then use the wrench only to snug gently until the leak stops. Avoid forcing the housing.
Cloudy water or fine particles after cleaning
It is common to see brief cloudiness or fine air bubbles after re-pressurizing a system, especially if the line was drained. This typically clears after running water for a short time.
- Flush longer after maintenance if you notice cloudiness.
- If particles appear, confirm that any protective wrapping was removed from the new cartridge.
- Check that the cartridge is seated correctly on its center post or seal.
Tracking Your Filter Housing Maintenance
Keeping simple records can make housing cleaning and sanitizing much easier over the long term. Try the Replacement Planner Basics: Estimate Your Next Filter Change Date to estimate upcoming changes. A basic log helps you remember when you last replaced cartridges, how often slime or odors appear, and whether your intervals are appropriate for your water conditions.
What to record
- Date of each cartridge change.
- Whether you cleaned the housing.
- Whether you performed a sanitizing step.
- Any observations: odors, slime, unusual debris, or pressure changes.
- Any parts replaced, such as O-rings.
Even a brief note on a piece of tape near the housing, or a short entry in a household notebook, can give useful context when you review your system’s performance after a year or two.
Example values for illustration.
| Filter Type | Example Cartridge Interval | Housing Cleaning | Sanitizing Frequency |
|---|---|---|---|
| Whole-house sediment (city water) | Every 6 months | Each cartridge change | About once per year |
| Whole-house sediment (well water) | Every 3–4 months | Each cartridge change | Every 6–12 months |
| Under-sink carbon block | Every 6–12 months | Each cartridge change | Once per year or as needed |
| RO sediment pre-filter | Every 6–12 months | Each cartridge change | At system start-up and periodically |
| RO carbon pre-filter | Every 6–12 months | Each cartridge change | As part of RO system sanitation |
| UV pre-filter housing | Every 6–12 months | Each cartridge change | At least once per year |
| Point-of-use sediment filter | Every 6 months | Each cartridge change | As needed for odors or slime |
- Intervals depend on water quality and usage volume.
- Adjust timing based on your observations and any system guidance.
Related guides: Cartridge Change Mistakes That Cause Leaks • Replacement Planner Basics: Estimate Your Next Filter Change Date • Best Whole House Sediment Filters: Clear Up Cloudy Water
A simple, repeatable routine for cleaning and sanitizing filter housings can keep your home water filtration system predictable and easier to manage, without complicated equipment or constant attention.
Frequently asked questions
How often should I sanitize the filter housing?
Sanitize about once a year for most systems, or more often if you notice odors, slime, or have well water. You can also sanitize when installing a new system or after long idle periods.
Can I use vinegar or other household cleaners instead of bleach?
Vinegar helps remove mineral deposits but is not a broad disinfectant. A mild dilute bleach solution is commonly recommended for sanitizing; whatever you use, follow system guidance and rinse thoroughly.
Do I have to replace the cartridge when I sanitize the housing?
Not always. You can sanitize with the cartridge in place if the manufacturer allows, but replace any old or fouled cartridges during service for best performance.
What if the housing still leaks after reassembly?
Check the O-ring for twists, damage, or debris and inspect sealing surfaces. Clean or replace the O-ring, re-seat it correctly, and hand-tighten before snugging with the wrench—avoid overtightening.
How long should I flush the system after sanitizing?
Flush for several minutes or until any bleach odor is gone. If you have multiple filter stages, flush each stage as recommended until water runs clear and odor-free.
Recommended next:
- NSF/ANSI standards explained (42/53/401/58)
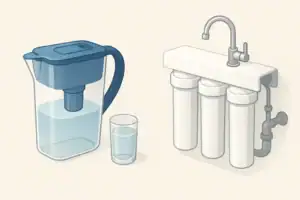
- Clear trade-offs: pitcher vs faucet vs under-sink vs RO
- Maintenance planning: cost per gallon and replacement cadence