
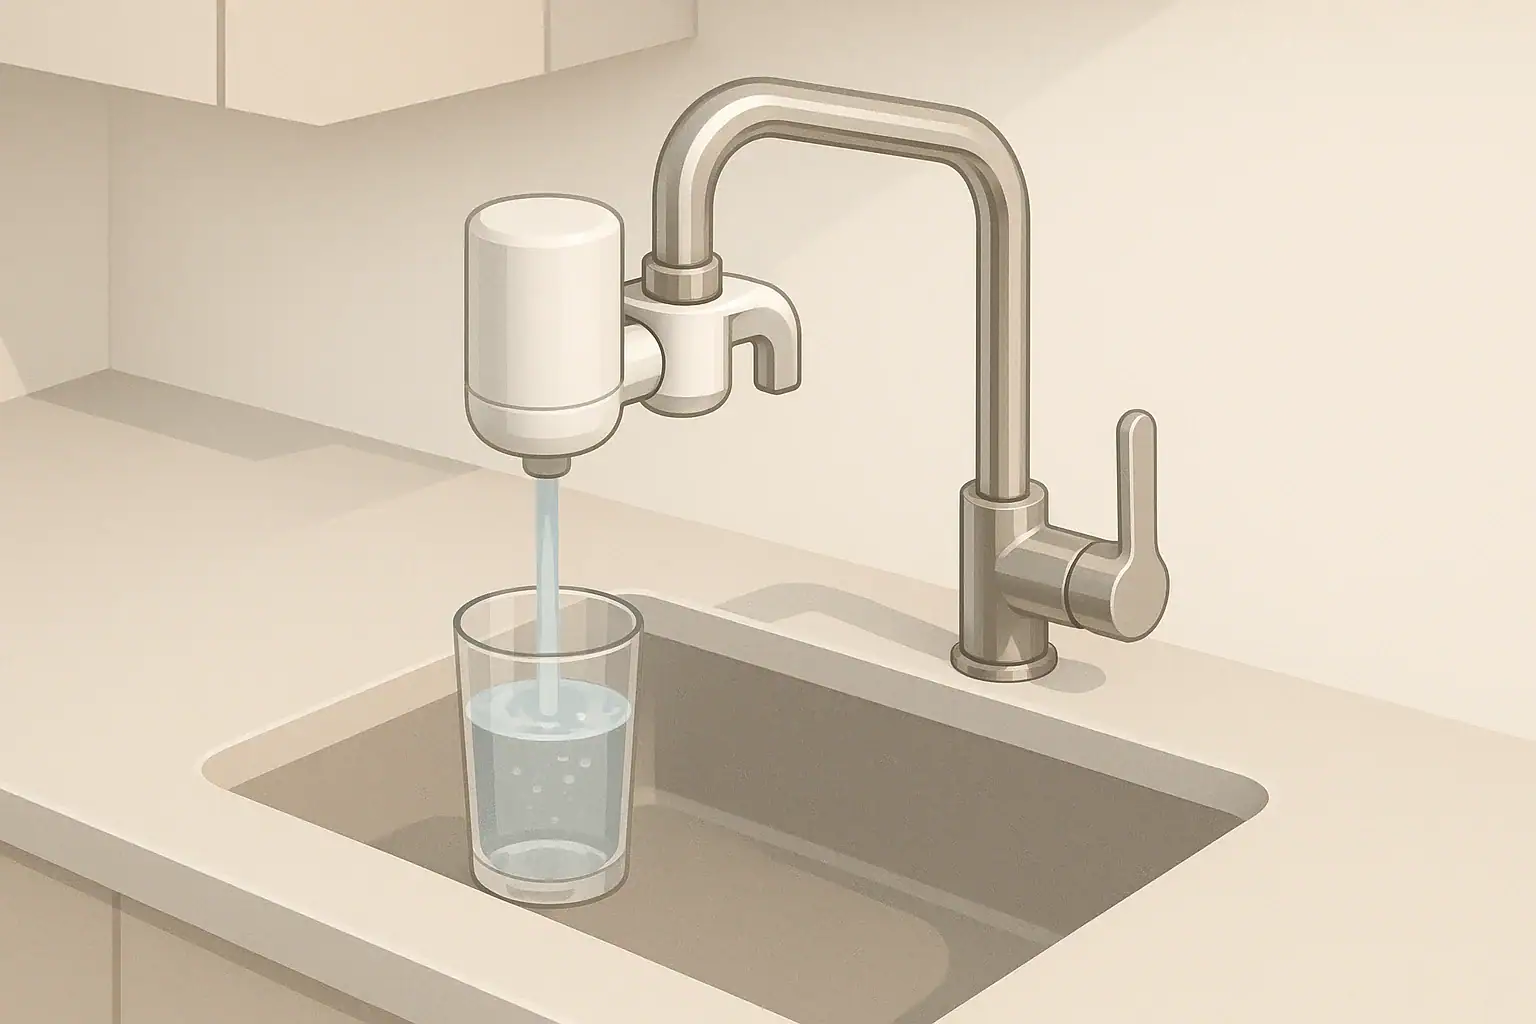
A leak-free faucet-filter installation depends on four details: faucet compatibility, the correct adapter and washer, straight thread alignment, and hand-snug connections. Before starting, read the instructions for your exact filter because adapter arrangements, flushing procedures, pressure limits, and temperature limits vary by model.
This guide explains the general process and identifies the conditions that should stop a do-it-yourself installation. The installation and troubleshooting steps are consistent with the Brita Faucet Filtration System User’s Guide, but your model’s manual takes priority.
Check Faucet Compatibility
Faucet-mount filters are intended for compatible faucets with a removable aerator and suitable threads. They are not universal. For example, Brita states that its faucet filtration system is not compatible with a faucet that has a built-in spray feature at the end of the spout.
Before buying or opening a cartridge, confirm that:
- The aerator can be removed without damaging the faucet.
- The exposed outlet has internal or external threads that match the filter base or a supplied adapter.
- The filter has enough clearance from the sink, backsplash, and faucet handles.
- The filter will not interfere with a pull-out hose, spray head, or other moving part.
- The model is approved for the pressure and water temperature at that faucet.
If none of the supplied adapters fits, do not force the closest one onto the faucet. Brita directs users to contact the manufacturer about an adapter rather than forcing an incompatible connection. A damaged or nonstandard faucet outlet may instead require help from the faucet manufacturer or a plumber.
For more detail on thread types and faucet designs, see the site’s no-drill faucet-filter setup guide.
Parts and Preparation
Lay out the filter body, cartridge, mounting base or collar, supplied adapters, and washers. Compare each part with the diagram in the model’s manual. Do not assume that every loose washer belongs in the same joint.
You will generally need:
- A clean, dry towel for grip
- A bowl or towel to catch residual water
- The adapters and washers supplied for the filter
- The instructions for the exact model and cartridge
Avoid adding thread tape, sealant, lubricant, or an improvised washer unless the manufacturer specifically calls for it. Many faucet-filter connections seal at a washer rather than along the threads, so an unlisted material can prevent the intended parts from seating correctly.
Installation Steps
1. Turn off the faucet
Turn the faucet handle completely off. A whole-home water shutoff is not normally needed to remove an aerator, but no water should be flowing while the filter is attached.
2. Remove the aerator and its washers
Unscrew the existing aerator. A dry towel can improve grip while protecting the finish. The Brita guide instructs users to remove the original aerator and any original washers, then clean away scale or rust that could interfere with the connection.
If the aerator cannot be removed by hand, consult the faucet instructions before using a tool. Some recessed aerators require a model-specific key. Stop if the outlet begins to deform or the faucet itself twists.
3. Inspect and clean the outlet
Wipe the exposed faucet threads and the flat washer-contact surface. Look for:
- Old washer fragments or debris
- Mineral scale on the sealing surface
- Flattened, missing, twisted, or cracked washers
- Stripped, bent, or visibly damaged threads
Use only a cleaning method that is safe for the faucet finish and filter materials. If heavy deposits cannot be removed without scraping or soaking an unknown material, check the faucet and filter manufacturers’ care instructions first.
4. Choose the correct connection
The required arrangement depends on the faucet:
- External faucet threads: Some filter bases mount directly to the faucet with the specified washer in the base.
- Internal faucet threads: A matching adapter and washer are commonly required before the filter base is attached.
Brita’s instructions use this distinction, but adapter sizes and washer positions are product-specific. Match the parts to the diagram rather than choosing an adapter solely because it starts to engage.
5. Start every threaded connection by hand
Hold the adapter or mounting base square to the faucet and turn it by hand. It should engage smoothly. If it tilts, binds, or becomes difficult to turn almost immediately, back it off and realign it.
Tighten the adapter and mounting collar by hand until snug. Brita specifically warns against overtightening and against using pliers on these connections because tools can damage the threads. Do not try to stop a leak by repeatedly tightening a misaligned joint.
6. Attach the filter body
Connect the filter body using the model’s collar, latch, or other mounting mechanism. Support the body while securing it so its weight does not pull the connection sideways. Confirm that the body is fully attached and that any selector operates without rotating the mounting base.
7. Install and lock the cartridge
Orient the cartridge according to its tabs, marks, or arrows. Press or turn it until the manual’s locking condition is met. On the Brita system covered by its user guide, the cartridge is pressed into place until it clicks.
A cartridge that is not fully locked can allow water to leak from the unit. If the cartridge will not seat with normal hand pressure, remove it and check its orientation rather than forcing it.
Flush and Check the Installation
Begin at a controlled flow
Turn on cold water gradually while watching the faucet-to-adapter joint, mounting collar, filter body, and cartridge connection. Shut the water off immediately if a joint sprays, the filter shifts, or water emerges from the housing.
A dry tissue held near—but not inside—a connection can make a slow seep easier to see. Also check after the faucet is turned off, because a drop may collect at the lowest point of the mounting collar.
Follow the exact flushing instruction
Flush the new cartridge for the time and at the temperature specified by its manufacturer. For example, Brita instructs users of the system in its cited guide to run cold water through the filter for five minutes. That is a model-specific instruction, not a universal flushing time.
Do not drink the flushing water. Continue only if the unit remains securely mounted and no leak develops. After flushing, compare filtered and unfiltered operation and inspect every connection again.
Verify the result
A completed installation should meet all of these checks:
- No droplets or spray appear at the faucet joint or mounting collar.
- No water escapes from the cartridge connection or housing.
- The filter remains stable when water starts and stops.
- Filtered water exits only from the intended outlet.
- The flow is consistent with the model’s published rating and current cartridge condition.
Stop filtered use if the body continues to leak after the cartridge has been correctly locked. Brita’s troubleshooting guidance cautions that water leaking from the unit may not have been filtered.
Diagnose Leaks and Other Problems
| Symptom | Safe check | Next action | When to stop |
|---|---|---|---|
| Leak where the filter meets the faucet | Turn off the water. Check that the specified washer is present, flat, and clean; inspect thread alignment. | Reassemble by hand and make the mounting collar snug without overtightening. | Stop if the threads are damaged, the joint will not align, or no supplied adapter fits. |
| Leak between an adapter and mounting base | Confirm that the correct adapter and washer arrangement matches the manual. | Remove and reinstall the parts squarely by hand. | Stop if the adapter binds, rocks, or requires a tool to remain attached. |
| Water leaking from the filter body | Check whether the cartridge is installed in the correct orientation and fully clicked or locked. | Reseat the cartridge as instructed and retest with cold water. | Stop filtered use if leakage continues; contact the manufacturer about the cartridge or unit. |
| Filtered flow is unusually low | Compare filtered flow with normal unfiltered flow and inspect any user-serviceable strainer identified in the manual. | Clean only the identified serviceable part. Replace the cartridge if the manual directs replacement when flow falls. | Stop disassembly if the affected component is not identified as user-serviceable. |
| Connection moves when the selector is operated | Check whether the mounting collar is hand-snug and whether the faucet provides adequate clearance. | Reinstall the unit and operate the selector without twisting the entire body. | Stop if normal operation repeatedly loosens the mount or strains a hose or spray head. |
| Pressure may be outside the allowed range | Compare a measured pressure with the range in the exact model’s current data sheet. | Ask the manufacturer or a plumber to evaluate an out-of-range supply. | Do not operate the filter outside its published range. |
| Water hotter than the model limit entered the filter | Check the current manual or performance sheet for the maximum filtered-water temperature. | Stop filtered operation and follow the manufacturer’s guidance for inspection or replacement. | Do not assume the cartridge remains suitable after its published limit was exceeded. |
If the leak comes from the filtered/unfiltered selector rather than the faucet connection, see the separate guide to faucet-filter switch-valve leaks.
Match the Filter to Your Water
A secure installation shows that the unit is physically attached; it does not establish that the cartridge reduces every contaminant of concern. The CDC’s guidance on choosing a home water filter recommends identifying what is in the water and selecting a filter for the particular chemicals or germs of concern. Public-water customers can begin with their utility’s annual water-quality report. Private-well owners should use appropriate water testing rather than relying on taste or appearance.
Standards also need to be read at the claim level:
- NSF/ANSI 42 includes specified aesthetic or non-health-related claims.
- NSF/ANSI 53 includes specified health-related reduction claims.
- NSF/ANSI 401 includes claims for specified emerging compounds.
According to NSF’s overview of Standards 42, 53, and 401, the available claims vary by product. A reference to “NSF/ANSI 53,” for example, is not by itself proof that a filter is certified for every contaminant addressed anywhere in that standard.
Verify the exact system model, replacement cartridge, contaminant claim, capacity, and operating conditions in the certifier’s official directory and the current performance data sheet.
A model-specific example
The PUR performance data sheet for the RF-9999 faucet-filter replacement element identifies compatible faucet systems, including the FM-2000B, and lists a rated capacity of 100 gallons, a rated service flow of 0.52 gallons per minute, an operating pressure range of 20–100 psig, and a maximum usable filtered-water temperature of 82°F/28°C. The sheet lists individual reduction claims, including lead reduction tested at pH 6.5 and 8.5.
The corresponding lead claim can also be checked in the official NSF faucet-mount lead-reduction listings. This example applies only to the listed systems and replacement elements; it does not show that every faucet-mount filter reduces lead.
If PFAS is the concern, review the exact certified claim rather than relying on a broad carbon or reverse-osmosis label. The site’s overview of PFAS filtration options explains the differences among common treatment approaches. Reverse-osmosis system certification is covered separately in the guide to NSF/ANSI 58.
Replacement and Operating Limits
Use the capacity and replacement conditions published for the exact cartridge. Avoid generic schedules such as “every few months” unless that is what the manufacturer specifies for the model.
Replace the cartridge when its rated capacity or time limit is reached, when the model’s indicator calls for replacement, or when the manual identifies reduced flow as a replacement condition. Do not assume that a return of taste or odor is a reliable indicator for contaminants that cannot be detected by the senses.
When changing a cartridge:
- Turn off the water before opening or unlocking the filter.
- Use a replacement element specifically listed for the system.
- Inspect accessible washers and connections without dismantling sealed components.
- Lock the cartridge fully and repeat the prescribed initial flush.
- Check for leaks at low flow before returning to normal use.
See cartridge-change mistakes that cause leaks for additional replacement guidance.
Temperature and pressure limits deserve the same attention as capacity. Current documents can differ from older manuals. For the PUR example above, the September 2025 performance sheet specifies a maximum filtered-water temperature of 82°F/28°C. Always use the current document for the exact model rather than transferring a limit from another faucet filter.
Frequently Asked Questions
How can I tell whether my faucet is compatible?
Remove the aerator only if it is designed to be removable, identify whether the outlet has internal or external threads, and compare it with the adapters listed for the filter. Also confirm clearance and check for a built-in spray feature or moving hose that the manufacturer excludes.
Should I use PTFE tape to stop a faucet-filter leak?
Use only the washers, adapters, and sealing materials specified by the manufacturer. Do not add PTFE tape merely because a joint leaks; first check the washer, adapter selection, and thread alignment.
What should I do if the filter leaks immediately?
Turn off the water. At the faucet joint, check for the correct washer, straight threads, and a hand-snug collar. If water comes from the filter body, confirm that the cartridge is fully locked. Stop using filtered mode if body leakage continues.
Can I tighten the connection with pliers?
Not unless the exact product instructions require a tool. Brita’s cited guide says to tighten its adapter and mounting collar by hand and warns that pliers can damage the threads.
How long should I flush a new cartridge?
Use the time and conditions in the cartridge instructions. Brita specifies five minutes of cold filtered water for the system in its cited guide, but another model may have a different procedure.
What if none of the included adapters fits?
Do not force an adapter or cross-thread the faucet. Contact the filter manufacturer about a compatible adapter. If the faucet outlet is damaged or nonstandard, contact the faucet manufacturer or a plumber.
Can I use hot water through a faucet-mount filter?
Only within the filtered-water temperature range published for the exact model. Limits vary, and current documentation should be checked before use. If water exceeded the limit, stop filtered operation and follow the manufacturer’s instructions.
Recommended next:
- NSF/ANSI standards explained (42/53/401/58)
- Clear trade-offs: pitcher vs faucet vs under-sink vs RO
- Maintenance planning: cost per gallon and replacement cadence