Installing a water filter can sometimes cause a noticeable drop in water pressure or flow. In many cases this is normal and related to how filters work, but a large or sudden loss of pressure can signal an installation issue, a mismatched cartridge, or a problem elsewhere in your plumbing.
Most residential filters create some resistance to water flow as water passes through cartridges and media. Manufacturers often list a flow rate in gallons per minute (gpm) and a recommended operating pressure range. If your plumbing system, fixtures, or filter choice do not match, you may see lower pressure at taps, showerheads, or filtered dispensers.
The checks below apply to common setups, including:
- Pitcher and gravity-style filters
- Faucet-mount and countertop filters
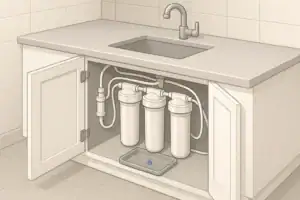
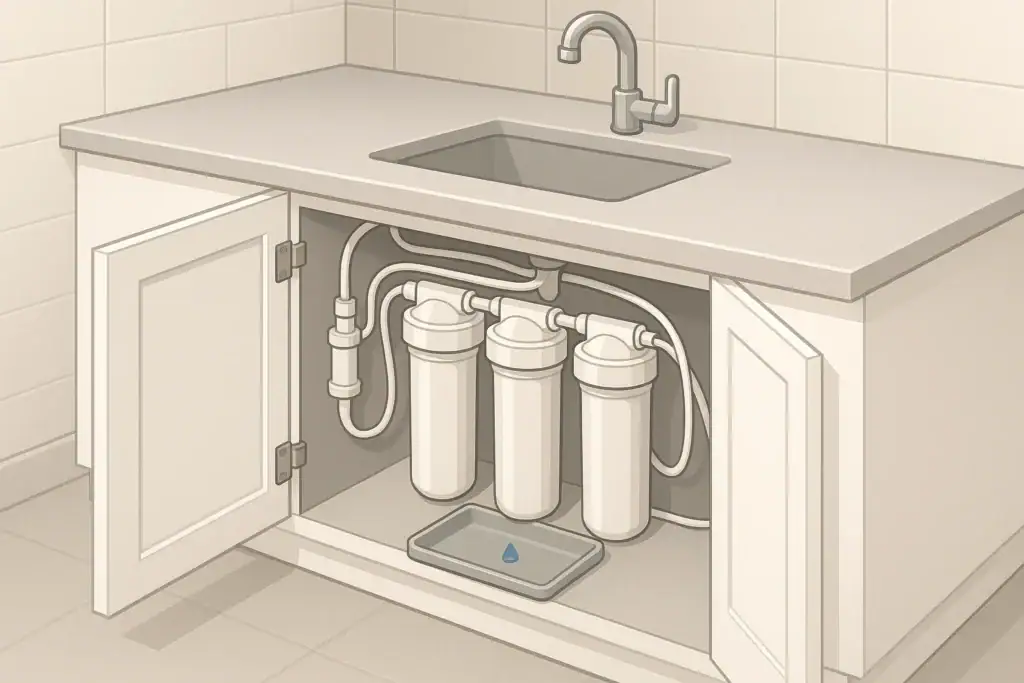
- Under-sink and inline filters
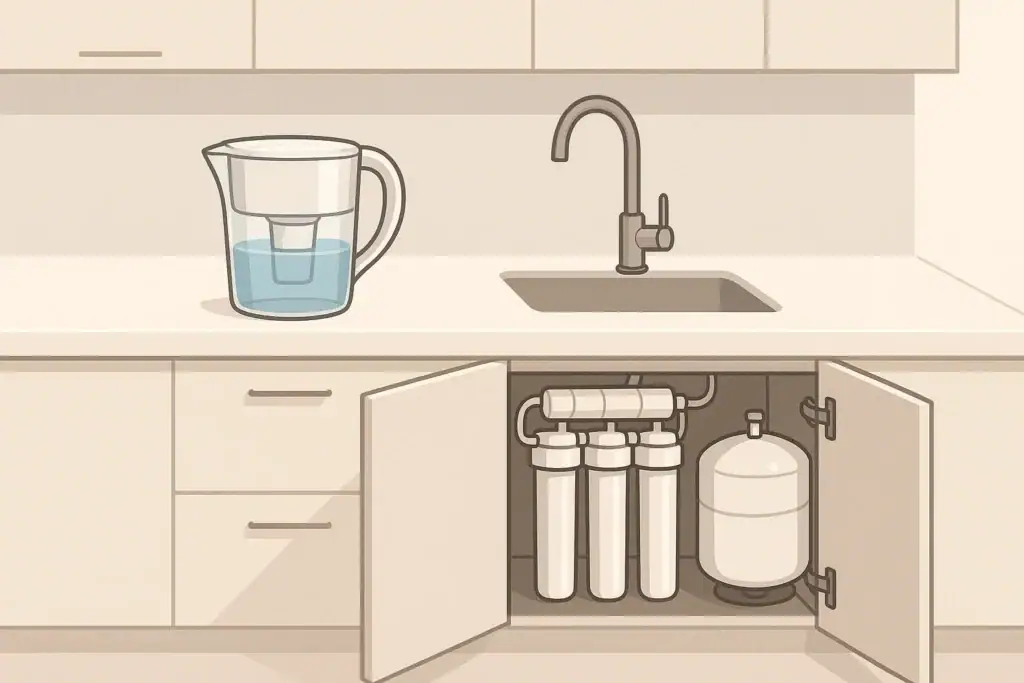
- Reverse osmosis (RO) systems
- Whole-house (point-of-entry) filters
- Refrigerator and ice-maker filters
- Shower filters
Why Water Pressure Drops After Installing a Filter
Installing a water filter can sometimes cause a noticeable drop in water pressure or flow. In many cases this is normal and related to how filters work, but a large or sudden loss of pressure can signal an installation issue, a mismatched cartridge, or a problem elsewhere in your plumbing.
Most residential filters create some resistance to water flow as water passes through cartridges and media. Manufacturers often list a flow rate in gallons per minute (gpm) and a recommended operating pressure range. If your plumbing system, fixtures, or filter choice do not match, you may see lower pressure at taps, showerheads, or filtered dispensers.
The checks below apply to common setups, including:
- Pitcher and gravity-style filters
- Faucet-mount and countertop filters
- Under-sink and inline filters
- Reverse osmosis (RO) systems
- Whole-house (point-of-entry) filters
- Refrigerator and ice-maker filters
- Shower filters
1. Confirm Whether It Is Pressure or Flow Rate
Many homeowners describe a problem as “low pressure” when they are actually seeing reduced flow rate. Pressure is the force in the piping (measured in psi), while flow rate is how much water comes out over time (often measured in gpm). Filters mainly affect flow rate by adding resistance to the system.
Clarifying which one you are dealing with helps you troubleshoot more effectively:
- Low flow at just one outlet (for example, a single faucet) usually points to the filter, an aerator, or a local valve.
- Low flow throughout the home after adding a whole-house filter suggests a sizing, plumbing, or main supply issue.
- Pressure at an unfiltered hose bib is normal while an indoor faucet is weak suggests a filter or indoor plumbing bottleneck.
If you have a simple pressure gauge, you can compare readings before and after the filter location. Many people, however, rely on comparative checks at multiple fixtures to distinguish between house-wide and localized issues.
Example values for illustration.
| Filter type | Where it installs | Typical effect on flow | When low flow is most noticeable |
|---|---|---|---|
| Pitcher / gravity | Countertop, non-plumbed | Slower fill time | When refilling pitcher frequently |
| Faucet-mount | On faucet spout | Lower flow than unfiltered side | During cooking or handwashing |
| Under-sink inline | Cold line to one faucet | Moderate reduction at that tap only | Filling pots or bottles |
| Under-sink RO | Dedicated RO faucet | Slow but steady trickle | When drawing several quarts at once |
| Whole-house cartridge | Main water line | House-wide change, varies by size | Using multiple fixtures simultaneously |
| Shower filter | Between arm and showerhead | Mild reduction at that shower | Low base pressure bathrooms |
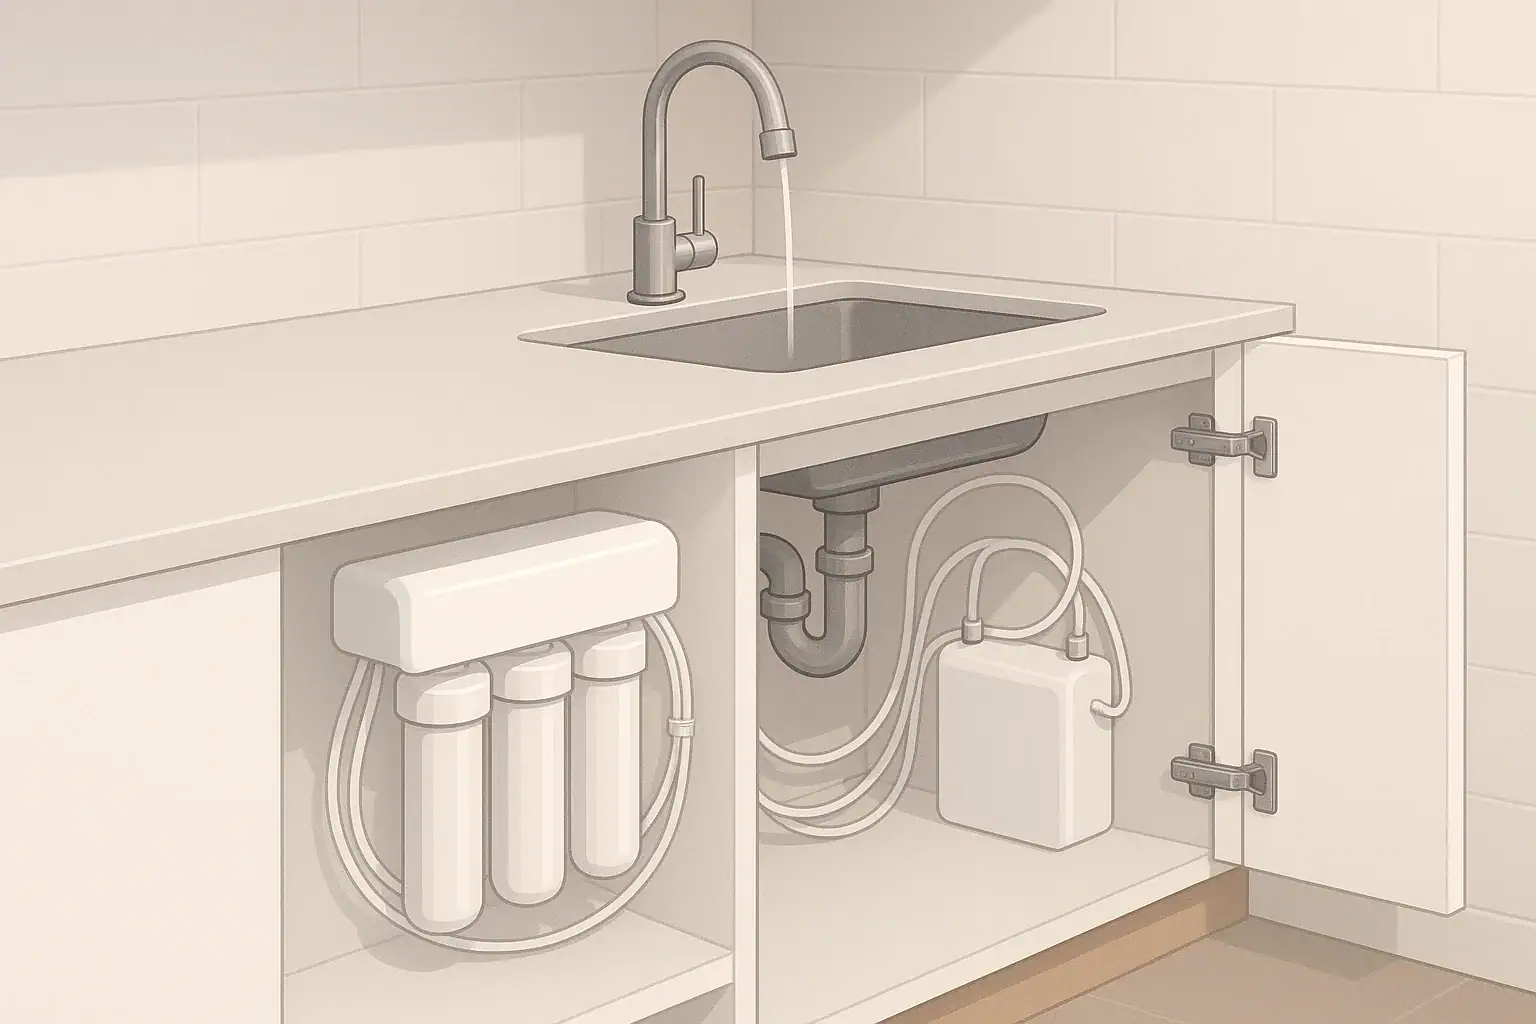
2. Check All Valves and Bypass Settings
After any filter installation, partially closed valves are one of the most common causes of low flow. A valve that looks “open enough” may still restrict water significantly, especially on the main line or at an under-sink shutoff.
Review these points carefully:
- Main shutoff valve: Make sure the valve near where water enters your home is fully open.
- Pre-filter and post-filter valves: Many whole-house and under-sink systems use separate valves before and after the housing; confirm both are fully open.
- Bypass valves: Some whole-house systems have a three-valve bypass. Ensure the service position is correct and the bypass is not partially engaged.
- Fixture shutoffs: Under-sink stop valves feeding the faucet or refrigerator line may have been closed during installation and not fully reopened.
If you recently had other plumbing work done, it is worth walking the home and visually checking every accessible valve to confirm it is in the proper position.
3. Make Sure the Filter Cartridge Matches Your Plumbing
Using a cartridge that is too restrictive for your plumbing or usage can cause noticeable flow loss immediately after installation, even if everything is working correctly. This often happens when a very fine filter is installed on a line that serves many fixtures or high-demand uses.
Key factors to consider include:
Micron rating and media type
The micron rating indicates the approximate size of particles the filter targets. Lower micron ratings (smaller numbers) catch finer particles but also create more resistance to flow. Highly adsorptive media designed to target taste, odor, and some chemical contaminants can also slow flow compared with simple sediment filters.
Common patterns include:
- Coarse sediment filters (larger micron ratings) allow higher flow but remove only larger particles like sand or rust flakes.
- Finer sediment or carbon block filters provide more thorough filtration but often have lower maximum flow rates.
- Specialty cartridges for additional contaminant reduction may trade speed for performance.
Line size and overall demand
A small cartridge on a large main supply can become a bottleneck. Likewise, installing a restrictive filter on a line that feeds multiple bathrooms, an outdoor spigot, or a high-flow appliance can lead to complaints when multiple outlets are used simultaneously.
As a general planning approach:
- Match cartridge capacity and housing size to the pipe diameter and expected household demand.
- For whole-house filters, consider whether the chosen cartridge is intended for point-of-entry use rather than just point-of-use.
- For under-sink systems, ensure the expected flow (for example, kitchen faucet use) aligns with the rated flow of the filter.
4. Verify the Direction of Flow and Installation Orientation
Most cartridge housings and inline filters have arrows or markings showing the required direction of water flow. Installing a filter backward can drastically reduce flow, cause strange noises, or damage the cartridge.
Check for these details:
- Inlet vs. outlet ports: Confirm that the water supply is connected to the inlet side.
- Cartridge orientation: Some cartridges must seat firmly into a specific end cap or sealing surface to allow proper internal flow.
- O-ring seating: Misaligned or twisted O-rings may partially block internal passages even if they do not leak externally.
If you suspect the filter may be installed in the wrong direction, shut off water, relieve pressure, and carefully disassemble the housing. Confirm you can clearly see and understand the intended flow path before reassembling.
5. Look for Sediment, Debris, or Construction Residue
New installations can stir up debris from plumbing work, soldering, or previously undisturbed pipes. This material can collect in a new filter and reduce flow much faster than normal aging would suggest.
Things to examine include:
- Pre-filter condition: If you can safely open a clear or standard housing, check whether the cartridge already looks discolored or coated with sediment.
- Fixture aerators: Small particles may lodge in aerators and restrict flow at specific faucets.
- Showerheads: Debris can clog internal screens, especially if your system experienced a sudden pressure or flow change.
In some cases, the first cartridge after plumbing work acts like a temporary cleanup filter and may need early replacement. After the initial debris is captured and removed, subsequent cartridges may last closer to their expected service life.
6. Check for Air in the Lines and Proper System Flushing
Trapped air after installation can cause sputtering, noise, and temporary low flow. Many filters, especially carbon-based cartridges and RO systems, require a flushing period to expel air and fines from the media.
Consider these steps:
- Fully open a nearby faucet served by the filter and allow water to run for the recommended flushing time, often several minutes.
- Run both hot and cold at fixtures that mix water, if the filtered line supplies both sides indirectly through the heater.
- Bleed air at high points in the plumbing if your system design allows this safely, such as opening upper-level faucets.
For RO systems, slow flow is normal, but trapped air in the tank or lines can further reduce performance until the system has cycled a few times. Following the installation instructions for initial flush and tank fill-draw cycles helps the system stabilize.
7. Evaluate Whole-House Filter Sizing and Home Water Pressure
If your entire home seems to have lower water pressure after adding a point-of-entry filter, you may be pushing a marginal supply system over its limits. Even a moderately restrictive filter can be too much if your incoming pressure is already low or your filter housing is undersized.
Check incoming pressure and household needs
Typical municipal supplies support a range of household uses at once, but some homes start with relatively low pressure or have long pipe runs and elevation changes that reduce usable pressure indoors. When a filter adds more pressure drop, showers and simultaneous fixture use can feel noticeably weaker.
Practical checks include:
- Comparing flow at an outdoor spigot (often unfiltered) with indoor taps.
- Observing whether flow drops sharply when multiple fixtures run together.
- Noting whether the problem is more severe on upper floors.
Consider staged or parallel filtration
If your water has high sediment loads or you need multiple filtration goals, a single fine cartridge on the main line may not be the best approach. Alternatives include:
- Staged filtration: A coarse pre-filter followed by a finer cartridge can reduce clogging and pressure loss.
- Dedicated point-of-use filters: Leaving the main line minimally restricted while providing finer filtration at key taps.
- Parallel housings: In some plumbing designs, multiple housings in parallel can share demand to reduce pressure drop.
In any case, the main idea is to balance filtration goals with system capacity so normal household activities remain comfortable.
8. Inspect Aging Cartridges and Follow a Maintenance Plan
While this article focuses on pressure drop immediately after installation, filters continue to add resistance as they load with captured material. If low flow appears or worsens after weeks or months, the cartridge may simply be reaching the end of its service life earlier than expected for your water conditions.
Signs that a cartridge may be overdue
- Flow was acceptable right after installation but has steadily declined.
- Cartridge looks heavily discolored when removed (for housings that allow inspection).
- Shorter-than-expected replacement intervals become a pattern, especially after storms, hydrant flushing, or seasonal changes.
Some households with high sediment or other water quality challenges may need to replace cartridges more often than general guidelines suggest. Tracking timing, visual condition, and changes in flow helps you fine-tune a realistic maintenance schedule.
Example values for illustration.
| What to track | Typical cues to check/replace | Planning method |
|---|---|---|
| Installation date | Approaching suggested service life | Mark calendar or digital reminder |
| Flow rate at key faucet | Notable slowdown during normal use | Occasional timed bucket test |
| Cartridge appearance | Heavy discoloration or visible buildup | Inspect when changing or if flow drops |
| Household water use changes | More occupants or new appliances | Reassess replacement frequency |
| Seasonal water conditions | More sediment after local work or storms | Keep spare cartridges on hand |
| NSF/ANSI certifications and claims | Match filter replacements to original specs | Review documentation at each change |
When to Review Certifications and System Design
If you have checked valves, cartridge orientation, debris, and basic maintenance but still have unacceptable low flow, it may be time to step back and review the overall system. This includes both the type of filter you chose and the certifications that apply to its intended use.
Filters evaluated under different NSF/ANSI standards focus on different performance goals, such as taste and odor improvement, reduction of specific contaminants, or the multi-stage performance of RO systems. Understanding what your current system is designed and tested to do helps you decide whether you can adjust cartridges or configurations without compromising your water quality objectives.
In some situations, separating roles—using a less restrictive whole-house sediment filter combined with targeted point-of-use filters—can preserve comfortable flow while still addressing taste, odor, and specific contaminant concerns.
Frequently asked questions
Why did my water pressure drop immediately after installing a new filter?
Immediate pressure or flow loss is commonly caused by the filter adding resistance (especially a fine cartridge), a partially closed valve, trapped air, or debris dislodged during installation. Start by confirming valves are fully open, the filter is oriented correctly, and the system has been flushed as recommended. Checking an unfiltered outdoor spigot can help determine whether the issue is filter-related or a supply problem.
How can I tell whether I have low pressure or just reduced flow after adding a filter?
Pressure refers to force in the pipes (psi) while flow is volume over time (gpm); filters typically reduce flow rather than static pressure. Compare flow at several fixtures, use a pressure gauge before and after the filter if available, or do a timed bucket test at the affected faucet to quantify the change.
Is it normal for a new cartridge to clog quickly after installation?
Yes—new installations or recent plumbing work can introduce sediment and construction debris that a fresh cartridge will capture rapidly. If the cartridge looks heavily fouled right away, replace or add a coarse pre-filter and flush the lines to reduce early clogging.
Will switching to a finer micron filter always cause unacceptable pressure loss?
Finer micron cartridges increase resistance and can noticeably reduce flow, especially on lines serving multiple fixtures. You can mitigate this by using staged filtration (coarse pre-filter then fine cartridge), larger housings, or parallel housings to share demand while keeping targeted filtration at point-of-use locations.
When should I call a professional about persistent low pressure after installing a filter?
Contact a plumber if you have verified valves, flow direction, and flushing but still have widespread low pressure, or if pressure at an unfiltered outlet is also low—this may indicate a supply or system-design problem. A professional can measure incoming pressure, assess filter sizing for your household demand, and recommend solutions like alternative housings or pressure-boosting options.
Recommended next:
- NSF/ANSI standards explained (42/53/401/58)
- Clear trade-offs: pitcher vs faucet vs under-sink vs RO
- Maintenance planning: cost per gallon and replacement cadence