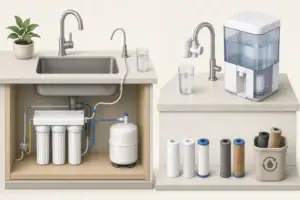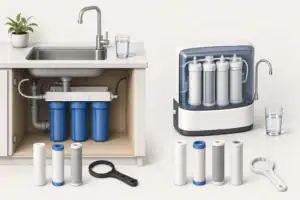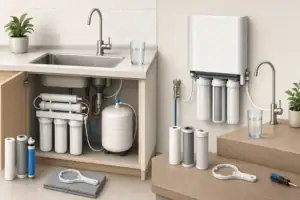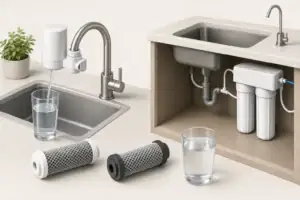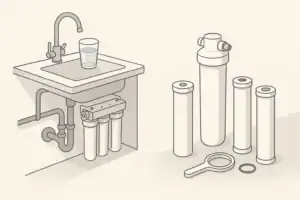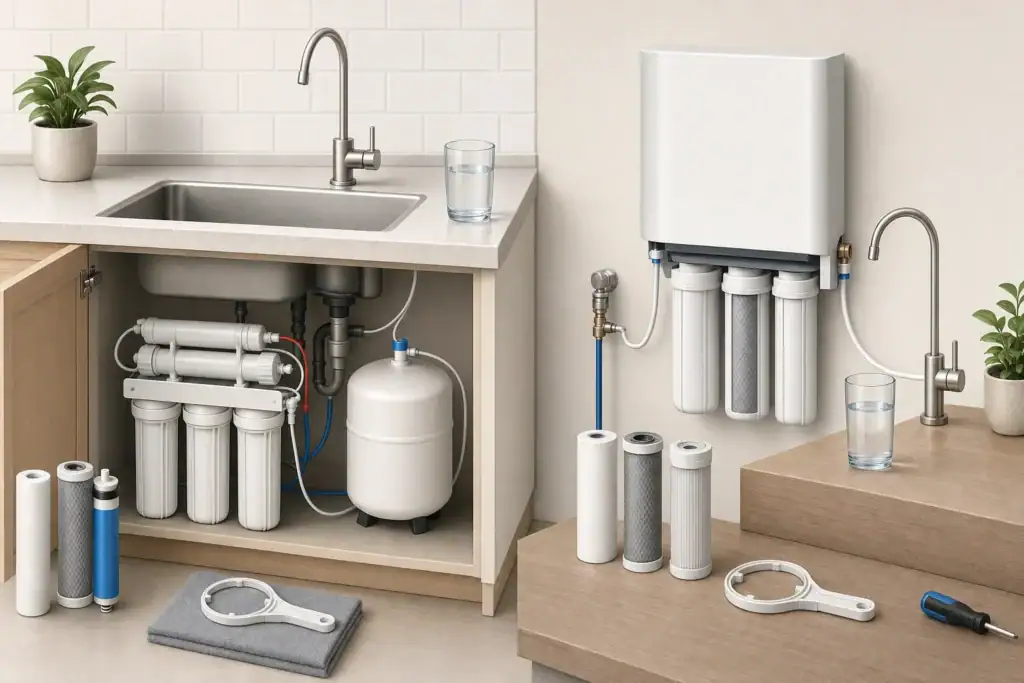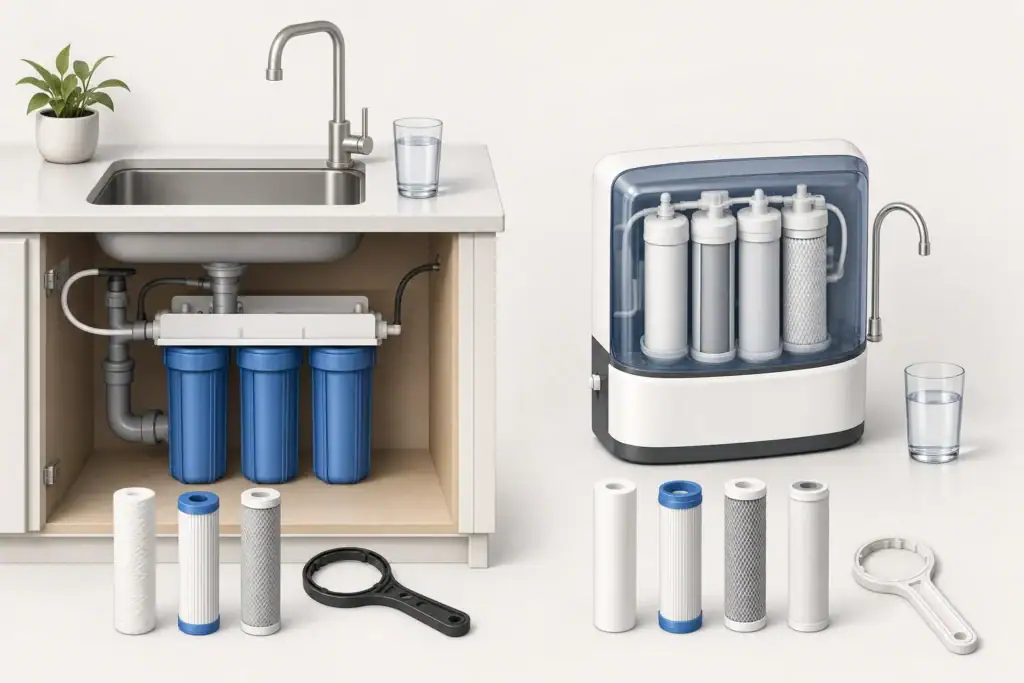
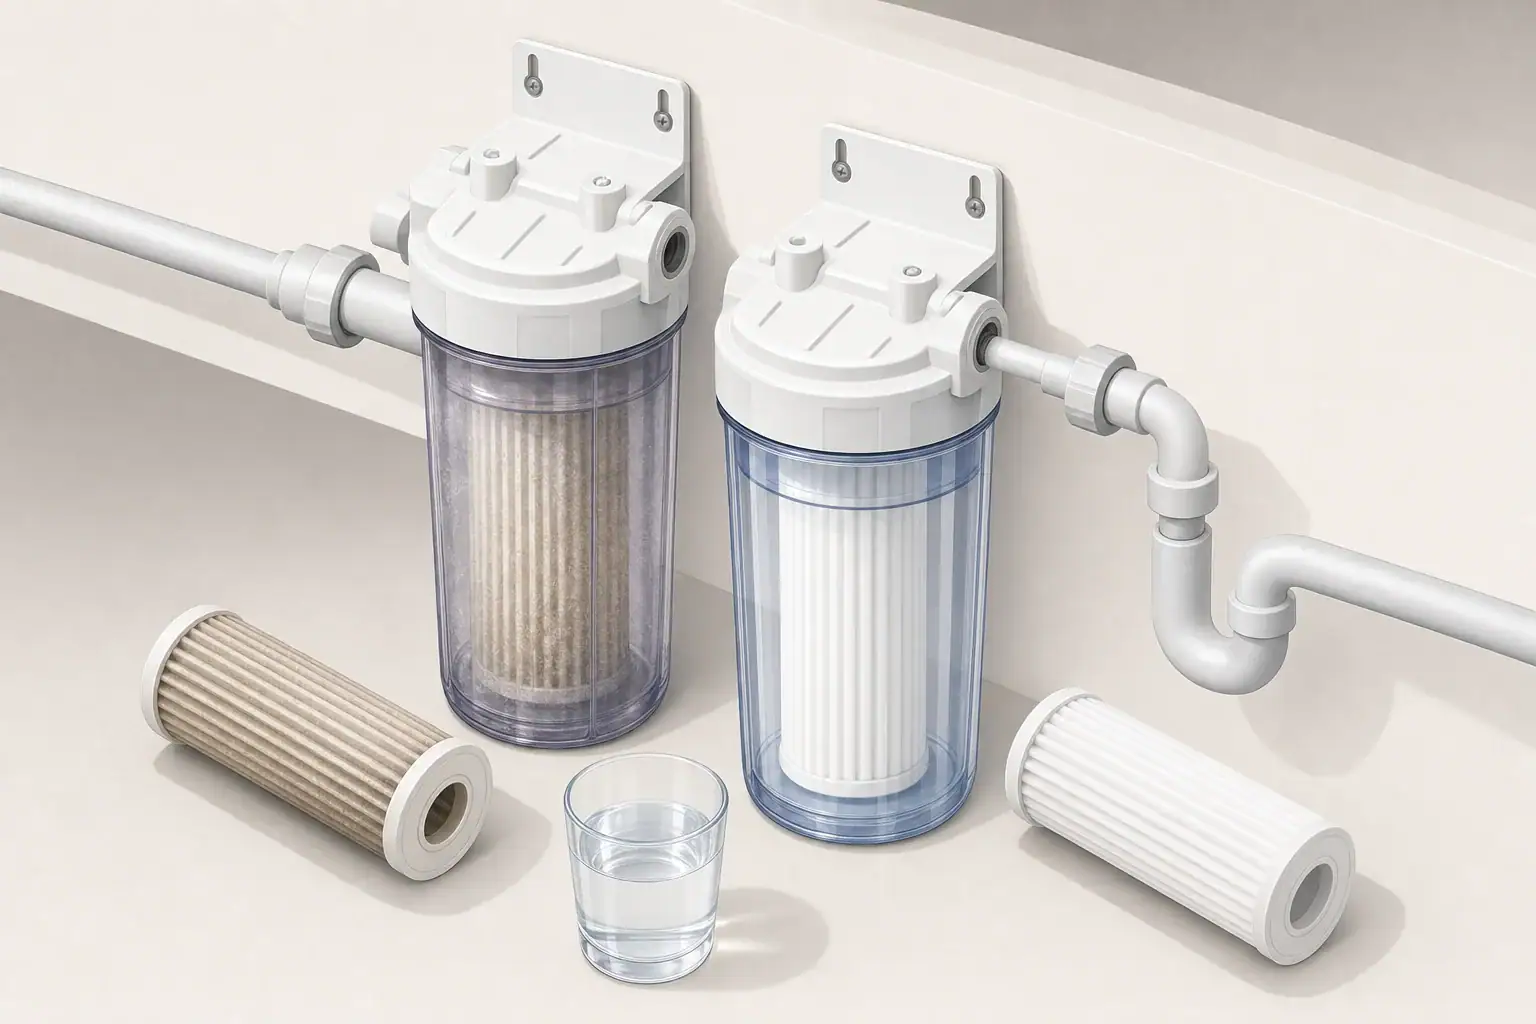
Plastic filter sumps are common in under-sink, countertop, and whole-house cartridge systems. A sump is the removable bowl that holds the filter cartridge and threads or clamps into the housing cap. It operates under water pressure, so its condition matters independently of the cartridge inside it.
Cartridges have routine replacement intervals, but plastic housings often remain installed for years without a clear retirement date. There is no universal lifespan that applies to every sump. Material, pressure, temperature, chemical exposure, installation quality, and service history all affect how a housing ages.
Replacing filter sumps should therefore be based on inspection, manufacturer guidance, operating conditions, and evidence of deterioration—not appearance or age alone.
What a Filter Sump Does and Why Its Condition Matters
The sump surrounds the cartridge and contains pressurized water. Its sealing surface, threads, walls, and base must remain intact whenever the system is operating. The O-ring usually creates the watertight seal between the sump and cap, while the threads or retaining mechanism hold the assembly together.
A cartridge can be functioning normally even when the surrounding housing is no longer dependable. Changing the cartridge does not correct weakened plastic, damaged threads, a distorted sealing surface, or a crack in the bowl.
Clear and opaque housings age differently
Clear sumps make it easier to see sediment accumulation and cartridge condition, but light exposure can contribute to discoloration and material degradation. Opaque housings block light and may be more suitable for some installations, although their walls cannot be inspected from the inside without disassembly.
Neither style is automatically safer in every application. The relevant considerations include the housing material, pressure rating, water temperature, installation environment, and compatibility with the original cap.
Signs That a Plastic Filter Housing May Need Replacement
Normal staining is not the same as structural damage. Iron, manganese, sediment, or carbon fines can discolor a housing without weakening it. Conversely, a sump can look relatively clean while having damaged threads or stress marks near the cap.
Inspect the housing whenever cartridges are changed and after unusual events such as freezing, a pressure surge, impact, or severe overheating. Warning signs include:
- Hairline cracks, especially around the threaded neck, bottom, or molded corners
- Crazing, which appears as networks of fine surface lines in the plastic
- Bulging, warping, or a base that no longer appears evenly shaped
- Cloudiness or brittleness that has increased over time
- Chipped, flattened, crossed, or visibly worn threads
- A sealing groove that is nicked, distorted, or difficult to clean
- Recurring seepage despite a correct, undamaged O-ring
- Damage caused by dropping the sump or overtightening it
Active cracking, deformation, or damaged retaining threads calls for prompt attention. A leaking pressure vessel should not be patched with household adhesive, tape, or improvised clamps.
Example values for illustration.
| Observation | Likely significance | Practical response |
|---|---|---|
| Removable surface staining | Often cosmetic | Clean and inspect under good lighting |
| Persistent mineral discoloration | May hide the surface | Inspect closely after safe cleaning |
| Fine branching lines | Possible crazing or stress damage | Take the housing out of service and replace it |
| Chipped or crossed threads | Reduced retaining integrity | Replace the affected housing components |
| Leak only at the O-ring | Seal, groove, or alignment issue | Inspect all sealing parts before deciding |
| Bulging or visible distortion | Possible pressure or heat damage | Stop using the housing and replace it |
| Known freeze or impact event | Damage may be difficult to see | Inspect carefully and favor replacement if uncertain |
Why Plastic Sumps Age at Different Rates
Calendar age is useful context, but it does not tell the whole story. Two identical housings installed on the same date can age differently if one is exposed to sunlight, pressure spikes, or frequent servicing.
Pressure and hydraulic stress
A housing experiences stress whenever it is pressurized. Rapid valve closures, water hammer, failing pressure controls, and pressure changes from pumps can add short-duration loads. A housing should be used only within the pressure and temperature conditions specified for the complete assembly.
If pressure is unknown or unstable, a qualified plumbing professional can assess the system and determine whether pressure control or surge protection is appropriate. A higher-rated replacement housing does not correct an underlying plumbing problem by itself.
Temperature and freezing
Most standard cartridge housings are intended for cold water. Hot water can soften or distort plastics and damage seals. Freezing is also hazardous because water expands as it turns to ice, potentially creating cracks that become apparent only after the system is repressurized.
Light and chemical exposure
Direct sunlight and some artificial ultraviolet sources can affect certain plastics over time. Housings should also be protected from solvents, fuels, concentrated cleaners, pesticides, and incompatible lubricants. Chemical exposure on the outside of a sump can be relevant even if the drinking water never contacts that substance.
Maintenance practices
Repeated overtightening can damage threads and place unnecessary stress on the neck. Using the wrong wrench, forcing mismatched parts, or operating without proper mounting support can also shorten service life. Housing wrenches are generally intended to loosen a stuck sump, not to apply maximum tightening force.
How to Inspect a Sump During a Filter Change
Before servicing, follow the housing maker’s shutdown and depressurization procedure. Close the appropriate water supply, isolate electrical equipment where applicable, and open an approved downstream outlet or pressure-relief control as directed. Never attempt to loosen a pressurized housing.
Once removed, empty the sump and take out the cartridge. Wash the housing with a compatible cleaner recommended for the system, then rinse it so staining does not conceal the surface. Follow a suitable routine for cleaning and sanitizing filter housings.
Examine the pressure-bearing areas
Use bright, diffuse lighting to inspect the inside and outside. Pay particular attention to the threaded neck, the transition between the neck and bowl, the bottom, and any molded ribs. Run a clean fingertip over accessible sealing surfaces to detect chips or roughness, but do not probe cracks or alter the plastic.
Inspect the cap as well. Replacing the bowl alone will not solve cracked ports, damaged cap threads, a distorted O-ring groove, or corrosion in attached metal fittings.
Separate O-ring problems from sump problems
A flattened, swollen, cut, or chemically damaged O-ring can cause seepage. Replacement seals must have the correct dimensions and material compatibility. Lubricants should also be specifically suitable for the seal and potable-water application. Petroleum-based products can damage some elastomers and plastics.
If a new correct O-ring does not sit evenly, the groove or mating surface may be damaged. For more detail, see filter housing O-rings. Repeated tightening is not a reliable remedy.
Should You Replace the Sump or the Complete Housing?
A replacement sump may be reasonable when the cap, bracket, ports, pressure-relief components, and connecting plumbing are in sound condition—and when an exact compatible bowl is available. Compatibility requires more than a similar diameter and thread appearance.
The bowl must match the cap’s thread design, sealing geometry, dimensions, material requirements, and operating ratings. Mixing parts from unrelated housing designs can create an assembly that has not been evaluated as a unit.
Replace the complete housing when appropriate
Complete replacement is often the more practical choice when:
- The housing model or compatible sump cannot be confidently identified
- The cap has cracked ports, worn threads, or a damaged seal groove
- Replacement bowls are unavailable or of uncertain compatibility
- The bracket is corroded, bent, or unable to support the filled housing
- Several housing components are approaching the end of useful service
- The installation needs a different pressure rating, port size, or configuration
Plumbing changes, bracket replacement, or work on a whole-house line may require a qualified professional. The filled housing must be supported correctly; connected pipe should not be expected to carry its weight.
Choosing a Compatible Replacement Housing
Start with the existing system documentation and markings. Record the bowl dimensions, port arrangement, cartridge format, operating temperature, maximum working pressure, flow direction, bracket layout, and clearance below the housing.
Pressure and temperature ratings should apply to the complete assembled housing, not merely to an individual component. Where independent material or structural standards are relevant, verify that the documentation applies to the exact model and intended use. A general statement about a material does not establish the performance of every finished housing.
Consider flow and service access
A replacement should accommodate the intended service flow without creating excessive pressure drop. Larger housings may hold larger cartridges and require less frequent sediment service, but they also weigh more when full and need additional clearance.
Leave enough room to remove the sump vertically, grip it with the specified tool, and place a container beneath it. A shutoff arrangement and leak containment strategy can make future maintenance more manageable, provided they follow applicable plumbing requirements and do not bypass protective features.
Account for the surrounding installation
Evaluate flexible connectors, rigid piping alignment, valves, gauges, drains, and nearby electrical equipment. Replacing a housing should not leave the ports under side load. If the pipes must be forced into alignment, the layout needs correction rather than additional thread sealant or tightening.
Plan the Replacement and Startup Carefully
Before work begins, identify how the water will be shut off and pressure safely relieved. Protect nearby surfaces and electrical devices from water. If the housing serves the whole home, consider how long water will be unavailable and whether downstream equipment requires a specific restart sequence.
Install only compatible components, seals, fittings, and mounting hardware. Threaded plumbing connections should follow the component instructions and local requirements. Excessive torque can crack plastic ports, while inadequate or incorrect sealing can produce leaks.
After assembly, restore pressure slowly while observing the housing, cap, ports, pressure-relief feature, and nearby connections. Flush the new cartridge as directed. Check again after the system has remained pressurized and after several normal water-use cycles.
A leak detector or automatic shutoff can limit water damage in some installations, but it does not make a damaged housing safe to use. Periodic visual inspection remains important.
Example values for illustration.
| Timing or event | Suggested check | Possible action |
|---|---|---|
| Each cartridge change | Walls, threads, groove, cap, and bracket | Clean, document, and replace damaged parts |
| Monthly visual check | Drips, distortion, and external exposure | Correct minor environmental issues promptly |
| After a freeze | Cracks and seal displacement | Keep isolated until condition is confirmed |
| After impact | Neck, ports, bracket, and bowl | Replace components with visible or suspected damage |
| After a pressure event | Bulging, seepage, and connection stress | Assess both the housing and pressure cause |
| At an age-based review point | Service history and manufacturer guidance | Plan preventive replacement where justified |
Related guides:
Cartridge Change Mistakes That Cause Leaks •
Cleaning and Sanitizing Filter Housings: A Simple Routine •
Filter Housing O-Rings: Lubrication, Replacement, and Leak Prevention •
Replacement Planner Basics: Estimate Your Next Filter Change Date
Keep a Service Record for Future Decisions
Mark the installation date of a new housing and record cartridge changes, O-ring replacements, pressure observations, leaks, freeze events, and unusual discoloration. Photos taken during service can help show whether clouding, crazing, or deformation is progressing.
If the manufacturer provides a housing replacement interval, include it in the maintenance schedule. When no fixed interval is available, combine regular inspection with the system’s actual conditions and service history. Uncertain compatibility, structural damage, or repeated leakage is a reason to stop relying on the existing sump until it has been properly evaluated or replaced.
Frequently asked questions
How often should a plastic filter sump be replaced?
Follow the manufacturer’s replacement guidance when available. Otherwise, base the decision on inspection findings, pressure and temperature exposure, service history, and events such as freezing, impact, or pressure surges.
Can I replace only the filter sump and keep the existing cap?
Yes, but only when the replacement bowl is an exact compatible part and the cap, threads, seal groove, ports, and bracket are all in sound condition. Similar-looking parts may not seal or retain safely together.
Does a cloudy or discolored filter housing need replacement?
Not always. Staining can be cosmetic, but increasing cloudiness, brittleness, crazing, or discoloration that prevents a reliable inspection may justify replacement, especially if other damage is present.
What should I do if the sump leaks after an O-ring replacement?
Depressurize the system and inspect the O-ring size, condition, seating, groove, and mating surfaces. If the correct seal does not sit evenly or seepage continues, the sump or cap may be damaged and should be evaluated or replaced.
Can a plastic filter housing be reused after it freezes?
Freezing can create cracks that are difficult to see before the housing is repressurized. Keep it isolated until it has been carefully inspected, and replace it if there is any crack, distortion, leak, or uncertainty about its condition.
- NSF/ANSI standards explained (42/53/401/58)
- Clear trade-offs: pitcher vs faucet vs under-sink vs RO
- Maintenance planning: cost per gallon and replacement cadence