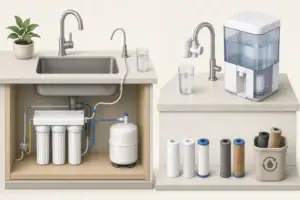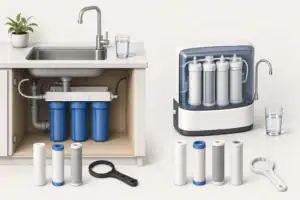
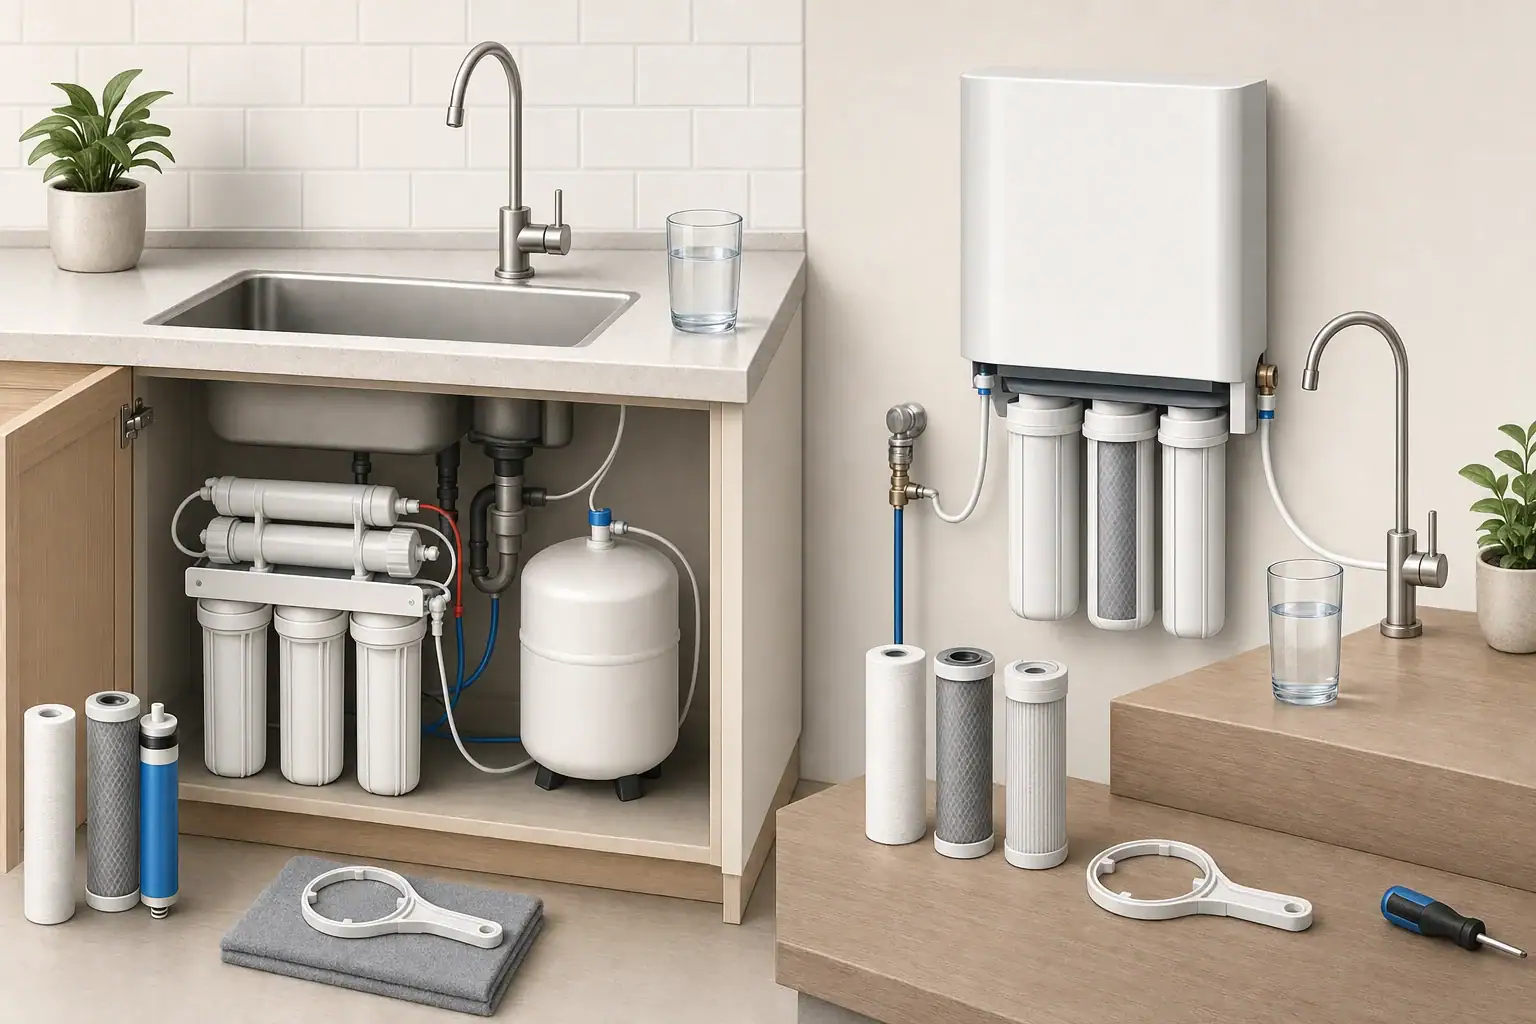
A reverse osmosis storage tank holds treated water so the faucet can deliver it faster than the membrane produces it. Because water, tubing, valves, and the tank’s internal water chamber remain in contact for extended periods, periodic sanitation may be part of system maintenance.
That does not mean every tank needs frequent disinfecting. The appropriate timing depends on the system design, water source, service history, and manufacturer instructions. Sanitizing too casually can create its own problems, particularly if a chlorine-based product reaches a chlorine-sensitive RO membrane.
What RO Tank Sanitation Does and Does Not Do
Sanitation is intended to reduce microorganisms that may have entered the system during installation, filter changes, plumbing work, or periods of inactivity. It usually addresses the storage tank along with filter housings, tubing, and the dispensing faucet rather than treating the tank as an isolated component.
Sanitation is different from routine filtration. Sediment cartridges remove particles, carbon stages address chlorine and certain taste or odor compounds, and the RO membrane reduces a range of dissolved substances. A sanitizer is used during maintenance and must be flushed out before drinking water service resumes.
Sanitation also cannot repair a failed bladder, damaged membrane, fouled flow restrictor, or deteriorated tubing. If a tank will not hold water, has water coming from its air valve, or shows physical damage, cleaning is unlikely to solve the underlying problem.
Why sealed tanks require a specific approach
Most residential RO tanks contain a flexible bladder or diaphragm that separates stored water from compressed air. The water chamber is not normally opened for scrubbing. Sanitizer must reach it through the intended water connection as part of a manufacturer-approved procedure.
The air valve is only for checking or adjusting air charge. Sanitizer, water, lubricant, or cleaning tools should never be introduced through that valve.
When to Consider Sanitizing an RO Storage Tank
The system manual should be the primary source for timing. Many owners coordinate sanitation with scheduled filter service because the housings are already being opened. An annual maintenance visit is a common opportunity, but it is not a universal requirement for every model or water condition.
Sanitation may also be reasonable after a new installation, tank replacement, significant plumbing repair, confirmed contamination event, or long period of disuse. If a home has been vacant, stagnant water should at least be drained and the system recommissioned according to its instructions.
A change in taste or odor can justify an inspection, but it does not automatically prove that the tank is unsanitary. Exhausted carbon, old filters, source-water changes, drain connection problems, and a deteriorated faucet or tube can produce similar symptoms.
Example values for illustration.
| Situation | Practical response |
|---|---|
| Routine filter service is due | Check whether the system manual includes sanitation during the same service |
| New system or replacement tank | Follow the installation sanitation procedure before regular use |
| System sat unused for weeks or months | Drain, inspect, and recommission it as directed by the manufacturer |
| Filters were handled with dirty hands or tools | Replace any compromised cartridge and sanitize affected wetted parts |
| Plumbing work exposed open tubing | Inspect connections and consider sanitation before returning to service |
| Taste or odor changed suddenly | Troubleshoot filters, source water, drain plumbing, and sanitation history |
| Tank is leaking or water exits the air valve | Isolate and replace the faulty tank rather than relying on sanitation |
Before Starting: Protect the Membrane and Work Safely
RO systems differ in housing layout, valve arrangement, electronics, and membrane chemistry. Obtain the correct service instructions before introducing any chemical. If those instructions are missing or unclear, a qualified water-treatment technician can identify the appropriate procedure.
Choose only an approved sanitizer
Use the sanitizer type and concentration specified for the system and its wetted materials. Some procedures allow plain, unscented household bleach with no added fragrance, thickener, or splash-control ingredients. Others call for a purpose-made sanitation product.
Do not guess at concentration or contact time. Household bleach strength can vary, and more is not necessarily better. Excess sanitizer may be harder to flush and can damage components.
- Never mix bleach with vinegar, acids, ammonia, peroxide, or other cleaners.
- Wear the personal protective equipment listed on the sanitizer label.
- Ventilate the work area and protect nearby fabrics or finished surfaces.
- Wash hands and use clean tools when handling housings, tubing, and cartridges.
- Keep cartridges and open connections off floors and dirty countertops.
Account for a chlorine-sensitive membrane
Many common thin-film composite RO membranes can be damaged by chlorine exposure. Carbon prefilters ordinarily protect the membrane during operation, but those filters may be removed during sanitation. Depending on the design, the membrane may need to be removed, isolated, or protected with a model-specific procedure.
Do not assume that sending sanitizer through an assembled system is safe. Follow the prescribed cartridge-removal sequence, and never bypass built-in valves or safety devices to force solution into the tank.
How a Typical RO Tank Sanitation Process Works
The exact valve positions, sanitizer amount, and contact time are system-specific. The following sequence describes the general logic rather than replacing the manual.
1. Shut down and depressurize the system
Turn off the cold-water feed using the normal supply valve. Disconnect power to a booster pump, ultraviolet unit, or electronic controller if the service instructions require it. Open the RO faucet and drain the storage tank until flow stops.
Closing and reopening the tank valve may be part of the process, but its position changes by step. Do not remove pressurized housings or fittings.
2. Remove scheduled replacement filters
Open only the housings identified in the instructions. Discard cartridges that are due for replacement. Reusing a cartridge after exposing it to an uncontrolled sanitizer concentration can affect performance or carry loosened material back into the system.
Inspect accessible housings and O-rings for residue, cracks, flattening, or wear. Wash reusable housing surfaces only with compatible products. Lubricate O-rings solely with a lubricant approved for potable-water equipment, if called for.
3. Introduce sanitizer through the designated point
The sanitation solution may be added through an empty prefilter housing, a sanitation port, or another specified inlet. Use the measured amount and dilution directed for the system. Never pour it into the tank’s air valve.
Reassemble housings and temporary service components exactly as directed. The membrane must remain protected from incompatible sanitizer.
4. Fill the wetted path and tank
Restore the feed slowly and check for leaks. Operate the faucet and tank valve in the sequence given by the manufacturer so sanitized water reaches the housings, tubing, faucet, and tank water chamber. Allow the specified contact time without extending it unnecessarily.
5. Drain and restore the filtration stages
After contact time, shut down and depressurize the system again. Drain the sanitation solution, install new cartridges in the correct order, and reinstall or reconnect any protected membrane components as instructed.
Confirm that housings are seated properly and that tubing is fully engaged in its fittings. Hand-tightening is usually appropriate for housings unless the manual specifies otherwise; excessive force can damage threads or O-rings.
6. Flush before drinking the water
Return the system to service and flush it for the required period. A storage-tank system may need one or more complete fill-and-drain cycles. Tank filling can take several hours depending on feed pressure, water temperature, membrane capacity, and tank size.
Discard flushing water. Do not judge completion only by tank fullness. Follow the required cycle count or test method, and verify that sanitizer odor is absent before normal use. If the procedure calls for sanitizer test strips, use the specified type and interpretation.
Tank Pressure, Refilling, and Special Situations
Sanitizing a tank does not normally require changing its air charge. The air side controls how stored water is delivered, while the water side receives sanitation solution through the water connection.
If pressure must be checked, the tank’s water chamber should be completely empty and the feed water should be off. A low-pressure gauge is more suitable than a high-range tire gauge. Many residential tanks use a factory precharge in the low single-digit psi range, with roughly 5 to 8 psi being an illustrative example, but the correct value is the one specified for that tank.
Checking pressure while water remains in the tank gives a misleading result. Overcharging can reduce usable storage volume, while undercharging can cause weak delivery and may stress the bladder. Do not exceed the tank label or adjust pressure merely to compensate for clogged filters.
Well water and confirmed contamination
Private-well systems may need a broader response than tank sanitation. If source water has a confirmed microbial problem, the well, pressure equipment, plumbing, pretreatment, and RO system may all require evaluation. Cleaning only the RO tank does not correct a continuing source-water issue.
Flooding, sewage exposure, or damaged components
Equipment exposed to floodwater or sewage should be assessed carefully. Some filters, electrical components, faucets, tanks, or permeable materials may require replacement rather than routine cleaning. Avoid operating electrical equipment that has been wet until it has been evaluated safely.
Troubleshooting After Sanitation
After recommissioning, inspect every connection that was disturbed. Look for slow drips around housing seals, tank fittings, and tubing connections. Then observe taste, odor, faucet flow, drain operation, and refill time over the next complete tank cycle.
A brief burst of air or cloudy-looking water can occur after filter replacement. Cloudiness caused by tiny air bubbles generally clears from the bottom upward after the water rests. Persistent odor, unusual color, particles, or poor performance deserves further investigation.
Do not keep adding sanitizer to solve an unexplained problem. Repeated chemical treatment may mask the real cause and increase the chance of component damage.
Example values for illustration.
| Observation | Possible cause | Practical next step |
|---|---|---|
| Sanitizer odor remains | Incomplete flushing | Continue the specified flush or fill-and-drain procedure |
| Musty taste returns quickly | Old carbon stage, faucet, tubing, or source issue | Review replacement history and inspect the full wetted path |
| Milky water clears after resting | Trapped air from servicing | Allow additional flushing and monitor for improvement |
| Flow is weak | Closed valve, low tank charge, clogged filter, or low feed pressure | Verify normal valve positions and follow pressure diagnostics |
| Tank does not refill | Feed restriction, valve problem, membrane issue, or shutoff fault | Check the service sequence and obtain qualified help if unresolved |
| Leak appears at a housing | Misaligned O-ring, loose housing, crack, or debris on seal | Shut off the feed, depressurize, and correct the seal safely |
Related guides:
How to Sanitize an RO System After a Long Vacation •
RO Tank Pressure: How to Check and Adjust It Safely •
RO Filter Replacement Schedule: Prefilters vs Membrane •
Troubleshooting Low RO Flow: Pressure, Tank, or Clogged Filters?
Building Sanitation Into Routine RO Maintenance
A written service record makes sanitation decisions easier. Note filter replacement dates, sanitizer type, concentration or measured amount, contact time, flushing cycles, tank pressure if checked, and any unusual observations.
Between service visits, keep the cabinet dry, protect tubing from damage, and inspect periodically for leaks. Replace cartridges according to actual water use, source-water conditions, pressure changes, and manufacturer guidance rather than relying on appearance alone.
If the system repeatedly develops taste, odor, or flow problems, treat that pattern as a troubleshooting issue rather than a reason to sanitize more often. The underlying cause may involve pretreatment, filter capacity, drain plumbing, feed pressure, tank condition, or system sizing.
A calm, documented approach helps preserve the membrane, avoids unnecessary chemical use, and keeps the storage tank operating as part of the complete RO system rather than as a separate maintenance problem.
Frequently asked questions
How often should an RO storage tank be sanitized?
Follow the system manufacturer’s maintenance instructions. Sanitation is often coordinated with filter service, but the right interval depends on the model, water source, service history, and whether the system has been inactive or opened for repairs.
Can I put sanitizer into the RO tank air valve?
No. The air valve is only for checking or adjusting the tank’s air charge. Sanitizer should reach the water chamber through the designated water-side connection in the approved service procedure.
Do I need to remove the RO membrane before sanitizing?
Many RO membranes are chlorine-sensitive, so they may need to be removed, isolated, or otherwise protected. Use the procedure for the specific system rather than sending sanitizer through an assembled unit without verification.
How do I know when flushing is complete after sanitation?
Complete the fill-and-drain cycles, flush duration, or test-strip check specified by the manufacturer. Do not use the water until sanitizer odor is absent and any required verification step is complete.
Will sanitizing fix weak RO faucet flow?
Not necessarily. Weak flow can result from a closed valve, clogged filter, low tank charge, low feed pressure, membrane problems, or a faulty shutoff component. Check the system’s normal operating conditions before repeating sanitation.
- NSF/ANSI standards explained (42/53/401/58)
- Clear trade-offs: pitcher vs faucet vs under-sink vs RO
- Maintenance planning: cost per gallon and replacement cadence