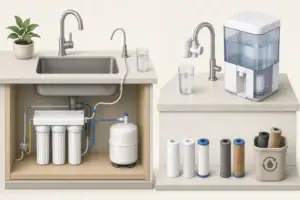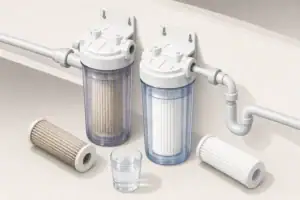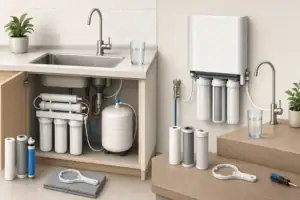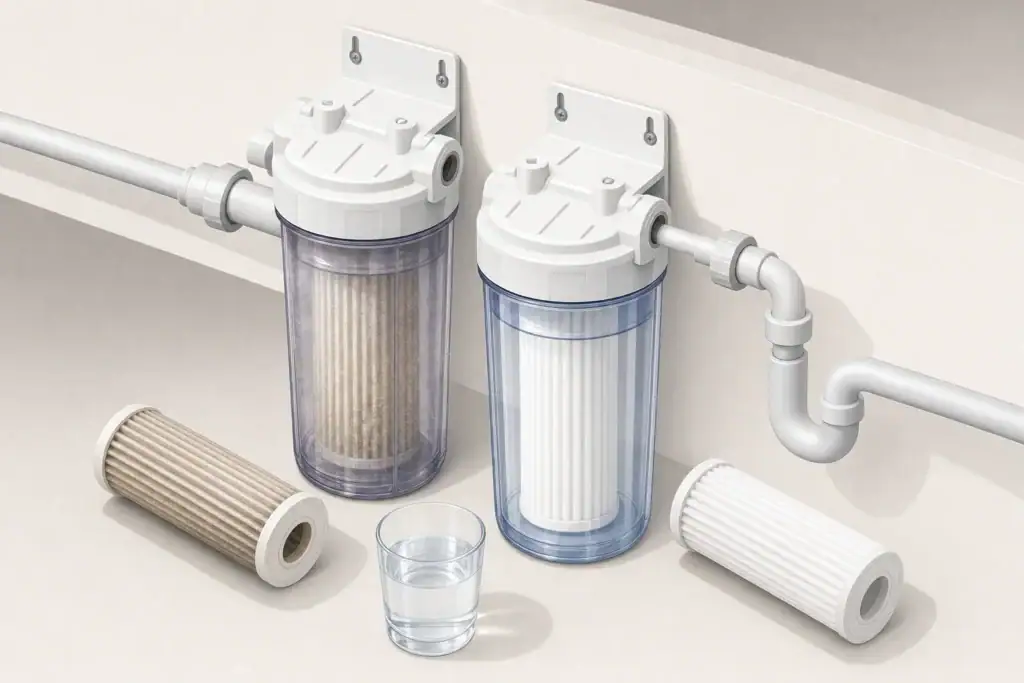
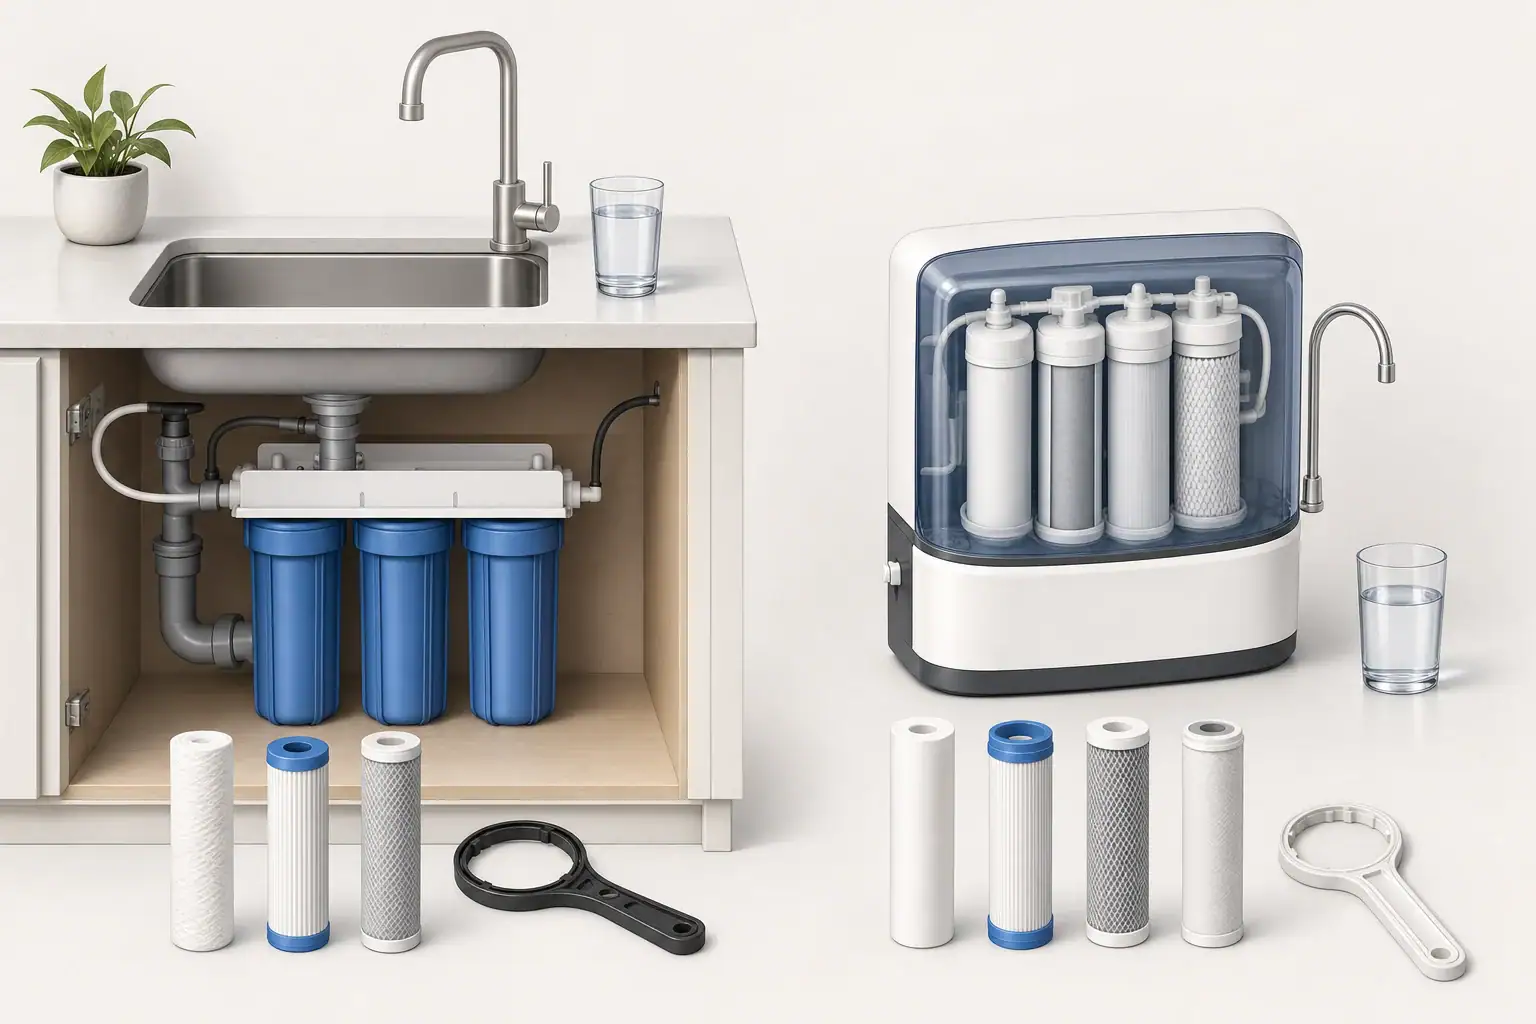
A water filter housing can become difficult to open even when the correct plastic wrench is available. Trapped water pressure, an overtightened sump, a dry or displaced O-ring, mineral deposits, and limited working space can all make the wrench feel stuck or ineffective.
The safest response is not simply to apply more force. First isolate the water supply, release pressure, confirm the opening direction, and support the filter head so torque is not transferred to pipes or mounting hardware. These steps apply broadly to cartridge housings used under sinks, on refrigerator supply lines, and in many whole-house filtration systems.
Why a Water Filter Housing Gets Stuck
Most threaded filter sumps seal at the O-ring rather than through extreme thread tightness. If the housing was tightened aggressively during the previous cartridge change, the threads may bind even though the system did not need that much force to remain watertight.
Pressure also matters. A closed housing can retain substantial force after the inlet valve is shut. Water does not compress much, so even a small trapped volume can press the sump against its threads and make it difficult to turn.
Other common causes include:
- A dry, twisted, swollen, or incorrectly seated O-ring
- Scale, sediment, or debris around the threads
- A housing left unopened well beyond its normal service interval
- Misalignment between the sump and filter head
- Pipes or tubing that flex when the wrench is pulled
- A wrench that is not fully seated around the housing ribs
Cold conditions may also affect how plastic parts fit, but strong external heating is not a safe solution. Filter housings are pressure-containing components, and uncontrolled heat can deform or weaken them.
Safe Steps for Opening a Stuck Filter Housing
1. Shut off the water supply
Close the system’s inlet valve. For an under-sink filter, this may be a dedicated valve on the cold-water line. A whole-house housing may require closing the main supply or isolation valves on both sides of the filter.
If shutting off the main supply affects water heaters, pumps, treatment equipment, or appliances, follow their operating instructions. Do not run a pump against a closed valve.
2. Relieve trapped pressure
Open a downstream faucet and leave it open until flow stops. If the filter head has a pressure-relief button, press it only after the supply is isolated. Keep a towel and container nearby because the button may release water.
A pressure button can stick or leak with age. Do not remove it, drill into the housing, or loosen fittings as a substitute for normal pressure relief.
3. Prepare for spilled water
Place a bucket under the sump. Move electrical cords and stored items away from the work area. A full housing can be heavy, so support its base with one hand when it begins to loosen.
4. Seat the wrench correctly
Slide the housing wrench fully upward so it engages the sump’s ribs or molded shape. Pull smoothly near the end of the handle while keeping the wrench level. Jerky movement can make the wrench slip and may damage the housing.
Most standard threaded sumps loosen counterclockwise when viewed from below, but housing designs vary. Check the molded arrow or system instructions before applying force.
5. Support the fixed filter head
The head and mounting bracket should remain stationary while the sump turns. If the entire assembly moves, stop. Continuing can stress plastic ports, threaded adapters, tubing, or wall fasteners.
Use steady hand pressure rather than impacts. A second person may stabilize a securely mounted head, but no one should brace fragile pipes or fittings.
Example values for illustration.
| Observation | Recommended response | Reason |
|---|---|---|
| Water still flows downstream | Recheck the inlet valve | The housing may remain pressurized |
| Relief button releases water | Wait until the release stops | Residual pressure is still escaping |
| Wrench sits at an angle | Reseat it fully | Uneven contact encourages slipping |
| Filter head moves | Stop and support the assembly | Pipes and ports can be damaged |
| Opening direction is unclear | Check instructions or molded arrows | Designs are not always identical |
| Housing begins to turn | Support it from below | The water-filled sump may be heavy |
| Housing is cracked or distorted | Do not repressurize it | A damaged pressure vessel requires replacement |
What to Try When the Standard Wrench Slips
After confirming that pressure is fully relieved, modest improvements in grip are safer than adding a long lever. Dry the outside of the housing and the wrench. Water or lubricant on these surfaces can cause the tool to slide.
If the original rigid wrench does not grip evenly, a properly sized strap wrench may distribute force over a broader area. Position it on the strong cylindrical portion specified for service, not on the clear wall near a seam, drain, relief control, or threaded connection. Use only enough force to start normal rotation.
Two housing wrenches can sometimes be stacked together to reduce flex, provided both fit the same housing correctly. This is different from extending the handle with a pipe. A long extension can multiply torque beyond what the plastic housing, bracket, or plumbing can tolerate.
Light tapping with the palm around the outside may help disturb dried deposits, but do not strike the sump with a hammer or hard tool. If reasonable hand force does not work, stopping is safer than escalating to impacts.
Methods That Can Damage the Housing or Plumbing
A filter sump is designed to contain water at its rated operating conditions, not to withstand unlimited service torque. Avoid methods that hide damage or compromise the pressure-containing parts.
- Do not use open flames, boiling water, or a heat gun. Uneven heat can deform plastic and affect seals.
- Do not use a pipe as a wrench extension. Extra leverage can crack the sump or twist fittings in the head.
- Do not puncture or drill the housing. This destroys the pressure vessel and can release water unpredictably.
- Do not clamp the sump in a metal-jaw vise. Concentrated force may create damage that is difficult to see.
- Do not spray penetrating oil into the joint. General-purpose chemicals may be incompatible with plastics, seals, or drinking-water components.
- Do not turn connected pipes for leverage. A small movement at the housing can loosen a concealed connection elsewhere.
If the mounting bracket bends, the head rotates, or the housing changes shape, stop. These signs indicate that force is reaching components other than the threaded joint.
Inspecting and Reassembling the Housing
Once the sump opens, pour out the water and remove the cartridge. Clean the sump according to the system instructions using materials compatible with the housing. Sediment on the threads or in the O-ring groove can make the next opening difficult and may contribute to leaks.
Check the pressure-containing parts
Inspect the sump under good lighting. Look for cracks, deep scratches, thread damage, clouding, deformation, or a damaged sealing surface. Replace questionable parts rather than relying on extra tightening to control a leak.
Examine the O-ring for flattening, cuts, swelling, brittleness, or twisting. An O-ring must match the housing’s required size and material. A similar-looking seal may not seat correctly.
Lubricate and seat the O-ring correctly
If permitted by the system instructions, apply a thin film of compatible food-grade silicone lubricant to the O-ring. Lubricant helps the seal seat without twisting; it is not intended to fill damage or compensate for an incorrect seal. Petroleum-based products can affect some elastomers and plastics and should not be used unless specifically approved.
Place the O-ring flat in its clean groove. Install the correct replacement cartridge, checking that it is centered on any locating posts. A tilted or oversized cartridge can prevent the sump from threading normally.
Tighten without repeating the problem
Start the threads by hand. They should engage smoothly. If the sump binds immediately, back it off and check alignment rather than forcing it. Many housings require hand tightening only or hand tightening followed by a limited additional turn, but the applicable instructions take priority.
Restoring Water Pressure and Preventing Future Sticking
Reopen the inlet valve slowly while a downstream faucet remains open. Gradual filling allows air to leave and reduces the sudden pressure change sometimes called water hammer. Once water flows steadily, close the faucet and inspect the housing, pressure-relief control, ports, and nearby fittings for leaks.
Check again after the system has remained pressurized. If a leak appears at the sump, isolate and depressurize the system before adjusting it. Never attempt to tighten or remove a housing while it is under pressure.
Future sticking is less likely when the housing is serviced on schedule, the threads and O-ring groove are kept clean, and the correct seal is lightly lubricated where allowed. Record the cartridge replacement date and use a filter change date planner to help keep the matching wrench near the system.
Example values for illustration.
| Stage | Observation | Action |
|---|---|---|
| Supply isolated | Faucet flow continues | Wait and verify valve closure |
| Pressure relief | Water or air escapes | Allow the release to finish |
| Housing removal | Sump turns without head movement | Continue while supporting the base |
| Initial refill | Air sputters at the faucet | Keep the faucet open temporarily |
| System pressurized | Droplets form at the seal | Shut off and depressurize before inspection |
| Normal operation | No leaks or unusual movement | Recheck after the housing has remained pressurized |
Related guides:
Filter Housing O-Rings: Lubrication, Replacement, and Leak Prevention •
Cartridge Change Mistakes That Cause Leaks •
Cleaning and Sanitizing Filter Housings: A Simple Routine •
Replacement Planner Basics: Estimate Your Next Filter Change Date
When to Stop and Call a Plumber or Service Technician
Professional help is appropriate when the filter head or pipes move, shutoff valves do not close fully, the housing is cracked, or the system cannot be depressurized. Assistance is also sensible when the filter is near electrical equipment, mounted in a difficult location, or connected to plumbing that shows corrosion or previous damage.
A housing that repeatedly seizes may have damaged threads, an unsuitable O-ring, poor mounting support, or pressure conditions that need evaluation. Replacing a compromised housing is safer than repeatedly applying greater force. Until the cause is corrected, keep the system isolated if it cannot hold pressure without leaking.
Frequently asked questions
Which way do I turn a water filter housing to loosen it?
Most threaded filter housings loosen counterclockwise when viewed from below. Check for molded arrows or the system instructions first, because the design may vary.
Why will my water filter housing not open after I shut off the water?
It may still contain trapped pressure. Open a downstream faucet until flow stops and use the pressure-relief button, if fitted, only after isolating the supply.
Can I use a pipe to extend the water filter wrench handle?
No. A pipe extension can apply enough torque to crack the housing, damage the bracket, or stress connected plumbing. Reseat the correct wrench and use steady hand force instead.
Is it safe to use a strap wrench on a stuck filter housing?
A properly sized strap wrench may help after the system is fully depressurized. Use it only on a sturdy service area of the sump and stop if the housing, head, or pipes begin to move.
What should I do if the filter housing is cracked?
Do not repressurize or attempt to repair a cracked housing. Keep the water isolated and replace the damaged pressure-containing part before returning the system to service.
- NSF/ANSI standards explained (42/53/401/58)
- Clear trade-offs: pitcher vs faucet vs under-sink vs RO
- Maintenance planning: cost per gallon and replacement cadence