
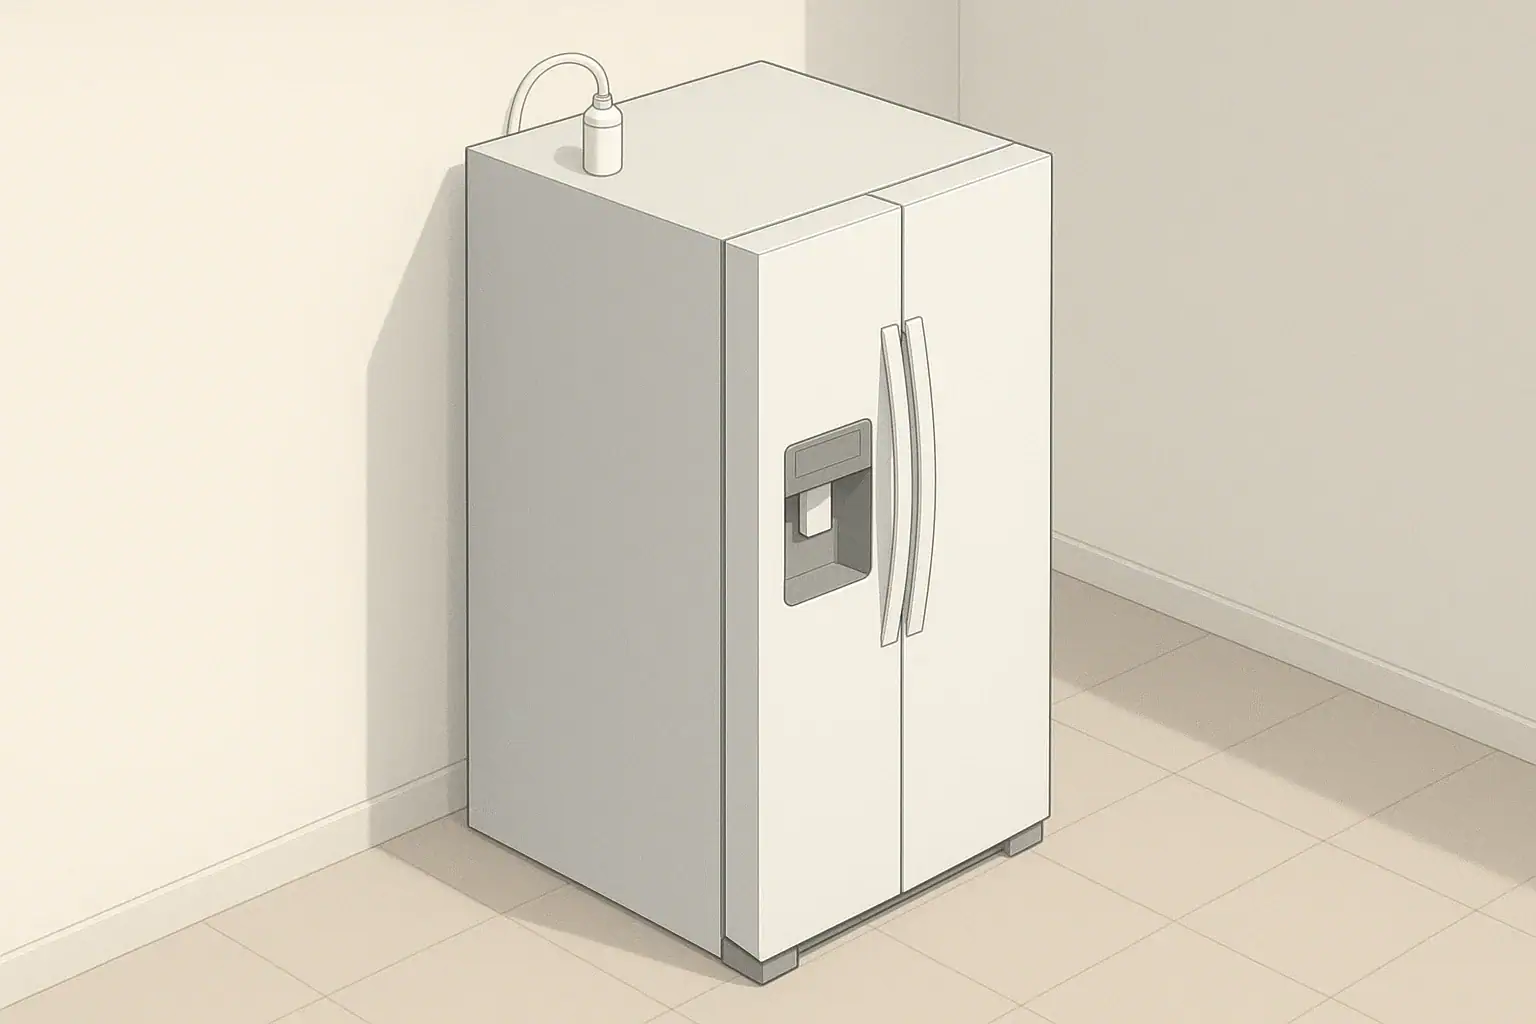
Choosing a refrigerator water filter starts with the appliance model and the existing filter part number—not with appearance alone. The replacement must fit and seal in the housing, operate within the conditions specified for the refrigerator, and carry documented reduction claims that match your water-quality priorities. This guide explains how to check those details for internal cartridges and external inline filters, compare OEM and third-party options, and verify the installation without assuming that every filter certified to the same standard performs identically.
Why Refrigerator Filter Compatibility Matters
A replacement filter must do more than enter the compartment. It needs to engage the correct locking mechanism, place its seals against the intended surfaces, and work with the refrigerator’s water system. A mismatched or improperly seated cartridge can cause low or no dispenser flow, reduced ice production, or leakage.
A suitable replacement should:
- Be listed for the exact refrigerator model or original filter part number
- Lock into the housing without forcing or modifying either part
- Use the correct seals, connection depth, and orientation
- Meet the operating conditions stated in the refrigerator manual and filter documentation
- Have independently verifiable claims for the contaminants or aesthetic effects that matter to you
Physical fit and filtration performance are separate questions. A cartridge may fit a housing without carrying the same contaminant-reduction claims as the original filter.
Filter Types and Connection Styles
Refrigerator filters generally fall into two physical categories: cartridges installed in a refrigerator housing and external inline filters installed on the cold-water supply tubing.
Internal Cartridge Filters
An internal cartridge may be installed in the base grille, an upper interior corner, or a covered compartment on the refrigerator’s interior wall. Depending on the appliance, it may use a push-and-turn mechanism, a release button, or another keyed connection.
Similar-looking cartridges are not necessarily interchangeable. Differences in tabs, neck depth, valve engagement, O-ring position, or housing design can prevent correct sealing. Use the refrigerator manufacturer’s parts information or manual to identify the required part number before comparing alternatives.
External Inline Filters
An inline filter is installed in the supply line behind the refrigerator or at another accessible point upstream. Compatibility depends on the tubing’s measured outer diameter, the connector type, the required flow direction, available mounting space, and the filter’s stated operating limits.
Do not assume a tubing size from the refrigerator type. Read any markings on the tubing or fitting and measure the outer diameter if necessary. Confirm whether the installation uses compression, push-to-connect, or another connector, and follow the fitting manufacturer’s instructions. For more detail on when this arrangement is appropriate, see when to use an external inline refrigerator filter.
| Installation | Start with | Compatibility checks |
|---|---|---|
| Built-in refrigerator housing | Refrigerator model and original filter part number | Approved cross-reference, locking features, seals, dimensions, and performance sheet |
| Existing external inline filter | Current filter model and tubing markings | Tubing outer diameter, connector type, flow direction, mounting position, and operating limits |
| Adding filtration to a refrigerator without a housing | Appliance manual and supply-line details | Permitted installation, available space, fittings, pressure rating, flow, and access for replacement |
How to Identify Your Existing Filter
Document the appliance and current cartridge before removing anything. This creates a reliable starting point for a manufacturer lookup or certified-product search.
Locate the Filter and Housing
- Check the base grille and the upper corners of the fresh-food compartment.
- Look for a labeled cover or filter door on an interior wall.
- If there is no built-in housing, trace the cold-water supply line for an inline filter.
- Consult the refrigerator manual rather than pulling on a cartridge whose release method is unclear.
Follow the appliance instructions for pausing the ice maker or shutting off the water. Before disconnecting an inline filter, close the appropriate accessible shutoff valve and relieve pressure as directed by the installation instructions.
Read the Filter Label
Record the complete filter model or part number, including every suffix and dash. Also photograph the label, both ends of the cartridge, the housing, and any visible fittings. Labels may include a directional arrow, capacity, flow rating, operating limits, certification marks, and a reference to a separate performance data sheet.
Do not treat a familiar brand name or similar package design as a cross-reference. Confirm the exact replacement number in current manufacturer documentation.
Check the Refrigerator Model Tag
The refrigerator’s model and serial tag may be on an interior wall, behind a crisper drawer, or on a door frame. Use the complete model number when searching the manufacturer’s manual or parts catalog. The serial number can help manufacturer support distinguish production revisions, but avoid publishing it in public questions or reviews.
Matching the Size, Housing, and Connections
Dimensions and Orientation
Compare the replacement’s documented dimensions and orientation with the required cartridge—not only with the available empty space. An internal filter may need room to rotate, release, or open a housing door. An inline filter needs secure mounting and enough tubing clearance to avoid sharp bends or strain on its fittings.
Connection and Sealing Features
- Keyed or bayonet cartridges: Match the tabs, collar, insertion depth, and rotation specified for the housing.
- Push-in cartridges: Verify the exact cross-reference and required locking position.
- Compression fittings: Match the tubing and fitting specifications, including any required ferrule or insert.
- Push-to-connect fittings: Use approved tubing of the stated outer diameter, cut squarely and insert it to the specified depth.
Never trim a keyed tab, wedge a cartridge into place, move an O-ring, or use an improvised adapter to make an incompatible internal cartridge fit. Stop if the replacement does not engage in the manner described by the refrigerator instructions.
Pressure, Temperature, Flow, and Capacity
These values are model-specific. Check the filter’s performance sheet and the refrigerator manual for the permitted inlet pressure, water temperature, rated service flow, capacity, flushing procedure, and replacement conditions.
For example, one Whirlpool instruction sheet for specific WHARXRD1/WHARXD1B system combinations lists a 0.52-gpm service flow, a capacity of either 100 or 200 gallons depending on the system, maximum limits of 100°F and 120 psi, and an approximately one-gallon initial flush. Those figures illustrate why values must not be transferred to a different cartridge or refrigerator. Consult the manufacturer’s model-specific instruction sheet for the combinations to which those numbers apply.
Filtration Claims and Standards
Once fit has been confirmed, compare the exact performance claims. Refrigerator filters commonly use carbon media, but the media type alone does not establish which substances a filter has been tested to reduce.
Start With Your Input Water
If your home uses a community water system in the United States, review its annual Consumer Confidence Report for the water source and regulated contaminants detected. The U.S. Environmental Protection Agency explains what these reports contain and how to obtain one in its Consumer Confidence Report guidance.
Private-well water is not covered by a utility report. Testing needs depend on local risks and the well. EPA provides state laboratory certification contacts for locating an appropriate certified drinking-water laboratory. Select a filter claim in response to identified conditions rather than trying to infer water quality from taste or appearance alone.
Read NSF/ANSI Claims Precisely
According to NSF’s overview of drinking-water treatment standards:
- NSF/ANSI 42 addresses aesthetic effects, including applicable chlorine taste and odor or particulate claims.
- NSF/ANSI 53 addresses specified health-effect contaminant claims.
- NSF/ANSI 401 covers specified emerging or incidental compounds.
Certification to one of these standards does not mean that a filter reduces every substance covered by the standard. Verify the exact model and each named reduction claim in the certifier’s listing or the model’s certified performance data sheet.
A concrete example shows why the model number matters: NSF’s official NSF/ANSI 53 listing for Whirlpool Corporation identifies EDR1RXD1B and EDR1RXD1R separately, lists a 200-gallon service cycle and 0.5-gpm flow for those entries, and gives individual claims whose complete lists differ. This is an illustration of claim-level verification, not a recommendation and not evidence that other Whirlpool, EveryDrop, or compatible cartridges have the same performance.
Capacity, Flow, and Replacement Conditions
A capacity is a test-condition rating for a named product, not a promise that every household will receive the same calendar life. Follow whichever applicable limit the documentation specifies, such as rated gallons, elapsed time, a performance indicator, or another stated condition. A persistent drop in flow warrants diagnosis, but it does not by itself identify the filter as the cause.
OEM and Third-Party Filters
OEM filters are supplied under the appliance manufacturer’s specified replacement system. Third-party cartridges may be offered as compatible alternatives. Neither a brand label nor the term “compatible” substitutes for checking the exact appliance model, original filter number, physical interface, and independently verifiable performance claims.
For any option, look for:
- An explicit cross-reference to the exact refrigerator model or required filter number
- Installation instructions that match the housing and locking method
- Published pressure, temperature, flow, capacity, and replacement conditions
- A certification listing that identifies the exact model and named reduction claims
- Manufacturer contact information and a clear procedure for reporting fit or leakage problems
Do not assume that a third-party filter will leak, and do not assume that physical insertion proves equivalence. Compare the documentation using these certification and fit checks for compatible refrigerator filters.
Replacement Selection Checklist
1. Document the Current Setup
- Record the refrigerator brand and complete model number.
- Record the existing filter’s complete part number.
- Photograph the label, cartridge ends, housing, and fittings.
- Note whether the filter is internal or installed inline.
2. Confirm the Approved Fit
- Use the appliance manual, current parts catalog, or manufacturer support to identify the specified replacement.
- For an alternative, obtain an explicit cross-reference to that part or appliance model.
- For an inline filter, verify the tubing outer diameter, fitting type, flow direction, and mounting clearance.
3. Define the Water-Quality Goal
- Review the utility report or appropriate private-well test results.
- Separate aesthetic preferences, such as chlorine taste and odor, from health-related contaminant concerns.
- Do not rely on a refrigerator filter for a contaminant unless the exact model has a verified claim for it.
4. Compare Exact Claims and Conditions
- Check the exact model in an official certification database where certification is claimed.
- Read the named reductions rather than relying only on a standard number or logo.
- Compare rated flow, capacity, operating limits, and replacement conditions.
5. Follow the Model Instructions
- Read the complete removal, installation, and flushing procedure first.
- Use a towel or shallow container for residual water where appropriate.
- Install and lock the cartridge exactly as shown in the manual.
- Flush the specified amount or for the specified procedure; there is no universal flushing duration.
- Reset the filter indicator only as directed by the refrigerator manual.
Diagnose Problems Before Making Changes
Low flow, cloudiness, dripping, and poor ice production can have more than one cause. Use non-destructive checks first. Do not disassemble valves, pressurized housings, or internal refrigerator plumbing unless the manufacturer’s instructions specifically make that a user-serviceable task.
| Symptom | Safe initial check | Next step | Stop and seek service when |
|---|---|---|---|
| Low or no dispenser flow | Confirm that the cartridge is the specified model and is fully locked; check that an accessible supply valve is open. | Reinstall the cartridge using the model instructions and complete the specified flush. | Flow does not recover, the filter will not lock normally, or the housing appears damaged. |
| Leak at the filter housing | Stop dispensing and inspect for incorrect seating, visible cartridge damage, or a damaged seal without dismantling the housing. | Shut off the supply where safely accessible and reseat the undamaged correct filter as directed. | Leakage continues, or the filter, O-ring, connector, or housing is cracked or damaged. |
| Cloudy water or brief dripping after replacement | Check whether installation and the specified flushing procedure were just completed. | Continue only with the model’s flushing instructions and observe whether trapped air clears. | The condition persists after the instructed flush, is accompanied by leakage, or the water has unexplained particles, color, or odor. |
| Small or hollow ice after replacement | Confirm stable dispenser flow and correct filter seating. | Allow the system to clear trapped air according to the appliance guidance. | Ice production or water flow remains abnormal after correct installation and flushing. |
| Filter does not insert or rotate normally | Compare its full part number and connection features with the specified replacement. | Remove it without forcing and obtain the correct model. | The housing or release mechanism is jammed, cracked, or will not accept the documented correct filter. |
Manufacturer troubleshooting guidance also identifies incorrect seating as a possible source of leakage and flow problems. Whirlpool advises checking installation and seeking service when leakage continues or components are damaged; see its guidance on a damaged or leaking refrigerator filter.
Maintenance and Replacement Timing
Use the replacement conditions published for the exact filter and refrigerator combination. Six months appears in the instructions for some products, but it is not a universal interval for every refrigerator filter. A model may also specify a gallon capacity or another condition that requires earlier replacement.
Track:
- The installation date and exact cartridge model
- The manufacturer’s time and capacity limits
- Filter-indicator status, if the refrigerator has one
- Persistent changes in dispenser flow, taste, or odor
- Any leaks, reseating attempts, or service work
A change in taste or flow is a reason to inspect the system and consult the instructions, not proof of one specific cause. Cloudiness immediately after replacement may be trapped air rather than an exhausted cartridge. Unexplained or persistent water-quality changes should be investigated through the water supplier, appropriate testing, or qualified appliance/plumbing service as applicable.
Verify the Result After Installation
After installing the correct cartridge:
- Restore the water supply according to the appliance instructions.
- Watch the housing and accessible connections while completing the exact flushing procedure.
- Confirm that dispenser flow becomes stable and that the filter remains locked.
- Recheck the housing, fittings, floor, and nearby cabinet after the system has been used.
- Confirm normal ice production over the period specified by the appliance guidance rather than judging the first batch alone.
Stop using the dispenser and shut off the water at an accessible valve if active leakage occurs. Do not continue flushing a leaking system. If correct reseating does not stop the leak—or if a cartridge, seal, connector, or housing is damaged—arrange manufacturer-authorized or otherwise qualified service.
Frequently Asked Questions
How do I find the correct refrigerator filter number?
Record the refrigerator’s complete model number and the complete number printed on the existing cartridge. Confirm the specified replacement in the current appliance manual, manufacturer parts catalog, or through manufacturer support. Do not select solely by cartridge shape.
Does NSF/ANSI 53 certification mean a filter reduces every health-related contaminant?
No. The standard covers specific health-effect claims, but a certified filter is evaluated only for the claims listed for that exact model. Check the certifier’s model entry or certified performance data sheet for the named contaminant reduction.
Can two filters that fit the same housing have different performance?
Yes. Physical compatibility does not establish equivalent media, capacity, flow, or reduction claims. Compare the exact certification listing and performance sheet for each model.
How can I confirm an inline filter will fit the supply line?
Identify the tubing material and measure its outer diameter, then verify the connector type, approved tubing specification, flow direction, operating limits, and mounting clearance. Follow the filter and fitting manufacturers’ instructions rather than assuming a standard tubing size.
Does cloudy water after installation mean the new filter is defective or exhausted?
Not necessarily. Trapped air after replacement can temporarily cause cloudiness, dripping, or small and hollow ice. Follow the exact flushing instructions. Stop and investigate if the condition persists, if leakage is present, or if the water has unexplained particles, color, or odor.
Should I add a sediment prefilter?
Do not assume that an added filter is compatible or will extend cartridge life. First identify the water condition through the utility report or appropriate testing, then confirm that the refrigerator and plumbing installation permit the proposed equipment without violating required pressure, flow, or service conditions.
Recommended next:
- NSF/ANSI standards explained (42/53/401/58)
- Clear trade-offs: pitcher vs faucet vs under-sink vs RO
- Maintenance planning: cost per gallon and replacement cadence