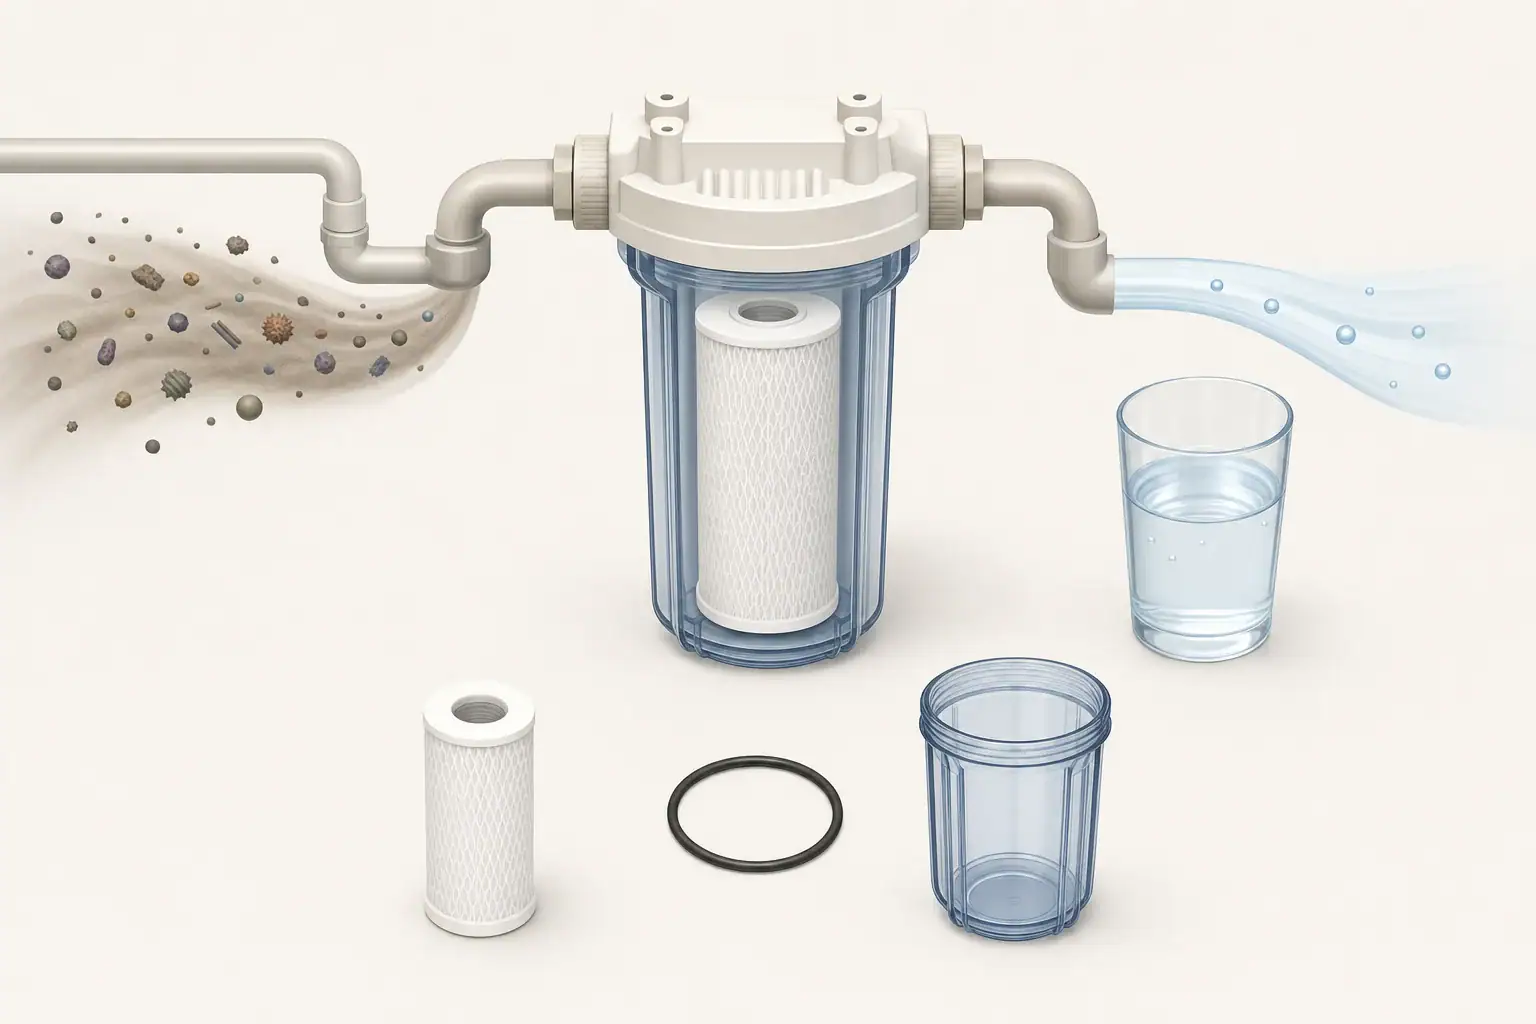
A water filter housing that will not seal usually has a problem with the O-ring, sealing surfaces, thread alignment, assembly, or operating pressure. Finding the exact leak location is important because the visible drip may travel along the housing before it falls.
Most cartridge housings use their large threads to hold the sump and cap together. The O-ring—not the housing threads—usually creates the watertight seal. Pipe connections at the inlet, outlet, drain, or pressure-relief assembly may use a different sealing method.
Before tightening anything, isolate the system and release trapped pressure. A housing can contain substantial stored energy, even when no water is visibly moving.
Why a Water Filter Housing Leaks
A housing leak often appears immediately after a cartridge change, but the new cartridge is not necessarily defective. Opening the housing can displace the O-ring, introduce debris, or reveal wear that was not apparent during the previous service interval.
Common causes include:
- An O-ring that is twisted, stretched, cut, flattened, dry, or incorrectly sized
- Debris, scale, or old lubricant in the O-ring groove
- A sump that entered the cap at an angle and became cross-threaded
- A cartridge that is too long, off-center, or improperly seated
- Cracks around threaded ports, the cap, or the sump rim
- Excessive tightening that distorts the housing or damages threads
- High static pressure, pressure surges, or thermal expansion
- A leak from nearby tubing or fittings that runs onto the housing
Do not assume that more wrench force will stop the leak. Additional tightening can pinch the O-ring, make future removal difficult, or crack a plastic component. Review these cartridge change mistakes that cause leaks before reassembling the housing.
Isolate the System and Locate the Leak
Shut off the water and relieve pressure
Close the appropriate upstream shutoff valve. Turn off any pump supplying the filter if the system instructions require it. Open a downstream faucet to reduce line pressure, then use the housing’s pressure-relief feature only as directed by its instructions.
Never loosen a sump, cap, gauge, relief button, or threaded connection while the housing is pressurized. If the housing does not depressurize normally, stop and have the system evaluated rather than forcing it open.
Dry the assembly before tracing the leak
Water can travel around a cap or down a mounting bracket, making an inlet fitting look like a sump leak. Dry the cap, sump, fittings, tubing, and nearby wall or cabinet surfaces. During the later restart, use a dry paper towel to identify the first point that becomes wet.
Inspect the leak path from top to bottom. Water appearing at the bottom of the sump may have started at a pipe connection, pressure-relief button, gauge port, or bracket fastener above it.
Example values for illustration.
| First wet area | Likely area to inspect | Initial action |
|---|---|---|
| Cap-to-sump seam | O-ring, groove, sump alignment | Depressurize and inspect the seal |
| Inlet or outlet port | Pipe threads, adapter, or cracked port | Check the approved sealing method |
| Relief button | Debris, internal seal, or damaged mechanism | Clean only as permitted by the instructions |
| Clear or opaque sump wall | Hairline crack or impact damage | Replace the damaged pressure-containing part |
| Bottom of housing | Water tracking down from above | Dry everything and trace the first moisture |
| Tubing connection | Tube insertion, cut quality, or fitting seal | Follow the fitting’s approved service procedure |
| Gauge or accessory port | Thread seal or accessory damage | Isolate before inspecting the connection |
Check the Housing Threads and Sealing Surfaces
Distinguish holding threads from sealing threads
The large threads connecting a filter sump to its cap commonly provide mechanical clamping force. They draw the O-ring against its mating surface, but they are not usually intended to be sealed with thread tape or pipe compound.
Applying tape, paste, adhesive, or caulk to sump threads can interfere with alignment and may make the housing unsafe or difficult to service. Use only the assembly method and lubricant specified for that housing.
Inlet and outlet ports may use tapered pipe threads, straight threads with a gasket, quick-connect fittings, or another connection design. These cannot all be sealed the same way. Follow the component instructions and use only materials approved for potable-water contact and the relevant pipe material.
Look for cross-threading and damage
After depressurizing and opening the housing, clean the threads with a soft cloth. Check for flattened ridges, plastic shavings, impact marks, embedded grit, and sections that no longer follow a consistent spiral.
A sump should generally enter the cap squarely and turn without binding. If it immediately tilts, jams, or requires heavy force, back it out and start again. Do not use the housing wrench to force misaligned threads together.
Also inspect the cap and sump sealing faces. A nick, deep scratch, warped rim, chemical damage, or hairline crack can prevent reliable sealing. Cracked pressure-containing components should be replaced rather than patched.
Inspect the O-Ring Carefully
Remove the O-ring without using a sharp metal tool that could scratch the groove. Wash the O-ring and groove with clean water as appropriate for the system, then wipe them with a clean, lint-free cloth. See this guide to filter housing O-rings for more on replacement and lubrication.
Examine the entire circumference. Replace the O-ring if it has:
- Cuts, tears, cracks, or rough edges
- A permanently flattened profile
- Swelling, hardening, or unusual softness
- Visible stretching that prevents it from sitting in the groove
- An uncertain size or cross-sectional shape
An O-ring can look close to the correct size but still fail to seal. Diameter, thickness, profile, and material all matter. Use the specified replacement rather than selecting one solely because it appears to fit.
Use lubricant sparingly
If lubrication is permitted, apply only a thin, even film of food-grade silicone lubricant suitable for the O-ring material and potable-water equipment. The purpose is to reduce friction and help prevent twisting—not to fill a gap.
Avoid petroleum jelly, general-purpose grease, cooking oil, pipe compound, and unidentified lubricants. Some products can damage elastomers, collect debris, or be unsuitable for drinking-water equipment.
Seat the O-ring flat in its designated groove. It should not be twisted, doubled over, or hanging outside the groove. Some housings place the O-ring on the sump while others place it in the cap, so confirm the correct location.
Reassemble the Housing Without Distorting It
Confirm that the replacement cartridge is the intended size and orientation. A cartridge that is too long or not centered can stop the sump before the O-ring reaches its sealing surface. Check that any internal standpipe, centering post, gasket, or spring is correctly positioned.
Bring the sump straight into the cap and start the threads by hand. If resistance appears immediately, stop and realign it. Thread engagement should be smooth before final tightening.
Tightening requirements vary. Some housings are designed for firm hand tightening, while others specify limited use of a housing wrench. A housing wrench is often intended mainly for removal and does not automatically justify maximum force during installation. Follow the housing instructions rather than relying on leverage.
If the O-ring is correctly seated but the seam still will not close normally, do not compensate by overtightening. Recheck cartridge dimensions, internal components, thread engagement, and the condition of the cap and sump.
Perform a Controlled Pressure Check
Refill slowly
Close any faucet used for depressurization only when the system procedure calls for it. Restore the water supply gradually while observing the assembly from a safe position. Slow refilling allows trapped air to leave and makes a developing leak easier to detect.
Use the air-release feature only according to the equipment instructions. Trapped air can cause sputtering and irregular pressure behavior, but an air-release control should never be removed or modified while the housing is under pressure. Learn how to address air in the line after a filter change safely.
Check static and flowing pressure
A pressure gauge can help distinguish an assembly leak from a system pressure problem. Static pressure is measured when no downstream water is flowing. Flowing pressure is measured while a fixture or appliance is drawing water.
Compare the observed pressure with the ratings of the housing, cartridge, fittings, tubing, valves, and connected treatment equipment. The lowest applicable pressure and temperature rating controls. Remember that pressure can vary by time of day and that short surges may not be obvious from a single gauge reading.
If pressure approaches or exceeds a component rating, or if it changes sharply when valves close, have the pressure-control and expansion conditions assessed by a qualified plumber. Do not disable relief devices or alter pressure controls as a leak workaround.
Match the Leak Pattern to the Next Check
The timing of a leak often narrows the cause. A leak that starts during filling may indicate an O-ring or alignment problem. A leak that appears only after all faucets close may be related to rising static pressure. Intermittent moisture can come from pressure changes, temperature changes, condensation, or a nearby fitting.
Leak begins immediately at the seam
Shut the water off, depressurize, and inspect the O-ring position, groove cleanliness, cartridge seating, and thread alignment. Repeated tightening without inspection is unlikely to correct a pinched or damaged seal.
Leak develops after several minutes
Observe system pressure after flow stops. Slowly increasing pressure may reflect thermal expansion, pump operation, or another system condition. A qualified plumber can evaluate pressure regulation and expansion control without bypassing protective devices.
Leak returns after every cartridge change
Check whether the O-ring is being replaced with the correct part, whether the groove is being cleaned, and whether the cartridge dimensions match the housing. Repeated leaks can also indicate worn threads or a distorted cap that no longer applies even pressure to the seal.
Leak appears only at a connected fitting
Treat the fitting as a separate connection. Confirm its thread type or tubing design before resealing it. Excess tape or excessive torque in a plastic port can split the cap, while insufficient tube insertion can cause a quick-connect fitting to leak.
Example values for illustration.
| Gauge observation | What it may indicate | Practical response |
|---|---|---|
| 0 psi after isolation | Housing is depressurized if no pressure is trapped | Verify before opening the housing |
| 10–20 psi during slow refill | Early-stage pressurization | Pause and inspect all joints for moisture |
| About 40 psi and stable | Moderate illustrative operating condition | Compare with all component ratings |
| About 60 psi and stable | Higher illustrative supply condition | Inspect carefully and confirm rated compatibility |
| Pressure climbs after flow stops | Possible expansion or regulation issue | Record the pattern and seek qualified evaluation |
| Reading exceeds the lowest component rating | System is outside an acceptable rated condition | Shut down safely and have the cause corrected |
Related guides:
Cartridge Change Mistakes That Cause Leaks •
Filter Housing O-Rings: Lubrication, Replacement, and Leak Prevention •
Cleaning and Sanitizing Filter Housings: A Simple Routine •
Low Pressure After Installing a Filter: 8 Things to Check
When the Housing or Plumbing Needs Professional Attention
Stop using the housing if it is cracked, heavily scratched, chemically damaged, deformed, or unable to engage its threads smoothly. Pressure-containing plastic components are not appropriate candidates for glue, heat repair, makeshift clamps, or improvised reinforcement.
Professional help is also appropriate when:
- The shutoff valve does not fully isolate the filter
- The system cannot be safely depressurized
- A plastic inlet or outlet port is cracked
- Pressure exceeds a component rating or fluctuates sharply
- A well pump cycles abnormally during testing
- Leaks recur despite the correct O-ring and careful assembly
- The connection type or approved sealant cannot be identified
After a successful repair, keep the housing accessible and dry while monitoring it through several flow and no-flow cycles. Recheck it later the same day and after normal appliance use. A dry seam under both flowing and static conditions is a better confirmation than a brief inspection immediately after startup.
Frequently asked questions
Should I put thread tape on a water filter housing?
Usually not on the large sump-to-cap threads. Those threads normally clamp the O-ring; use thread sealant only on a separate connection when that connection type and its instructions call for it.
Why does my filter housing leak after I replace the cartridge?
The O-ring may be out of position, dirty, damaged, dry, or incorrect. Also check that the cartridge is the correct size and seated properly before tightening the sump.
Can I tighten the filter housing more to stop a leak?
Do not keep tightening a leaking housing. Excess force can pinch the O-ring, damage threads, distort plastic parts, or crack the housing. Depressurize it and inspect the seal first.
How do I know whether the leak is from the O-ring or a fitting?
Dry the entire assembly, then restore water slowly and watch for the first wet point. Moisture beginning at the cap-to-sump seam suggests the O-ring area, while moisture at a port or tube connection points to that fitting.
When should a leaking filter housing be replaced?
Replace cracked, deformed, chemically damaged, or badly scratched pressure-containing parts. If threads bind, do not engage smoothly, or leaks continue with the correct O-ring and assembly, have the housing evaluated or replaced.
- NSF/ANSI standards explained (42/53/401/58)
- Clear trade-offs: pitcher vs faucet vs under-sink vs RO
- Maintenance planning: cost per gallon and replacement cadence