
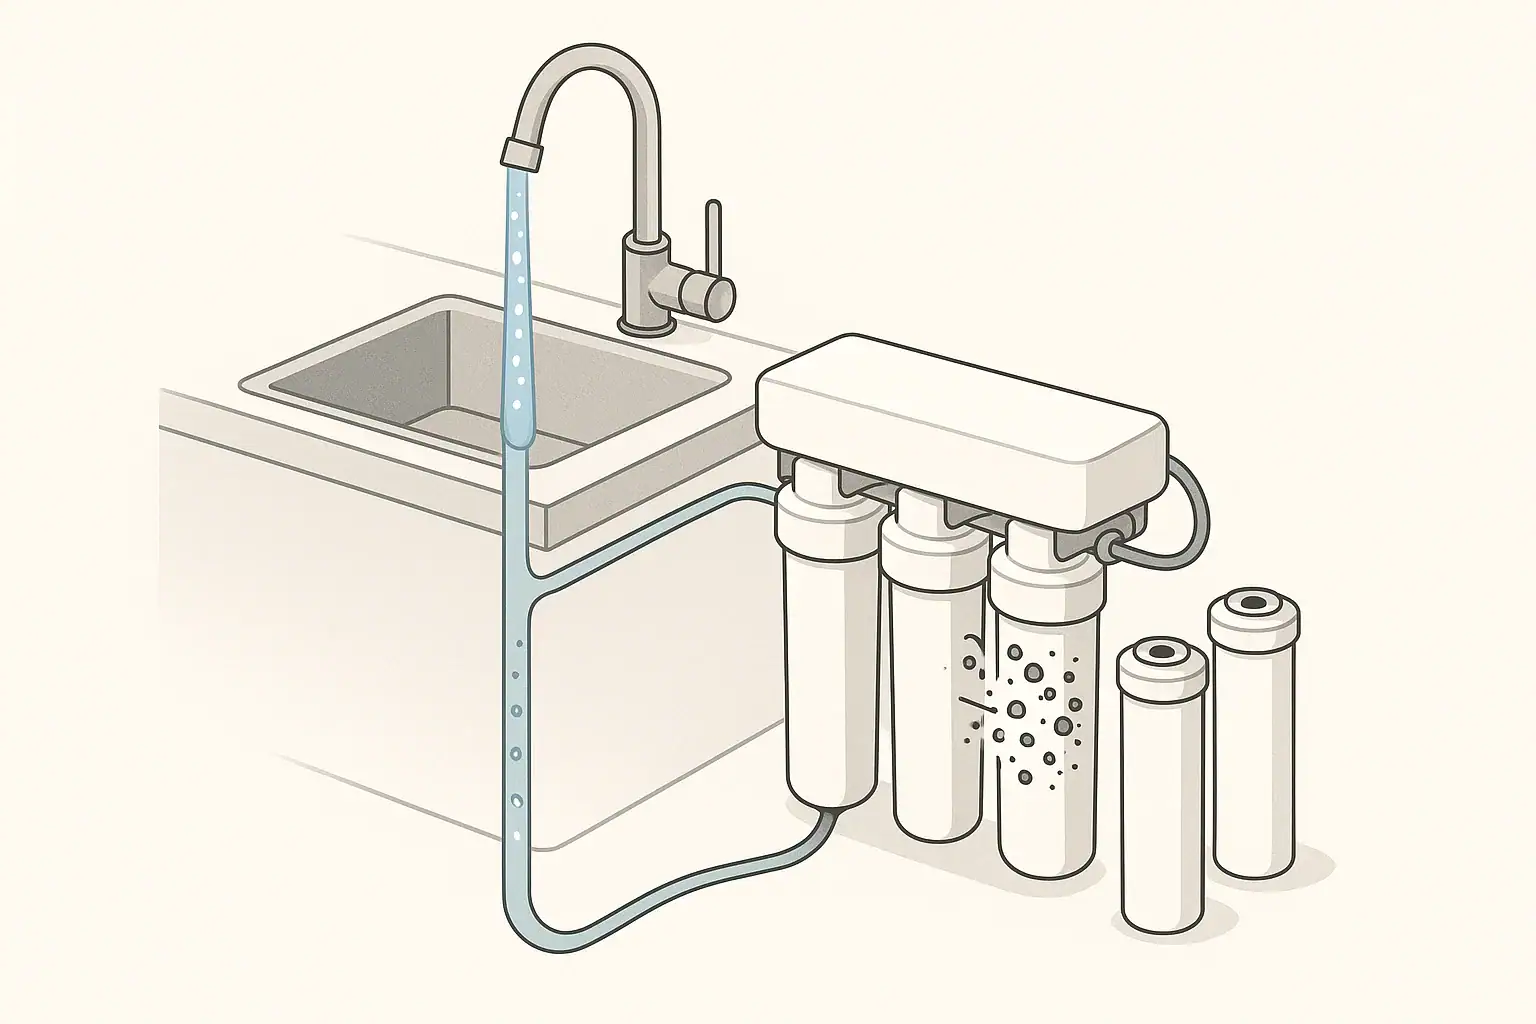
Why There Is Air in the Line After a Filter Change
Seeing sputtering water, bursts of air, or cloudy water after changing a filter is very common. Almost every type of residential filter housing traps some air when you install a new cartridge. That air then gets pushed through your plumbing the first time you turn the water back on.
This can happen with:
- Under-sink drinking water filters
- Refrigerator and icemaker filters
- Countertop and faucet-mounted filters
- Whole-house sediment and carbon filters
- Reverse osmosis (RO) systems
In most cases, the trapped air works itself out in a few minutes of steady flow. Understanding why it happens helps you know what is normal and what might signal a problem.
Typical reasons for air in the line after a filter change include:
- Air pockets in the new cartridge: Many cartridges, especially carbon block and sediment filters, contain internal voids that initially hold air.
- Air in the housing: When you open a filter housing to replace a cartridge, the housing fills with air. Even if you fill it partway with water, some air usually remains.
- Low system pressure on restart: As water pressure builds back up, it pushes both water and air through the lines, creating spurts and noise.
- RO tank and tubing: Reverse osmosis systems have extra tubing and a storage tank that can trap air during cartridge or membrane replacement.
Some noise, spurting, or temporary cloudiness from microbubbles is generally normal right after maintenance, as long as it resolves within a reasonable flushing period and there are no leaks.
Is Air in the Water Line Harmful?
For typical home water filtration systems, air in the line after a filter change is usually more of a nuisance than a hazard. It can cause:
- Chattering or banging from the faucet as air pockets move
- Short bursts of cloudy or milky-looking water from fine bubbles
- Uneven flow or short spurts instead of a steady stream
These effects typically fade after you run water long enough to purge the system. The key concerns are practical and mechanical, not about the air itself:
- Plumbing stress: Large, fast-moving air pockets can contribute to vibration and noise in pipes.
- Intermittent flow: Appliances such as ice makers, coffee machines, or dishwashers may not work correctly if a lot of air remains in the line.
- Inconsistent taste and clarity: Until the filter is fully flushed, you may notice odd tastes or cloudiness related to manufacturing dust and trapped air.
There are, however, a few situations that deserve closer attention:
- Persistent air with no recent work: If you have ongoing bursts of air even when you have not changed a filter or worked on plumbing recently, the cause may be unrelated to the filter.
- Sudden drop in water pressure plus air: This can point to an upstream issue such as a well pump, pressure tank, or municipal supply problem.
- Visible sediment or discoloration with air: That combination calls for investigation beyond routine purging.
For a typical filter change on a working system, your main goal is simply to purge the air so the water runs smoothly and the filter media are properly flushed.
Example values for illustration.
| Observation | Typical Duration (example) | Usually Normal? | What to Check |
|---|---|---|---|
| Short spurts of air at faucet | 1–5 minutes of flushing | Yes | Verify all connections are tight and no leaks |
| Cloudy water that clears in glass | Up to 15 minutes | Often | Check that recommended flush volume is completed |
| Loud banging in pipes | More than a few seconds | Sometimes | Open faucet fully and flush steadily to clear air more gently |
| Continuous air after 30 minutes of use | Over 30 minutes | No | Inspect upstream plumbing or contact a professional |
| New leak at housing or fittings | Immediate | No | Turn off water, re-seat O-rings, and retighten per instructions |
| Appliance not filling properly | Persists after flushing | No | Check valves, supply lines, and any inline filters for trapped air |
How to Purge Air After a Filter Change: Step-by-Step
The exact steps vary with system type, but the basic goal is the same: allow water to flow steadily through the system until air and loose particles are flushed out.
General Steps for Most Cartridge Filters
For under-sink, countertop, faucet-mounted, and most whole-house cartridge systems:
- Verify the filter is seated correctly.
- Check that the cartridge is aligned and fully inserted.
- Inspect O-rings or gaskets and lightly lubricate them if the manufacturer recommends it.
- Close the housing or filter head securely.
- Tighten by hand as directed; avoid over-tightening.
- Ensure any locking clips are snapped into place.
- Turn the water supply back on slowly.
- Open the shutoff valve gradually to reduce sudden pressure surges.
- Watch the housing for leaks as it fills.
- Open the downstream faucet fully.
- Use the cold side for drinking water systems.
- Let the water run continuously; expect sputtering and bursts of air at first.
- Flush for the recommended time or volume.
- Many carbon filters recommend flushing for several minutes or a few gallons.
- Keep flushing until the flow is smooth and the water runs clear.
- Re-check for leaks after purging.
- Inspect the housing, fittings, and any visible tubing.
- Dry around joints and check again later to catch slow seepage.
Purging Air From a Reverse Osmosis System
RO systems have more components, so clearing air can take longer:
- Replace prefilters, membrane, and postfilter as needed.
- Confirm flow direction arrows are correct.
- Secure all quick-connect fittings.
- Open the feed water valve and check for leaks.
- Open the RO faucet and leave it open.
- Initially, the flow may be very low and full of air pockets.
- Allow the system to produce water until the storage tank fills.
- Once the tank is full, drain it completely.
- Open the RO faucet and let it run until the flow slows to a trickle.
- This first full tank is often discarded to flush air and manufacturing residues.
- Allow the tank to refill and repeat if recommended.
- Some directions call for one or more full fill-and-drain cycles.
- After the initial cycles, the air noise and bubbles should largely disappear.
Because RO systems operate at low flow, small bubbles may be visible for a while, but they should diminish as the system cycles. For persistent low-flow issues see Troubleshooting Low RO Flow.
Purging Air From a Whole-House Filter
A whole-house system connects to the main line, so extra care is important to avoid sudden pressure surges.
- Close the main shutoff and depressurize.
- Open a nearby faucet to relieve pressure before opening housings.
- Install the new cartridge and close housings firmly.
- Slowly reopen the main valve.
- Turn it partway open at first to fill housings gently.
- Listen for water filling the system.
- Open several cold-water faucets in the building.
- Use faucets on the lowest floor first to help air escape.
- Let them run until sputtering stops and flow is steady.
- Close faucets one at a time.
- Once the air is out, close each faucet gradually.
- Check filter housings again for leaks after the system stabilizes.
Normal Purging Behavior vs. Signs of a Problem
Knowing what to expect helps distinguish normal post-change behavior from potential trouble.
What Is Usually Normal
After a filter change and initial flushing, these are typical:
- Short bursts of air when you first open the faucet.
- Cloudy or fizzy-looking water that clears from the bottom up in a glass, indicating tiny air bubbles.
- Mild noise from the faucet or tubing that fades as air clears.
- Slight dark or gray tint at first from carbon fines, which should clear with flushing.
When to Recheck Your Installation
Take a closer look if you notice:
- Continuous air spurts after generous flushing.
- Visible leaks or dampness around housings, fittings, or valves.
- Very low flow rate compared with what you had before the change.
- Unusual noises such as ongoing hammering or vibration in pipes.
Common correctable causes include:
- A cartridge not fully seated in the housing or filter head.
- Misaligned or damaged O-rings letting air or water bypass.
- Partially closed shutoff valves restricting flow.
- Air relief or bleed screws (if present) not used according to instructions.
If reinstalling the cartridge and checking valves does not resolve the issue, it may be time to involve a licensed plumber or water treatment professional, especially if the air problems began along with other plumbing changes — or consult a guide on how to identify the source.
Reducing Air Problems During Future Filter Changes
You can often reduce post-change air issues with a few simple habits during installation.
Prepare the System Before You Open It
- Turn off the supply and relieve pressure.
- Shut off the feed valve to the filter or system.
- Open the downstream faucet until flow slows, easing housing removal.
- Have towels or a pan ready.
- This encourages slower, more careful work when opening housings.
Minimize Trapped Air Where Practical
- Inspect and clean housings.
- Rinse out settled debris and old carbon fines.
- Check that the bottom of the housing is clear so the new cartridge seats properly.
- Pre-wet cartridges if recommended.
- Some cartridges benefit from a quick rinse in clean water to displace air pockets.
- Follow the manufacturer’s directions; some inserts are designed to be installed dry.
- Use bleed screws or vents if provided.
- Certain whole-house housings include a small button or screw to release trapped air.
- Use them only as directed and re-seal them securely.
Restart Gently
- Open valves slowly.
- Abrupt opening can send a large slug of air and water through pipes.
- Gradual opening allows air to move through more smoothly.
- Flush steadily, not in short bursts.
- Keep the faucet fully open during the initial purge.
- A steady flow helps carry air out more efficiently.
Example values for illustration.
| System Type | Example Faucet Flow Rate | Example Flush Volume | Estimated Flush Time |
|---|---|---|---|
| Under-sink carbon filter | 0.75 gallons per minute | 3 gallons | About 4 minutes |
| Countertop filter | 1.0 gallons per minute | 2 gallons | About 2 minutes |
| Faucet-mounted filter | 0.5 gallons per minute | 2 gallons | About 4 minutes |
| RO drinking faucet | 0.25 gallons per minute | 2 gallons | About 8 minutes (across fill/drain cycles) |
| Whole-house cartridge | 3.0 gallons per minute (one faucet) | 5 gallons | About 2 minutes |
| Refrigerator dispenser | 0.4 gallons per minute | 2 gallons | About 5 minutes |
Frequently asked questions
How long should I flush my filter after changing it?
Flush until the water runs clear and the flow is steady, following any manufacturer-recommended volume. In practice that often means several minutes for cartridge filters and one or more fill-and-drain cycles for RO tanks.
Is cloudy or fizzy water after a filter change safe to drink?
Yes—temporary cloudiness is usually from tiny air bubbles or carbon fines and clears with flushing. If discoloration, sediment, or an unusual taste persists, stop using the water and investigate further.
What should I do if air continues after 30 minutes of flushing?
Shut off the supply, depressurize, and check that the cartridge is seated, O-rings are intact, and valves are fully open. Use any provided bleed screws. If the problem persists, contact a plumber or water treatment professional.
Can I prevent trapped air when I replace a cartridge?
Yes—prepare by turning off and relieving pressure, pre-wetting cartridges if recommended, installing cartridges carefully, opening valves slowly, and flushing steadily. Using bleed vents when available also helps remove trapped air.
Related guides: Low Pressure After Installing a Filter: 8 Things to Check • Why Your Filtered Water Flow Suddenly Dropped (Diagnostic Checklist) • Leaking Under the Sink: How to Identify the Source Fast
Recommended next:
- NSF/ANSI standards explained (42/53/401/58)
- Clear trade-offs: pitcher vs faucet vs under-sink vs RO
- Maintenance planning: cost per gallon and replacement cadence