
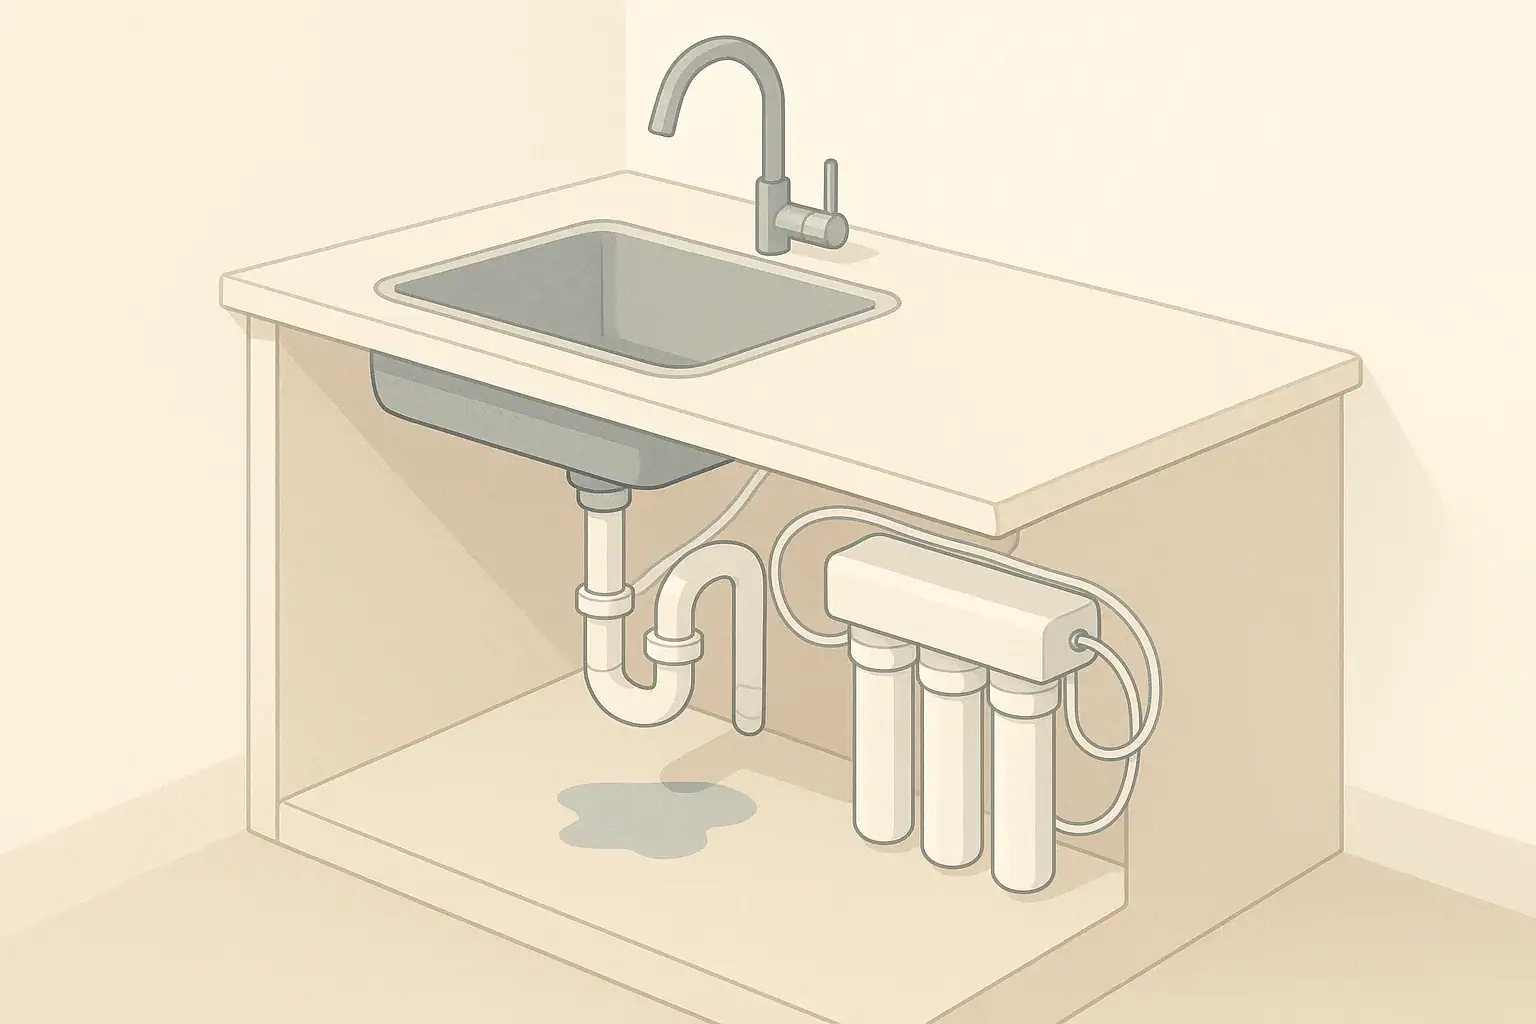
Why Is There Water Under My Sink?
Water under the sink can come from several places, not just the drainpipe. In many homes, this space also holds under-sink water filters, shutoff valves, garbage disposals, and supply hoses. Any of these can develop small leaks that slowly damage cabinets, flooring, and nearby materials.
The good news is that most under-sink leaks fall into a few predictable patterns. By taking a calm, step-by-step look at when and where the water appears, you can usually narrow down the source quickly and decide whether it is a simple DIY fix or a job for a licensed plumber.
This guide focuses on the most common leak sources under a kitchen sink, including areas around water filtration equipment. It will help you:
- Identify whether the leak is from drainage, supply lines, or a filter system
- Use simple tests to confirm or rule out each component
- Understand which issues are urgent and when to shut off water
- Prepare for a repair visit with clear observations
Step 1: Make the Area Safe and Do a Quick Check
Before you start testing things, reduce the risk of water damage and make it easier to see what is going on.
Protect the Cabinet and Clear the Space
First, remove items from the cabinet so you can see the entire base, back wall, and all plumbing components.
- Place towels or a tray under the pipes to catch new drips.
- If the cabinet floor is already wet, blot up standing water.
- Use a flashlight or phone light to inspect darker corners.
Turn Off Water if the Leak Is Active
If you see water actively spraying or continuously dripping, turn off water before investigating further.
- Most sinks have shutoff valves on the hot and cold lines under the sink. Turn these clockwise to close.
- If the shutoffs are hard to turn or stuck, do not force them; consider using the main shutoff for the home if water loss is significant.
- If an under-sink filtration system has its own shutoff valves, you can close those as well when narrowing down the source.
Note When the Leak Happens
One of the most helpful clues is timing. Ask yourself:
- Does water appear only when the faucet is running?
- Does it appear when the dishwasher or garbage disposal runs?
- Is there water even when everything is off, especially after several hours?
- Does the leak show up only when using filtered water or a separate drinking faucet?
Your answers will help you choose what to inspect first.
Example values for illustration.
| Observation | What It Often Points To | Priority Level (Example) |
|---|---|---|
| Water only when faucet runs | Drain connections or faucet body | Medium |
| Water when garbage disposal runs | Disposal housing or side connections | Medium |
| Water even when everything is off | Supply lines, shutoff valves, or filter fittings | High |
| Wet only near back wall | Supply valves, wall penetration, or ice maker line | High |
| Wet mainly under P-trap | Drain trap or slip-joint connections | Medium |
| Drips below filter housing | Filter canister, O-ring, or tubing fittings | High |
| Condensation on cold pipes | Moisture from air, not a pressurized leak | Low |
This checklist is for general guidance and does not replace professional inspection.
Step 2: Is It the Drain, Supply, or Filter System?
Nearly every under-sink leak comes from one of three broad areas:
- Drain side – including the sink strainer, P-trap, and other drain fittings
- Supply side – including shutoff valves and flexible hoses under pressure
- Filtration and accessories – including cartridge housings, tubing, and extra faucets
Focus on one group at a time so you can test each clearly.
How to Check the Drain Side
Drain leaks usually show up only when water is flowing down the sink. With the cabinet empty and dry:
- Place dry paper towels or tissue under the P-trap and drain joints.
- Run the faucet at a steady flow for a minute.
- Check for drips forming on the trap, the vertical drain pipe, or slip-joint nuts.
- Fill the sink partially, then release the water at once; surging flow sometimes reveals leaks that a slow stream does not.
If water appears only when you drain the sink, suspect:
- Loose slip-joint nuts on the trap or drain arms
- A deteriorated gasket or seal at the sink strainer
- Cracked plastic parts or misaligned joints
For sinks with garbage disposals, also watch the body and the connections to dishwashers or other drains while the disposal runs.
How to Check the Supply Side
Supply leaks usually show up even when the faucet is off, because these lines are under constant pressure. Look at:
- Shutoff valves on the hot and cold lines
- Flexible supply hoses from valves to the faucet
- Any tee fittings feeding dishwashers, ice makers, or filtration systems
With the cabinet dry, open the shutoff valves and check for:
- Slow beads of water forming around valve stems or compression nuts
- Dampness along flexible braided hoses
- Drips traveling down to the cabinet floor from a higher point
If you see water constantly forming even with the faucet off, that usually indicates a supply-side issue that should be addressed promptly, because pressurized leaks can worsen over time.
How to Check Under-Sink Water Filters and RO Systems
If you have an under-sink water filter or reverse osmosis (RO) system, it adds extra tubing, cartridges, and sometimes a separate drinking faucet. These components can be involved in leaks, especially after recent maintenance.
Common leak points on filtration systems include:
- Threaded or quick-connect fittings on the inlet and outlet tubing
- Cartridge housings or sumps, especially around the O-ring seals
- Drain saddle connections on RO systems
- RO storage tank connections on systems that use a tank
- The base of a dedicated filtered-water faucet
To test a filter system:
- Dry the area around all filter housings and fittings.
- Turn off cold water to the main faucet, then turn on only the filtered-water faucet or RO faucet if available.
- Observe all visible tubing and joints for drips while filtered water is flowing.
- If you have an RO system with a tank, note whether water appears even when you are not dispensing; that can point to slow leaks at the tank or drain connection.
If you recently changed filter cartridges and the leak began afterward, the cause may be a misseated O-ring, debris on a sealing surface, or a housing not fully tightened according to the system’s instructions.
Step 3: Track the Exact Path of the Water
Once you know whether the leak is linked to drain use, constant pressure, or the filtration system, follow the water path as precisely as possible.
Use Dry Tissues or Paper Towels as Indicators
Damp cabinet floors can make it hard to see where water really starts. You can use tissues as simple leak detectors:
- Gently press a dry tissue around each suspected joint or fitting.
- Move from the highest point downward; gravity pulls water down, so the true source is usually above the wettest spot on the floor.
- If only one side of a component gets the tissue wet, the leak may be on that side or slightly above it.
Check for Condensation Versus Actual Leaks
Sometimes what looks like a leak is really condensation. Cold water pipes and cold filter housings can gather moisture from the air, especially in humid climates.
Condensation is more likely if:
- Water beads form evenly over large areas of the pipe or housing.
- There is no visible single point of dripping.
- Moisture appears mainly when you run cold water for a long time.
If you suspect condensation:
- Dry the surfaces completely.
- Run cold water for a few minutes and watch whether a fine “sweat” forms over a wide area.
- Consider improving ventilation in the cabinet or insulating exposed cold pipes, following product instructions.
Look Above the Cabinet Floor
Do not assume the wettest area on the base is where the leak starts. Carefully inspect:
- The underside of the sink and the sink strainer ring
- The faucet base and any extra holes used for soap dispensers or filtered faucets
- Vertical supply lines coming down from the faucet body
- Wall penetrations where pipes enter the cabinet
Use a flashlight and, if needed, a small mirror to see around the back of the sink or tightly spaced components.
Common Leak Sources Under the Sink
After careful observation, most leaks fall into one of several well-known categories.
1. Sink Strainer and Basket Area
The sink strainer is the metal or composite fitting that connects the drain opening to the drainpipe. Over time, its seal can loosen or the plumber’s putty or gasket can deteriorate.
Signs this is the problem include:
- Water drops forming under the strainer when the sink is full and held with the stopper
- Water stains on the underside of the sink around the strainer
- Leaks that only show up when the sink basin holds several inches of water
2. P-Trap and Drain Joints
The P-trap holds water to block sewer gases and connects the sink to the rest of the drain system. Its slip-joint nuts and plastic or rubber washers can loosen or go out of alignment.
Drain-joint issues may show as:
- Drips at the curved section of the trap after you run the faucet
- Water forming around a connection only when the sink drains rapidly
- Movement in the pipes when you gently push on them, indicating poor support
3. Faucet Base and Sprayer Hoses
Some leaks originate above the counter and travel down. Modern faucets often have pull-out or pull-down sprayers with hoses that loop under the sink.
Watch for:
- Water seeping at the faucet base on top of the sink, then running underneath
- Dampness on the hose that connects the spray head to the faucet body
- Water marks on the underside of the counter immediately around the faucet
4. Shutoff Valves and Supply Lines
Under-sink shutoff valves and flexible hoses are frequent sources of slow, continuous leaks.
Possible signs:
- Drips forming at the point where the valve connects to the wall pipe
- Moisture around the valve stem where the handle attaches
- Rust, mineral deposits, or discoloration indicating long-term seepage
- Damp braided hose with no visible crack, pointing to a pinhole or fitting issue
5. Under-Sink Filters and RO System Components
Filtration systems provide treated water but also add potential leak points. With proper installation and maintenance, they can operate reliably, but it is still wise to inspect them regularly.
Typical problem spots include:
- Filter housings: An O-ring that is dirty, flattened, or twisted can cause seepage at the canister seam.
- Quick-connect fittings: Tubing not fully seated can leak at the connection, sometimes only under certain pressures.
- RO drain saddle: This clamp-on connection to the drainpipe can leak if not aligned with the drilled opening or if the gasket is disturbed.
- RO tank connection: The valve at the top of the tank or the tubing from the tank to the faucet can drip slowly.
- Dedicated drinking faucet: The base gasket or connections underneath the countertop can leak similarly to a main faucet.
If you are troubleshooting a leak and have a multi-stage system, take note of which side is wet: incoming water from the cold line, the filtered outlet, or the RO waste line heading to the drain. This can help you or a professional pinpoint the exact stage involved.
Step 4: When to DIY and When to Call a Plumber
Some minor leaks can be addressed with basic tools and careful attention to instructions, especially if they involve loose slip joints or recently serviced filter housings. Others, especially on pressurized lines, may be better handled by a licensed professional.
Often Reasonable for a Careful DIY Approach
Depending on your comfort level and local regulations, homeowners often handle tasks such as:
- Re-seating a P-trap washer and gently re-tightening slip-joint nuts
- Cleaning and re-lubricating filter housing O-rings following the manufacturer’s directions
- Snugging a loose connection on a non-pressurized drain line
- Re-positioning tubing in filter systems that has been pulled or kinked
In all cases, avoid overtightening plastic components or modifying plumbing in ways that bypass built-in safety features.
Situations Where Professional Help Is Wise
Consider calling a licensed plumber or qualified water treatment technician when you notice:
- Leaks on rigid supply pipes in the wall or floor
- Damaged shutoff valves that do not fully close or are corroded
- Cracked garbage disposals or sink basins
- Repeated leaks from the same area despite careful attempts to correct simple issues
- Complex filtration setups tied into multiple fixtures or appliances
Professional support can help ensure connections meet local codes and that any filter or RO system is installed and serviced according to its design.
Leak Prevention Around Under-Sink Filters and Plumbing
Once a leak is under control, simple habits can greatly reduce the chances of future problems. This is especially important if you rely on under-sink filtration or RO systems, since these include additional cartridges and tubes under the cabinet.
Build Leak Checks Into Filter Maintenance
Whenever you replace cartridges or sanitize a system, consider a brief leak inspection part of the job:
- Inspect O-rings for nicks, flattening, or debris and replace when worn.
- Lightly lubricate O-rings if recommended by the manufacturer.
- After reassembly, slowly turn on water and check every joint for several minutes.
- Recheck the cabinet base about 30 minutes later and again after a few hours of normal use.
Keep the Cabinet Organized
Overcrowded cabinets make it easy to bump valves and tubing.
- Avoid hanging heavy items on piping or filter housings.
- Leave clear space around shutoff valves so they are easy to reach in an emergency.
- Consider using shallow bins to organize items without pressing against plumbing.
Watch for Early Warning Signs
Many leaks start small. Early indicators include:
- Musty smells under the sink
- Warped or discolored cabinet flooring
- Mineral crust around fittings
- Intermittent damp spots after heavy faucet use or filter service
Checking under the sink briefly when you change filters, adjust valves, or rearrange items can help you catch these signs early.
Example values for illustration.
| Maintenance Moment | Suggested Leak-Check Action | Example Time Needed |
|---|---|---|
| Before changing filters | Scan cabinet floor and walls for existing moisture | 2–3 minutes |
| Right after reassembly | Turn water on slowly and inspect each fitting | 5–10 minutes |
| 30 minutes after | Check for new drips or damp towels | 2–3 minutes |
| End of the day | Confirm cabinet base is still dry | 1–2 minutes |
| Every few months | Inspect valves, hoses, and trap for corrosion or wear | 5–10 minutes |
| After any plumbing work | Do a full visual check while fixtures run | 5–10 minutes |
Adjust this routine to match your specific system and local conditions.
Frequently asked questions
How can I tell quickly whether the leak is from the supply side or the drain side?
Timing is the key: if moisture appears only when the sink drains, suspect the drain side; if it’s present with the faucet off, suspect the supply side. Use dry paper towels or tissues under joints and run the faucet to see where wetness starts.
When should I shut off the water and call a plumber?
Shut off water for spraying or heavy leaks. Call a plumber if shutoff valves won’t close, the leak is from rigid pipes inside a wall or floor, there is visible structural damage, or DIY fixes don’t stop the problem.
Can I fix a leaking P-trap or slip-joint myself?
Often yes: with the cabinet dry you can hand-tighten slip nuts, replace worn washers, and realign the trap. Avoid overtightening plastic parts and call a professional if parts are cracked or leaks persist.
How do I check an under-sink filter or RO system for leaks after maintenance?
Dry the area first, re-seat and lightly lubricate O-rings if needed, hand-tighten housings per instructions, then operate the filtered faucet while watching all fittings and tubing. Recheck after 30 minutes and again during normal use.
Related guides: Why Your Filtered Water Flow Suddenly Dropped (Diagnostic Checklist) • Low Pressure After Installing a Filter: 8 Things to Check • Fixing Under-Sink Filter Leaks: 7 Quick Checks
Recommended next:
- NSF/ANSI standards explained (42/53/401/58)
- Clear trade-offs: pitcher vs faucet vs under-sink vs RO
- Maintenance planning: cost per gallon and replacement cadence