
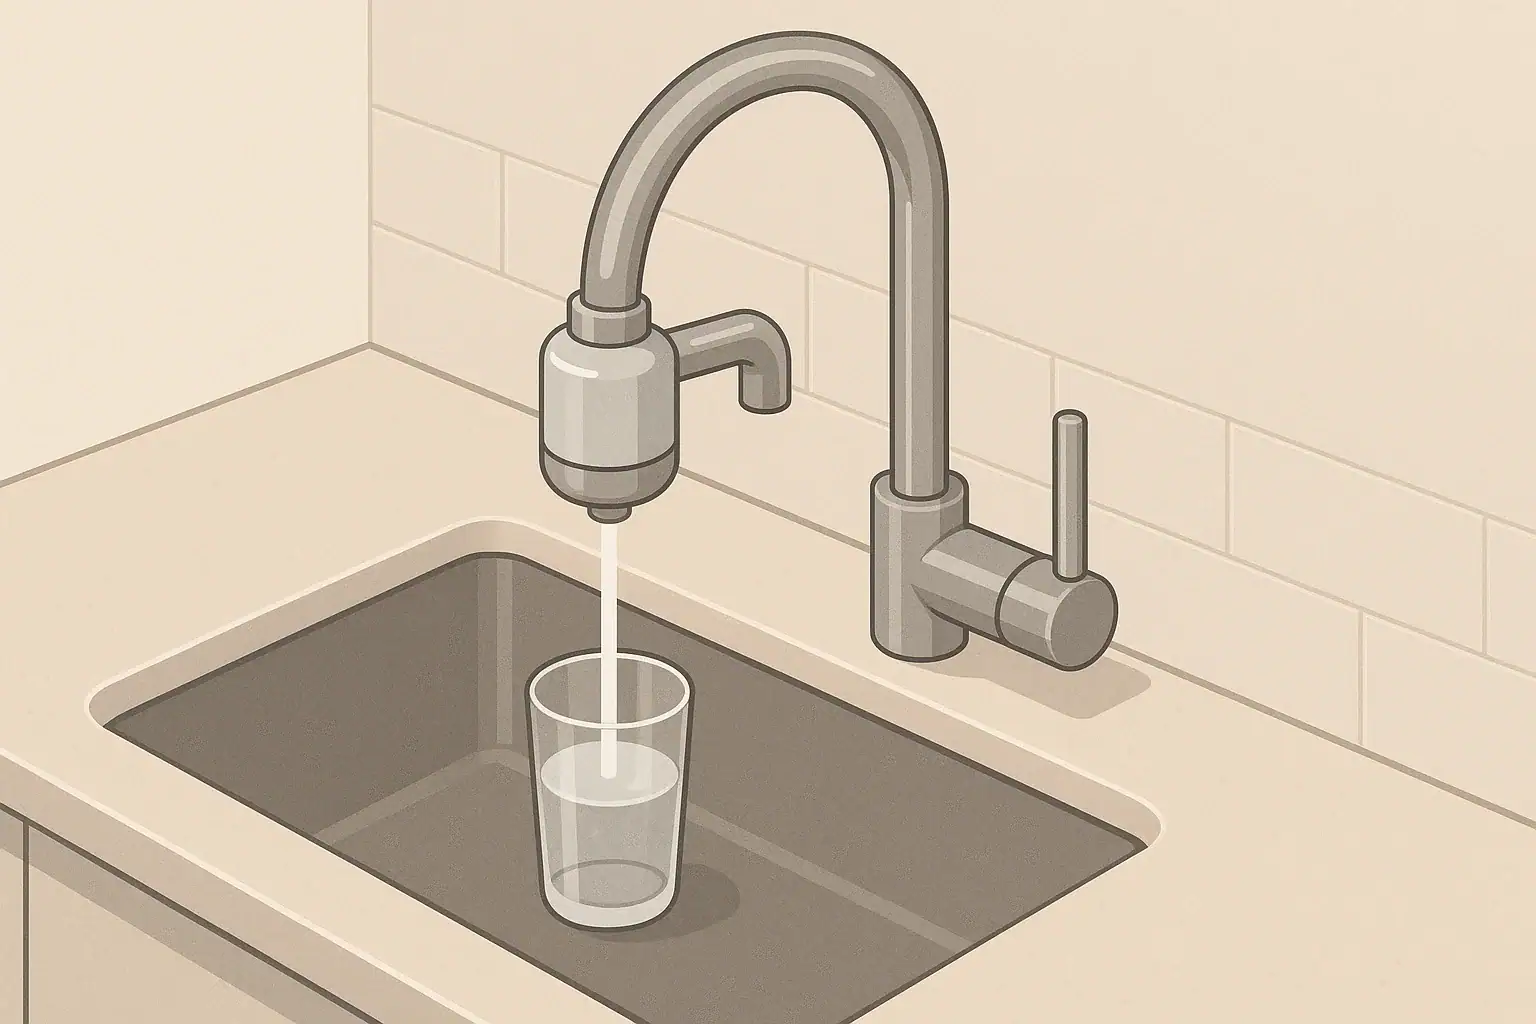
Changing a faucet-mount filter cartridge is usually a short task, but the opening mechanism, cartridge orientation, indicator reset and flushing procedure vary by model. Use the instructions supplied with your exact filter rather than forcing the housing or applying a generic method.
That distinction matters because common systems do not all open the same way. For example, the Brita FF-100/FR-200 user guide instructs the user to press a cartridge-release button and pull the cartridge upward. PUR’s faucet-filter support instructions instead describe removing the filter unit, twisting off its back cover and inserting the replacement cartridge. Follow the procedure for your own model.
Before You Change the Cartridge
Find the model number on the filter body, packaging or manual, then confirm that the replacement cartridge is listed for that housing. Similar-looking cartridges are not necessarily interchangeable. A mismatched cartridge may fail to engage or may prevent the housing from closing correctly.
Also confirm that the faucet and filter are compatible. Compatibility limits can differ even among faucet-mount products. PUR states that its faucet systems are not compatible with pull-out or handheld faucets, while the cited Brita guide excludes faucets with an end-mounted built-in spray feature. If an adapter does not fit or the threads do not align, do not force the connection; consult the manufacturer or see this guide to checking faucet-mount filter compatibility.
What You Will Need
- A replacement cartridge approved for the exact filter model
- The model’s current user manual or manufacturer instructions
- A clean towel to catch residual water
- A bowl or container for the wet used cartridge
Do not reach for pliers automatically. Some manufacturers prohibit them: the cited Brita guide warns against using pliers on the mounting connection and against overtightening it. Use a tool only when the manual for your exact model directs you to do so.
Step-by-Step Faucet-Mount Cartridge Replacement
1. Confirm the replacement cartridge
Compare the cartridge number with the compatibility list in the manual or on the manufacturer’s product page. Check the packaging for model-specific orientation, preparation and flushing instructions before opening it.
2. Turn off the faucet and prepare the sink
Turn off the faucet and place a towel beneath the filter. Keep small covers or removable parts in a bowl so they do not go down the drain. Use cold water when the later flushing step begins unless the model instructions explicitly say otherwise.
3. Open the unit exactly as the manual directs
Do not assume that the cartridge housing unscrews. Depending on the model, the task may involve releasing a top-mounted cartridge or removing the unit and opening a rear cover.
- Brita FF-100/FR-200 example: With the faucet off, press the release button and pull the cartridge upward.
- PUR faucet-system example: Remove the filter unit, twist off the back cover and remove the old cartridge.
These examples illustrate why the model instructions take priority; they are not interchangeable procedures.
4. Remove the used cartridge
Lift or pull the cartridge in the direction specified by the manual. Avoid disassembling internal valves, seals or indicator components unless the manufacturer provides instructions for doing so. Place the wet cartridge in the prepared container.
5. Install the new cartridge
Remove packaging and protective caps specified by the manufacturer. Align the cartridge’s groove, tab or other locating feature with the housing and seat it as directed. Do not force it. In the cited Brita procedure, the groove is aligned toward the front and the cartridge is pressed down until it clicks; other systems use different alignment and closure methods.
6. Close or reinstall the filter
Replace the cover or reinstall the unit according to the manual. Confirm that the cartridge is locked and that covers are fully engaged. If the parts will not close with light hand pressure, stop and recheck the cartridge model and alignment rather than overtightening the housing.
7. Reset the indicator if required
Some indicators reset automatically when a cartridge locks into place; others require a model-specific manual reset. Follow the manual and confirm the expected light or display state. If the indicator does not respond after the cartridge has been reseated correctly, contact the manufacturer’s support team.
8. Flush for the prescribed time
Flush the cartridge in filtered mode using cold water for the time and flow specified by its manufacturer. Both the cited Brita FF-100/FR-200 guide and PUR faucet-filter instructions specify a five-minute cold-water flush, but that does not establish a universal flushing time for every product.
Fine carbon dust, temporary cloudiness or air noise can occur during an initial flush in the cited systems. Continue for the full prescribed flush and verify the result as described below. Do not use a universal hot-water limit: consult the exact model manual. For example, Brita’s cited guide says not to pass water above 100°F/38°C through that system, while limits for other products may differ.
Diagnose Problems Before Disassembly
A cartridge change will not correct every flow or leak problem. The following checks are based on the troubleshooting instructions in the cited Brita guide; consult your own manual when working on another model.
| Symptom | Safe Check | Next Action | When to Stop or Seek Help |
|---|---|---|---|
| Leak at the faucet connection | Turn off the faucet. Check washer placement, straight thread alignment and hand-tight mounting-collar fit. | Correct the alignment and reinstall without overtightening. See the guide to installing a faucet-mount filter without leaks. | Stop if the adapter does not fit, threads are damaged or leakage continues after correct assembly. |
| Leak or spray from the filter body | Turn off the water and confirm that the cartridge is fully locked. | Reseat the correct cartridge according to the manual. | Do not use filtered mode while leakage or spraying persists; Brita warns that water leaking or spraying from its system may not be filtered. |
| Slow filtered flow | Check the model’s accessible inlet strainer or screen for sediment if the manual identifies one. | Clean it as directed; replace the cartridge if flow remains slow. See the dedicated slow-flow troubleshooting guide. | Seek manufacturer support if the approved cleaning and cartridge replacement do not restore flow. |
| Adapter will not fit | Compare the faucet type and thread pattern with the compatibility instructions. | Use only a listed adapter or contact the manufacturer. | Do not force, cross-thread or improvise a pressurized connection. |
| Indicator will not reset or illuminate | Confirm that the cartridge is the correct model and fully locked. | Perform the model-specific reset, if one is documented. | Contact manufacturer support if the indicator still fails. |
Verify the Result
After completing the prescribed flush, inspect the system while cold water is running in filtered mode. Confirm all of the following:
- The cartridge and cover are securely engaged.
- No water leaks or sprays from the housing, cover or faucet connection.
- Filtered flow is steady and reasonable for the model.
- Initial carbon dust or cloudiness has cleared after the prescribed flush.
- The indicator shows the expected new-cartridge state, where applicable.
Stop the water and discontinue filtered use if the body leaks or sprays, the cartridge will not lock, or the housing will not close correctly. Recheck compatibility and installation. Persistent leakage, damaged threads, a cracked body or an unresponsive indicator should be referred to the manufacturer rather than addressed by forcing or modifying the unit. For additional leak causes, see cartridge-change mistakes that cause leaks.
Tracking Cartridge Life
Record the installation date and follow both the time limit and treated-water capacity stated for the exact system-and-cartridge combination. Do not substitute a generic interval. As product-specific examples, PUR’s cited support page recommends changing its faucet filter every three months, while the cited Brita system documentation specifies a 100-gallon capacity. These figures apply to the named products, not every faucet-mount filter.
Replace the cartridge when its indicator or documented limit calls for replacement. A sustained reduction in filtered flow may also justify an earlier change after other model-approved checks have been completed. A filter replacement planner can help you record the date, but the manufacturer’s limit remains controlling.
Certification and Replacement-Cartridge Claims
Certification should be checked for the complete product configuration, not assumed from a standard number printed on an unrelated replacement cartridge. According to NSF’s explanation of NSF/ANSI 42, 53 and 401, products are certified for specified claims, and those claims vary by product.
- NSF/ANSI 42 covers specified aesthetic claims, which may include chlorine taste and odor or particulate reduction.
- NSF/ANSI 53 covers specified health-effect claims.
- NSF/ANSI 401 addresses specified emerging-contaminant or incidental-compound claims.
A standard number alone does not mean that a filter reduces every substance covered by that standard. Verify the exact housing-and-cartridge combination and the exact reduction claim in the certification listing or product performance data sheet. For more context, compare NSF/ANSI 42 and 53.
Cartridge Disposal and Cost
Drain the used cartridge over the sink, then check the manufacturer’s take-back instructions and local waste or recycling rules. Do not place it in curbside recycling merely because its outer shell is plastic; mixed materials may not be accepted. See these used water-filter disposal options for questions to ask locally.
If you want to estimate cartridge cost per gallon, divide its purchase price by the smaller of the stated gallon capacity and the amount your household is likely to use before the time limit expires. This is a planning estimate, not proof that the cartridge will provide identical performance under every water condition.
Frequently Asked Questions
How often should I change a faucet-mount cartridge?
Use the capacity, time limit and indicator instructions for the exact housing-and-cartridge combination. There is no verified universal interval across all brands. Record the installation date and replace the cartridge when the first applicable manufacturer limit is reached.
How long should I flush a new faucet filter?
Follow the cartridge-specific instructions. The Brita and PUR instructions cited in this guide both prescribe five minutes of cold-water flushing for their named faucet systems, but other models may differ.
Can I run hot water through a faucet-mount filter?
Check the exact model manual and divert water away from the filter when required. Temperature limits are product-specific. The cited Brita guide prohibits water above 100°F/38°C through its named system; that limit should not be generalized to every brand.
What should I do if the filter leaks after the change?
Turn off the faucet. Confirm that the correct cartridge is fully locked, the cover is engaged and the faucet connection is straight and correctly assembled. Do not use filtered mode while the body leaks or sprays. If correct reassembly does not stop the leak, contact the manufacturer.
Why is the water cloudy after installing a cartridge?
Initial carbon dust or trapped air can cause temporary cloudiness in the cited Brita and PUR systems. Complete the manufacturer’s prescribed cold-water flush. Stop using the unit and seek model-specific support if the condition persists after flushing or occurs with leakage, spraying or a cartridge that will not lock.
Can I recycle a used faucet-filter cartridge?
Recycling eligibility depends on the manufacturer program and local facility. Drain the cartridge and check both sources before disposal; do not assume that a mixed-material cartridge belongs in curbside recycling.
Recommended next:
- Best Faucet-Mount Filters for Chlorine Taste (High Flow Picks)
- Faucet-Mount Filter Compatibility: How to Check Your Faucet Type
- Faucet-Mount vs Under-Sink Filters: Convenience vs Performance
- How to Install a Faucet-Mount Filter Without Leaks
- Faucet-Mount Filters for Renters: No-Drill Setup Guide
- Troubleshooting a Faucet-Mount Filter with Slow Flow
- More in Faucet-Mount Filters →
- NSF/ANSI standards explained (42/53/401/58)
- Clear trade-offs: pitcher vs faucet vs under-sink vs RO
- Maintenance planning: cost per gallon and replacement cadence