A whole house water filter protects every tap in your home, but it only works well if maintenance is consistent. Unlike a small pitcher or faucet-mount unit, whole house systems treat high volumes of water. Sediment, chlorine, and other contaminants gradually load the filter media and reduce performance over time.
A written maintenance calendar helps you:
- Avoid forgotten filter changes that can reduce flow or effectiveness
- Spread costs through the year instead of facing sudden large repairs
- Match replacement timing to your actual water use, not just rough guesses
- Keep track of pressure, taste, and odor changes that signal issues early
This guide outlines a practical monthly and yearly checklist for whole house filter maintenance, including sediment pre-filters, carbon cartridges, and more complex multi-stage systems.
Why a Maintenance Calendar Matters for Whole House Filters
A whole house water filter protects every tap in your home, but it only works well if maintenance is consistent. Unlike a small pitcher or faucet-mount unit, whole house systems treat high volumes of water. Sediment, chlorine, and other contaminants gradually load the filter media and reduce performance over time.
A written maintenance calendar helps you:
- Avoid forgotten filter changes that can reduce flow or effectiveness
- Spread costs through the year instead of facing sudden large repairs
- Match replacement timing to your actual water use, not just rough guesses
- Keep track of pressure, taste, and odor changes that signal issues early
This guide outlines a practical monthly and yearly checklist for whole house filter maintenance, including sediment pre-filters, carbon cartridges, and more complex multi-stage systems.
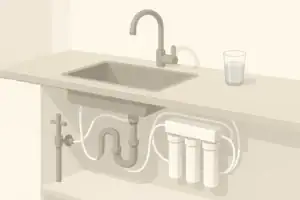
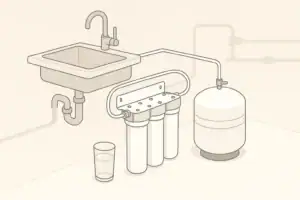
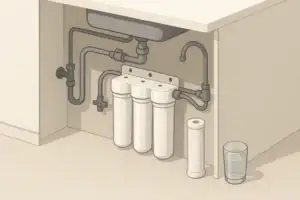
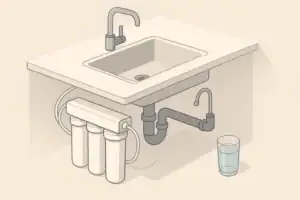
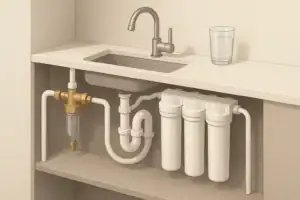
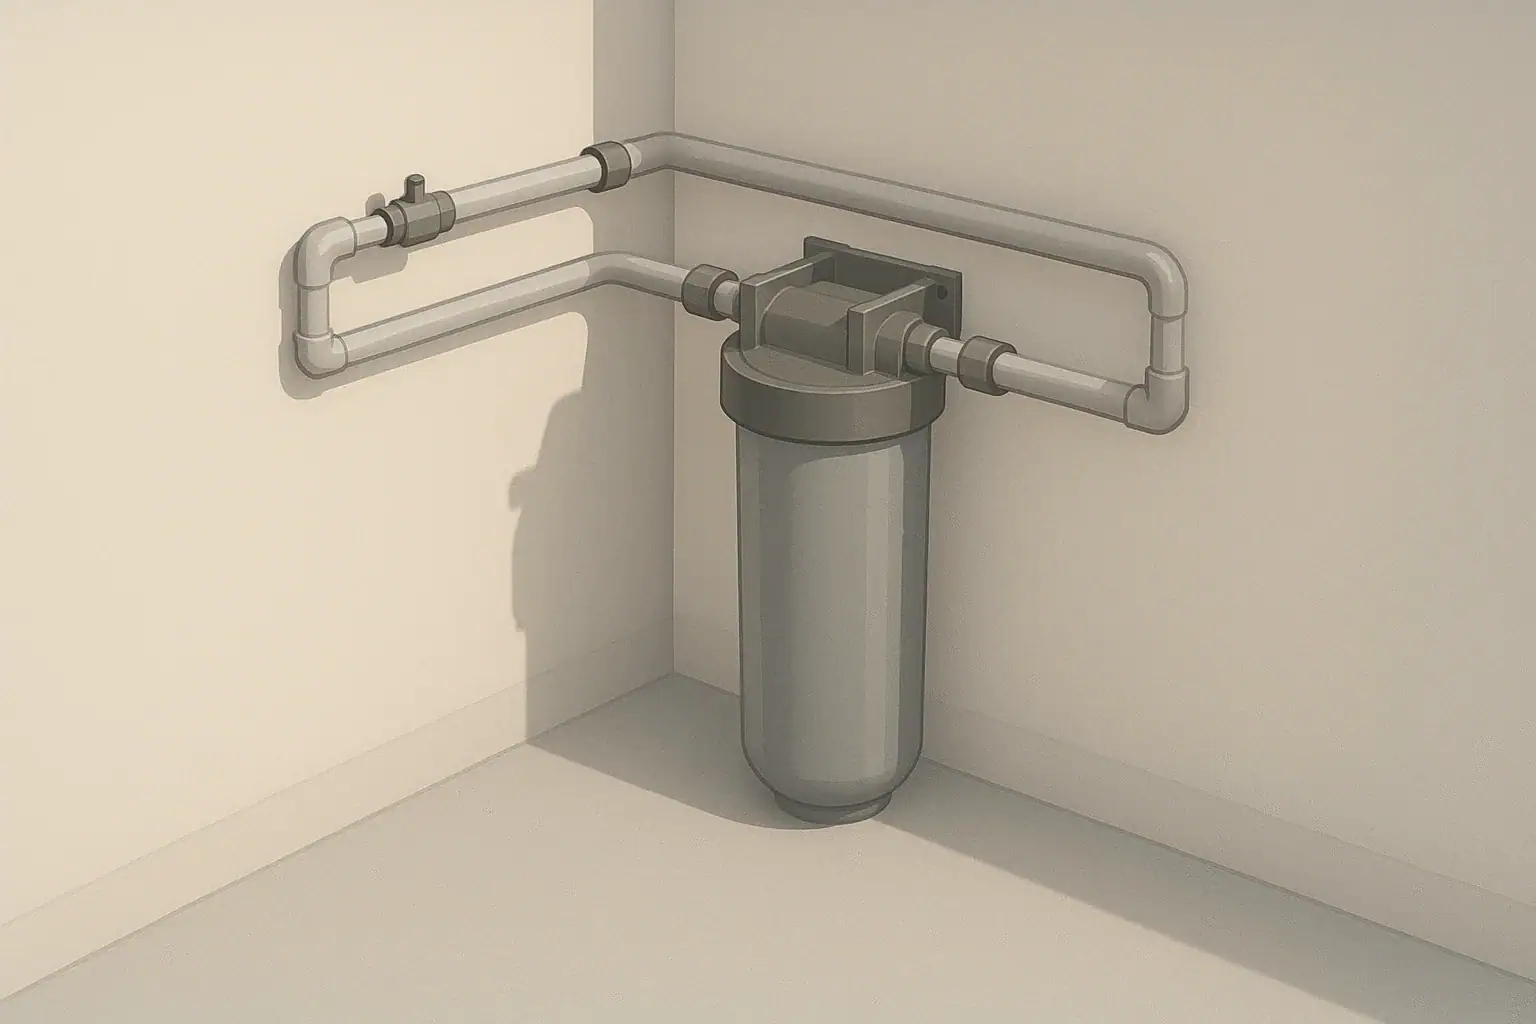
Key Parts of a Whole House Filtration System
The details of your calendar depend on the exact system installed. Most whole house filters in U.S. homes include one or more of these elements:
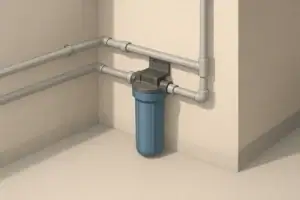
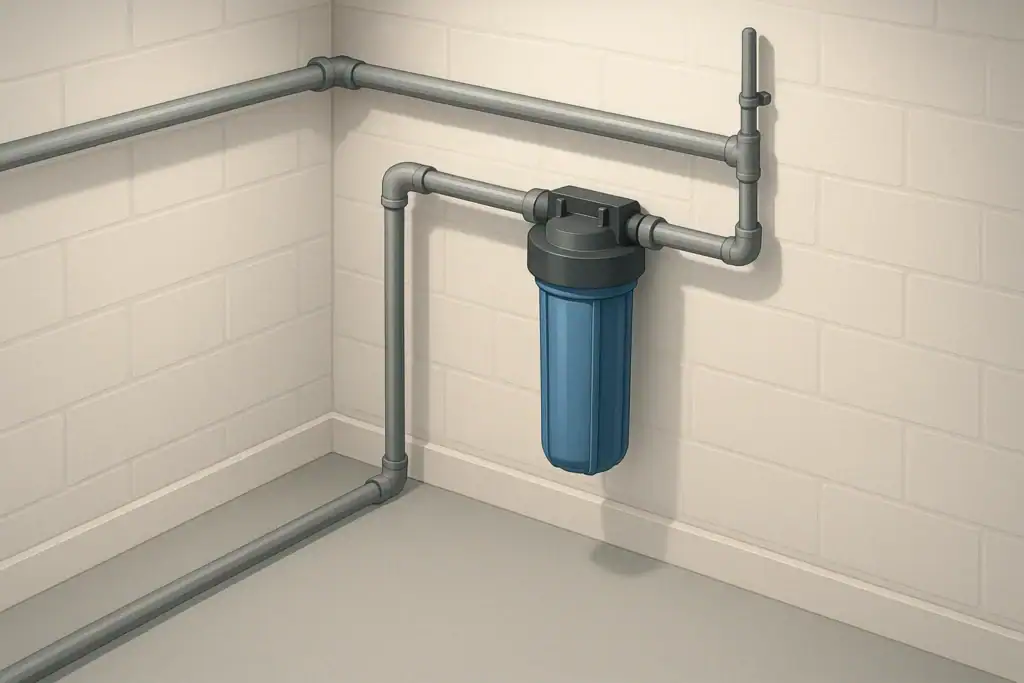
- Sediment pre-filter: Captures sand, rust flakes, silt, and other particles. Often a clear housing with a pleated, spun, or string-wound cartridge.
- Carbon filter: Uses activated carbon to reduce chlorine, chloramine (if designed for it), and many taste and odor issues, and to adsorb some organic chemicals.
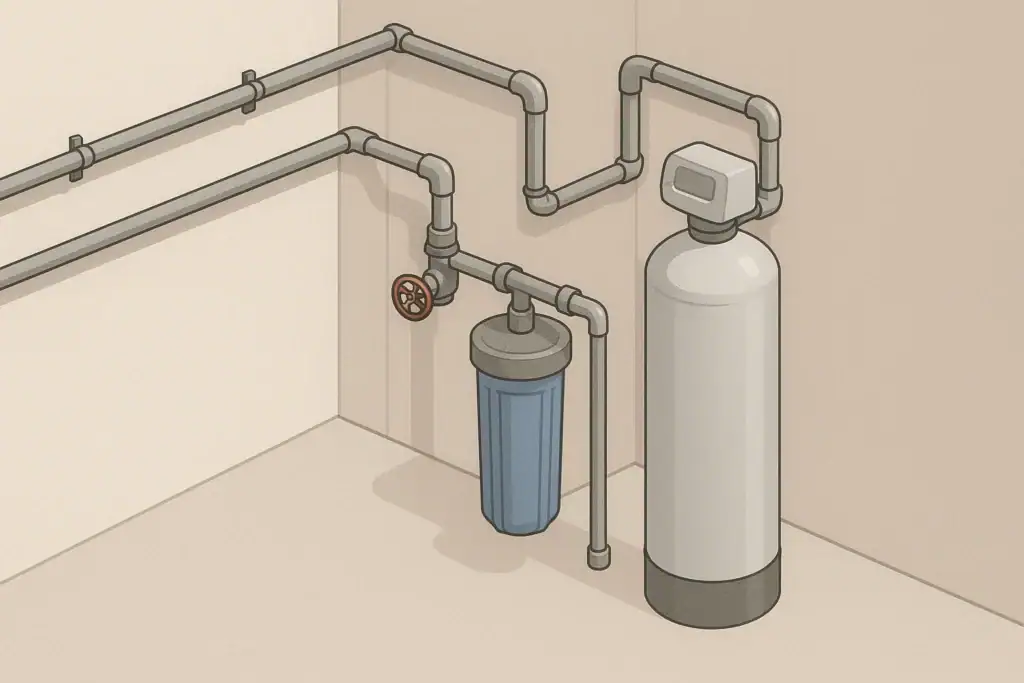
- Specialty media tank: May target hardness (as part of a softening system), iron, manganese, or specific contaminants like some volatile organic compounds (VOCs).
- Bypass and shutoff valves: Allow you to isolate the filter, switch to bypass during maintenance, or shut off water to the home when needed.
- Pressure gauges (if installed): One before and one after the filter help you spot clogging by comparing the two readings.
Each component has its own maintenance rhythm, but you can combine them into a single calendar. The rest of this article uses generalized time frames and emphasizes using manufacturer guidance, water test results, and your own observations to fine-tune the schedule.
Example values for illustration.
| Home situation | Suggested sediment check frequency | Suggested carbon check frequency |
|---|---|---|
| Municipal water, low visible sediment | Every 3 months | Every 6 months |
| Municipal water, occasional discoloration events | Every 1–2 months | Every 4–6 months |
| Private well, moderate sediment | Monthly | Every 3–4 months |
| Private well, heavy sediment or iron | Every 2–4 weeks | Every 2–3 months |
| Large household > 4 people | Add 1 extra check per quarter | Reduce carbon interval by ~25% (example) |
| Seasonal home, intermittent use | Before each occupancy period | At start of season; replace if idle > 12 months |
Monthly and Bi-Monthly Tasks
You may not need to perform every task every month, but checking these items regularly keeps the system predictable. For some homes, “monthly” might actually become every 6–8 weeks once you understand how quickly your filters load.
1. Visual Check of Filter Housings and Piping
Once a month, walk to your whole house filter location (often a basement, garage, or utility room) and look for:
- Moisture or drips around the housings, unions, and valves
- Condensation that might be mistaken for leaks
- Discoloration or corrosion on metal fittings
- Cracks or cloudiness in clear housings
If you spot even minor seepage, schedule an immediate gasket inspection or housing replacement. Small leaks rarely improve on their own.
2. Monitor Water Pressure and Flow
A gradual drop in pressure at showers or taps often signals a clogging sediment or carbon filter. If you have gauges installed before and after the filter, note both readings monthly in a notebook or spreadsheet.
Common patterns to watch for:
- Stable inlet pressure, dropping outlet pressure: Filter media likely loading with sediment or other material.
- Both pressures dropping: Possible supply issue from the utility or well, or a problem upstream of the filter.
In homes without gauges, rely on observations at fixtures: reduced flow at multiple points in the house (not just one faucet) often points to the whole house filter.
3. Quick Taste and Odor Check
Once a month, fill a clear glass from a cold tap and check for:
- New or stronger chlorine-like smell (if you are on chlorinated municipal water)
- Musty, earthy, or metallic odors
- Cloudiness that does not clear after a few seconds
Some changes may relate to seasonal shifts in the water supply. However, if taste and odor worsen steadily, your carbon stage may be nearing the end of its useful life.
4. Sediment Filter Spot-Check
If your sediment pre-filter is in a clear housing, use your monthly visit to quickly judge its condition:
- Light discoloration with visible surface particles is normal.
- Dark brown, orange, or black coating over most of the cartridge suggests it is time to replace.
- Visible collapse or tearing means replace immediately.
For opaque housings, you may use the pressure drop or flow change as your main cue, or remove the housing briefly to inspect the cartridge during a planned maintenance window.
Quarterly Tasks (Every 3 Months)
Every three months, add a deeper inspection to your regular checks. Many homes treat quarterly as the default schedule for sediment pre-filter changes, then adjust based on experience.
1. Replace or Clean the Sediment Pre-Filter
For disposable cartridges, quarterly replacement is a common starting point. Homes with low sediment levels might stretch that to every 4–6 months, while heavily loaded wells may need monthly changes.
Typical steps (always follow your system’s instructions):
- Shut off water and relieve pressure using a nearby faucet or built-in pressure release button.
- Use the filter wrench to remove the housing.
- Discard the used cartridge or clean the reusable one if your model allows it.
- Inspect and clean the housing interior; wipe out sediment with a clean cloth.
- Check O-rings for cracks or flattening and lightly lubricate with a compatible lubricant if recommended.
- Install the new or cleaned cartridge, reassemble, and slowly restore water to check for leaks.
Record the date and any notes about how dirty the cartridge was. Over time this gives you a realistic replacement interval for your home.
2. Inspect O-Rings and Gaskets
Quarterly is a good time to look closely at the O-rings in each housing:
- Ensure they are seated properly in their grooves.
- Look for nicks, flattening, or stiffness.
- Replace if damaged; small O-ring problems often cause slow leaks later.
Keep a small kit of spare O-rings on hand that are specified for your system so you can swap them without delay.
3. Check Bypass and Shutoff Valves
At least every three months, gently operate the valves around your whole house filter:
- Turn them from open to closed and back to ensure they still move freely.
- Confirm the home returns to normal water service with no leaks afterward.
Valves that are never moved can seize over time. Testing them regularly ensures you can isolate the system quickly in an emergency or for annual service.
Annual Tasks and Yearly Planning
Once a year, set aside a longer maintenance session. Many homeowners align this with other annual chores, such as HVAC filter changes or well service visits.
1. Evaluate Carbon Filter Performance and Replacement
Whole house carbon cartridges or tanks are often rated for a certain number of gallons or a range of months or years. In practice, replacement depends on:
- Your household’s daily water use
- Incoming water quality (chlorine level, organics, sediment)
- Any noticeable return of taste or odor issues
At least once a year, review your notes and decide whether the carbon stage is due for replacement. Many homes change a whole house carbon cartridge every 6–12 months as a starting point, then adjust based on experience and guidance from the system documentation.
2. Inspect and Service Media Tanks
If your system includes larger media tanks (for example, for iron reduction or as part of a softening setup), the yearly check might include:
- Confirming any electronic control head is powered and set to the correct time and regeneration schedule if applicable.
- Checking for salt bridging in brine tanks for softening systems and breaking up crusts if present.
- Reviewing cleaning or media replacement intervals specified for your particular media type.
These tanks often run for several years before media replacement, but annual inspection helps you notice changes early, such as staining returning to fixtures.
3. Review Water Quality and Testing
Once a year, consider basic water testing to confirm your system is still appropriate for your supply:
- If you have municipal water, review the annual water quality report from your provider and compare it to the capabilities of your filter stages.
- If you have a private well, periodic testing for common well issues (such as coliform bacteria, nitrate, hardness, iron, and manganese) helps you decide whether to add or adjust treatment.
Regular testing is also a useful check if you rely on specific contaminant reduction capabilities that are listed in your system documentation and supported by third-party certifications.
4. Deep Cleaning Around the System
During your annual visit, clear dust, cobwebs, and stored items away from the filter area:
- Ensure there is enough working space to safely access housings and valves.
- Keep chemicals, paints, and cleaners away from open sumps or well heads to reduce the chance of spills entering the system.
A clean, uncluttered area makes both routine and emergency maintenance faster and safer.
Building a Practical Maintenance Calendar
A calendar is most useful when it reflects your household’s actual patterns rather than generic dates. To build one:
- Start with manufacturer intervals for each stage (sediment, carbon, media tanks).
- Adjust for family size: higher usage shortens effective filter life.
- Account for water source: private wells and older distribution systems may need closer monitoring.
- Track changes in a simple log so you can fine-tune over time.
Step 1: Choose Tracking Tools
Use whichever method you are most likely to maintain:
- A paper calendar or notebook kept near the filter
- A spreadsheet listing dates, pressure readings, and notes
- Digital calendar reminders on your phone or computer
Write down installation dates and the type of cartridge or media used. This prevents guesswork later, especially if others in the household help with maintenance.
Step 2: Set Initial Monthly and Quarterly Reminders
In the first year, it is better to check too often and then relax the schedule if everything looks good. You might set:
- Monthly: visual check, quick taste test, record any pressure changes.
- Every 3 months: sediment filter change, O-ring inspection, operate valves.
- Every 6–12 months: carbon filter review and possible replacement.
After a full year of notes, adjust intervals up or down based on how dirty cartridges are at each change and how stable your pressure and taste have been.
Step 3: Align With Other Home Maintenance
To make the routine easier to remember, connect it to tasks you already do:
- Change the sediment filter when you change smoke alarm batteries or HVAC filters.
- Review carbon performance at the start of a high-use season, such as early summer.
- Plan any complex service, like media replacement or valve work, during mild weather when you can be without water briefly if needed.
Example values for illustration.
| Task | What to track | Typical cue to act | Planning method |
|---|---|---|---|
| Sediment filter change | Date, pressure before/after | Noticeable flow drop or visible dark loading | Fixed reminder every 1–3 months |
| Carbon filter evaluation | Date, taste/odor notes | Return of chlorine smell or off-taste | Review every 6–12 months |
| O-ring inspection | Condition, replacements used | Leaks, cracking, or flattening | Combine with each cartridge change |
| Valve exercise | Valves tested, any stiffness | Hard to turn or not fully closing | Quarterly check |
| Water quality review | Test results, provider report | Change in source water profile | Annual review |
| Media tank service | Regeneration settings, media age | Staining or hardness returning | Annual inspection; multi-year media plan |
| Area cleaning and access | Clutter level, clearance space | Hard to reach housings or valves | Annual declutter around the system |
Tips for Safe, Low-Stress Maintenance
Whole house filter care is easier and safer when you follow a few practical habits:
- Keep clear instructions nearby: Store a printed copy of your system’s manual in a plastic sleeve close to the filter.
- Stage basic tools in one place: Filter wrench, spare cartridges, O-rings, and a towel or shallow pan for water drips.
- Turn water back on slowly: After changing a filter, restore water gradually to avoid sudden pressure shocks.
- Flush new cartridges: Run water according to the instructions after installing a new filter to clear trapped air and loose carbon fines.
- Note unusual noises or bursts of air: These can be normal after service, but if they continue, recheck your installation and connections.
By combining a simple calendar with regular observations, you keep your whole house filter operating as intended, support consistent taste and odor control throughout the home, and reduce the chance of unexpected problems with your water supply.
Frequently asked questions
How often should I change my sediment pre-filter if I have a private well versus municipal water?
For private wells with noticeable sediment, start with monthly checks and replace cartridges as needed; in low-sediment municipal systems, a three-month interval is a common starting point. Adjust frequency based on visible cartridge loading, measured pressure drop, and household water use.
What are the signs that a whole house filter is clogged and needs service?
Common signs include a sustained drop in outlet water pressure or reduced flow at multiple fixtures, an increasing pressure differential across the filter if you have gauges, and visibly dark or collapsed sediment cartridges. If you observe these, inspect or change the affected stage promptly to avoid further strain on plumbing.
Can I clean and reuse sediment cartridges or should I always replace them?
Some sediment cartridges are designed to be cleaned (pleated or reusable types) and can be rinsed per the manufacturer’s instructions, while disposable cartridges should be replaced. Only reuse cartridges recommended for cleaning and be sure to inspect housings and seals during the process.
How do I know when the carbon filter stage needs replacement?
Replace or evaluate the carbon stage based on the manufacturer’s rated gallons or a time interval (many homes start at six to twelve months) and when taste or odor control degrades, such as a return of chlorine smell. Regular notes on taste, odor, and usage help determine the right replacement schedule for your home.
What should I include in my annual whole house filter maintenance visit?
Annual maintenance should cover inspecting and exercising bypass and shutoff valves, checking O-rings and housings for wear, reviewing media tank settings and salt levels if applicable, and performing any recommended water testing. Clearing clutter and keeping a log of dates and observations will make future maintenance more predictable and effective.
Recommended next:
- Whole House Filters vs Water Softeners: Different Jobs Explained
- Best Whole House Sediment Filters: Clear Up Cloudy Water
- Whole House Carbon Filters for Chlorine & Taste: What to Expect
- Whole House Filter Flow Rate: Sizing by GPM and Household Count
- Backwashing Filters Explained: Pros, Cons, and Maintenance
- Installing a Whole House Filter: Placement, Bypass, and Leak Prevention
- More in Whole House Filters →
- NSF/ANSI standards explained (42/53/401/58)
- Clear trade-offs: pitcher vs faucet vs under-sink vs RO
- Maintenance planning: cost per gallon and replacement cadence