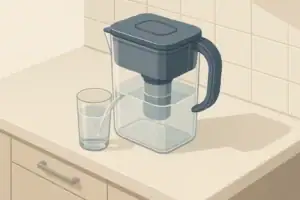
Why Pitcher Filter Maintenance Matters for Taste
Water pitchers are popular because they are simple, portable, and relatively inexpensive. However, most taste complaints with pitcher-filtered water trace back to maintenance issues, not the filter design itself. Residual moisture, trapped organic material, and biofilm can all lead to off-flavors, even when the cartridge is new or within its rated capacity.
Good maintenance for a pitcher filter focuses on three goals:
- Preventing biofilm and slime from forming on plastic surfaces
- Removing residual odors from old water or fridge smells
- Cleaning and sanitizing without damaging the filter cartridge or adding chemical tastes
Because most pitcher filters use activated carbon and sometimes ion exchange media, they are sensitive to harsh chemicals. Strong cleaners can leave behind tastes or damage the filter media. A careful routine using mild, well-rinsed cleaners gives you better-tasting water and helps the filter perform closer to its intended life.
How Often to Clean and When to Replace Pitcher Filters
Pitcher maintenance has two separate timelines: cleaning the pitcher body and replacing the cartridge. Both affect taste and perceived water quality.
Typical Cleaning Frequency
For most households using a pitcher daily:
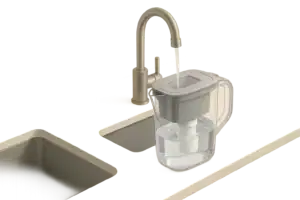
- Quick rinse: Every refill or at least daily
- Soap-and-water wash: About once per week
- Sanitizing step: About once per month, or after storage
These are general examples. If your tap water has high sediment, noticeable odors, or if the pitcher sits for long periods, you may need to clean more often. If you see any visible slime, cloudiness on the walls, or smell musty or sour odors, wash and sanitize immediately.
Filter Cartridge Replacement Cues
Cartridge life varies with water quality, volume used, and filter design. Many households use example replacement timelines like:
- Every 1–2 months for small, basic carbon cartridges
- Every 2–3 months for larger cartridges or lower usage
Instead of focusing only on time, pay attention to:
- Flow rate: Noticeably slower flow can indicate clogging from sediment.
- Taste changes: Return of chlorine-like smells, metallic notes, or earthy flavors can mean the carbon media is saturated.
- Visual cues: Discoloration of water or particles in the reservoir can signal it is time to clean and replace.
Pitcher filters that make contaminant reduction claims are often tested as part of NSF/ANSI standards such as 42 (for aesthetic chlorine reduction) and 53 (for certain contaminants like lead). Following the manufacturer’s stated capacity is important if you are relying on those claimed reductions. Capacity is usually expressed in gallons or liters and in time, such as a specified volume over a number of weeks or months.
Example values for illustration.
| Task | Main Purpose | Example Frequency | Key Signs It Is Needed |
|---|---|---|---|
| Quick rinse | Remove loose residue and old water film | Daily or each refill | Pitcher recently emptied or refilled |
| Soap-and-water wash | Clean oils, fridge odors, and light buildup | About weekly | Walls feel slick or smell faintly musty |
| Sanitizing step | Reduce microbes on plastic surfaces | About monthly | After illness in home or long idle period |
| Deep scrub of crevices | Restore clarity to cloudy or stained areas | Every few months | Persistent haze or scale spots |
| Filter cartridge replacement | Restore contaminant reduction and taste control | Every 1–3 months (example) | Changed taste, odor, or slower flow |
| Pitcher retirement | Address aged, cracked, or scratched plastic | Every few years (example) | Cracks, warping, or deeply scratched surfaces |
Step-by-Step: Cleaning a Pitcher Without Adding Off-Flavors
The goal of routine cleaning is to remove films, stains, and odors from the pitcher body while keeping the cartridge safe from soaps and residues that can affect taste.
Before You Start: Handling the Filter Cartridge
Most pitcher cartridges should not be washed with soap, detergents, or disinfectants. These can leave residues in the carbon pores and cause lingering tastes. Follow these general handling practices unless your specific instructions say otherwise:
- Wash your hands before touching the cartridge.
- Remove the cartridge and set it on a clean, lint-free surface.
- Do not wipe the filter media or scrub its surface.
- Do not expose the cartridge to hot water; it may damage the media or plastic.
If the cartridge is near the end of its life or you have strong odors or slimy growth, it is often more practical and taste-safe to replace it instead of trying to salvage it.
Routine Soap-and-Water Wash
A mild wash is usually enough to keep plastic parts clean and neutral-tasting.
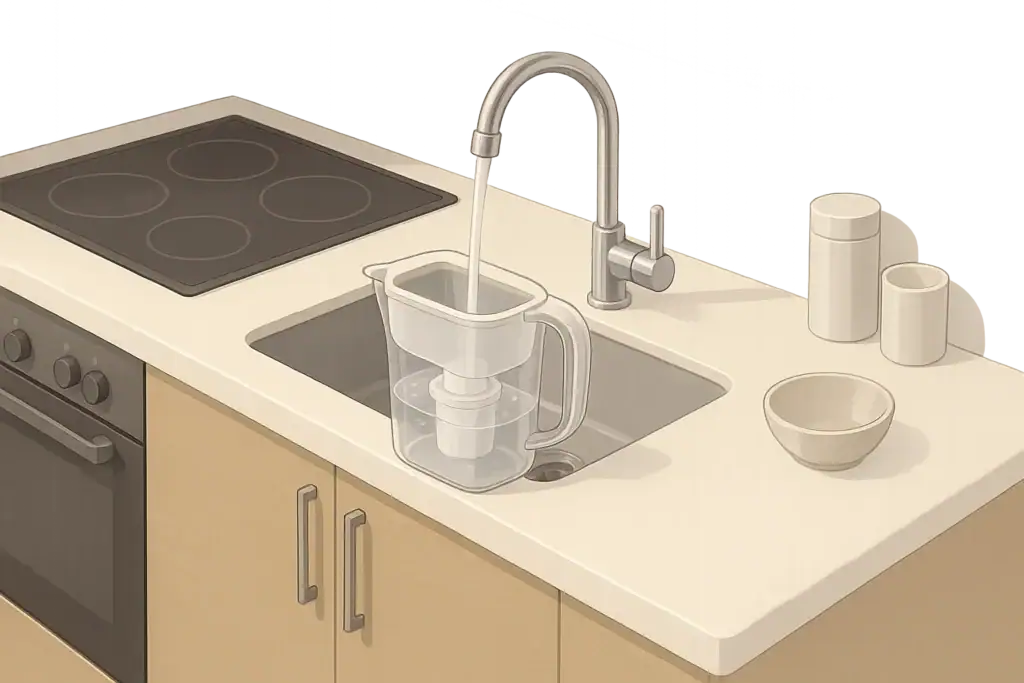
- Disassemble the pitcher.
Remove the lid, upper reservoir, and filter cartridge. Check for removable seals or flaps. - Prepare a mild cleaning solution.
Use warm (not hot) tap water with a small amount of unscented dish soap. Strong fragrances can cling to plastic and appear later as “soapy” or perfumed tastes. - Wash only the plastic parts.
Gently wash the pitcher body, lid, and reservoir using a soft sponge or cloth. Avoid abrasive pads that can scratch surfaces and attract more buildup. - Pay attention to crevices.
Use a soft brush or a clean, dedicated toothbrush to scrub corners, spouts, and under lid mechanisms where water can stagnate. - Rinse thoroughly.
Rinse each part under running water until there is no visible soap film and surfaces feel squeak-clean. Rinsing is critical for preventing off-flavors. - Air-dry completely.
Place parts on a clean dish rack or towel and let them dry fully before reassembly. A dry surface is less favorable for slimy films to regrow.
Avoiding Common Taste Problems During Cleaning
Several cleaning habits can unintentionally add flavors:
- Strong scented soaps: These can transfer fragrance compounds that the carbon media later adsorbs and slowly releases.
- Bleach or harsh chemicals on the cartridge: These can damage media and leave chemical tastes.
- Incomplete rinsing: Any residual detergent or vinegar in contact with filtered water can be noticeable.
- Storing wet with the lid closed: Trapped moisture can develop a stale or refrigerator-like odor.
Sanitizing Pitcher Components Safely
Over time, regular cleaning may not fully control microbial growth on surfaces that stay damp. A periodic sanitizing step can reduce the load on the plastic parts and help prevent musty, earthy, or “stale” flavors. The key is to sanitize the pitcher body, not the filter media.
Mild Sanitizing Options
Common household approaches include:
- Hot water only: Some pitchers are labeled as top-rack dishwasher safe. If so, a hot dishwasher cycle without heated drying can act as a mild sanitizing step. Always verify compatibility; some plastics warp.
- Diluted unscented bleach solution: When used at food-contact concentrations and rinsed thoroughly, bleach can sanitize surfaces. Avoid any contact with the filter cartridge.
- Heat-safe sanitizing programs: If the pitcher parts are rated for higher temperatures, a hot water soak can be used cautiously. Avoid boiling, which can warp plastic.
Check the material labeling or instructions for temperature limits and chemical compatibility. When in doubt, choose milder options and replace the cartridge more frequently instead of using aggressive treatments.
Example Bleach Sanitizing Procedure
Here is a general example procedure often used for plastic food containers. Adjust to your pitcher’s instructions if they differ:
- Prepare a diluted solution.
Use cool tap water and a very small amount of unscented household bleach in a well-ventilated area. Keep the concentration consistent with typical kitchen-sanitizing guidance, not a heavy-duty cleaning strength. - Soak the disassembled plastic parts.
Submerge the pitcher body, lid, and reservoir only. Do not include the cartridge. Let them soak for several minutes. - Drain and rinse thoroughly.
Empty the solution and rinse each part under running water for a sustained period until there is no bleach smell. - Air-dry completely.
Allow all parts to dry fully in clean air before reassembly.
Never mix bleach with vinegar, ammonia, or other cleaners, as this can create irritating gases. Always handle any sanitizer carefully, following the safety directions on the product.
What About Vinegar or Baking Soda?
Vinegar and baking soda are often used for descaling and deodorizing kitchen equipment. They can help with mineral spots and some odors, but they also have recognizable tastes that can linger:
- Vinegar: Useful for scale spots, but the acidic odor can cling to plastic. If you use it, follow with extensive rinsing and at least one full pitcher of discarded water.
- Baking soda: Can help with fridge-type smells, but residues may make water taste flat or slightly alkaline.
If you rely on these, keep concentrations mild, limit contact to hard plastic surfaces (not the cartridge), and rinse until there is no noticeable smell or texture.
Preventing Off-Flavors Between Cleanings
Even with a good weekly routine, how you use and store the pitcher has a big impact on taste.
Water Turnover and Storage
Stagnant water can pick up flavors from the pitcher, the fridge, and the air. To minimize this:
- Fill the pitcher with only as much as you expect to drink within a day or two.
- Avoid leaving filtered water at room temperature for long periods.
- Store the pitcher away from strong-smelling foods in the refrigerator.
- Keep the lid closed to limit dust and odors, but allow the pitcher to dry fully after washing before sealing it.
Managing Refrigerator Odors
Pitcher water can slowly pick up refrigerator odors, especially if the carbon is near the end of its life. Helpful habits include:
- Keep the fridge relatively clean and odor-free.
- Store pungent foods in sealed containers.
- Use a dedicated, odor-absorbing product in the fridge if desired, following its directions.
- Replace the filter cartridge on schedule so the carbon can continue managing tastes and odors effectively.
Recognizing When to Start Over
If you have tried rinsing, washing, and sanitizing and the water still has a persistent off-flavor, it may be time to reset the system:
- Retire the current cartridge and install a fresh one.
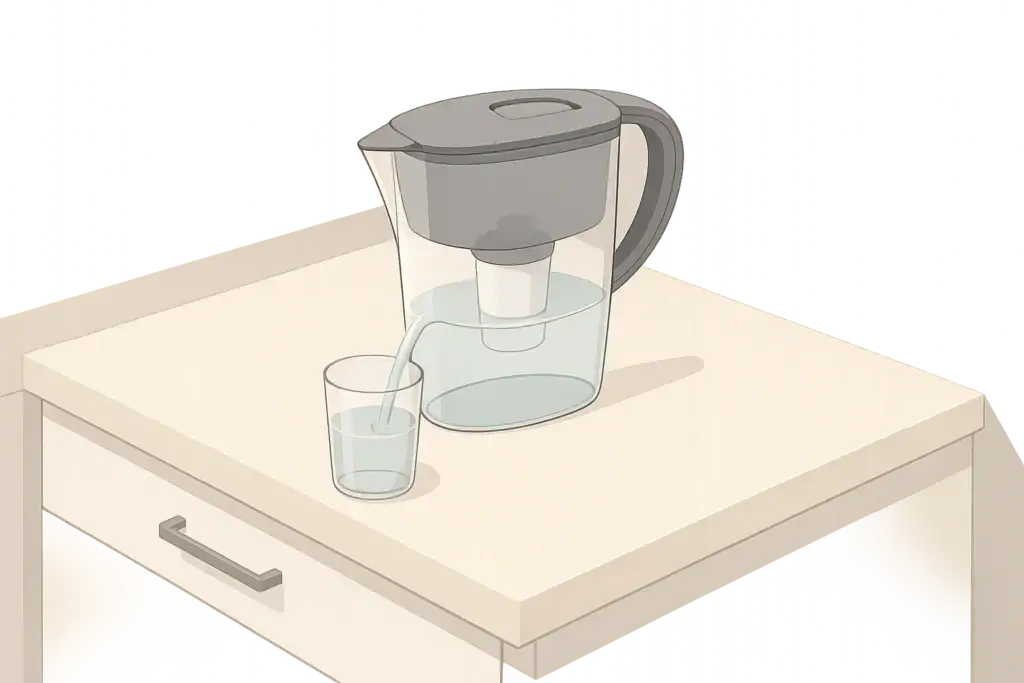
- Perform a full disassembly, cleaning, and sanitizing of all plastic parts.
- Discard the first one or two full pitchers of filtered water, especially after sanitizing, to clear out any residual tastes.
In some cases, older pitchers with heavily scratched or stained interiors are difficult to restore fully. Deep scratches can trap residues and biofilm that are hard to remove. Replacing the pitcher body may be the most practical way to ensure neutral taste.
Understanding Water Quality, Contaminants, and Taste
Taste and odor are often the first signals people notice, but they do not give a complete picture of water quality. A pitcher filter is mainly designed to improve taste, odor, and clarity, and some models are tested for specific contaminants under NSF/ANSI standards.
Common Aesthetic Issues: Chlorine, Hardness, and Turbidity
Pitcher filters commonly address aesthetic (non-health) issues such as:
- Chlorine taste and odor: Activated carbon can reduce many chlorine-related tastes and smells, improving the overall flavor of tap water.
- Particles and turbidity: Simple mechanical screening or fine media can reduce visible particles and cloudiness.
- Some metallic or earthy tastes: Depending on the media, pitchers may help reduce certain dissolved substances that influence taste.
Carbon cartridges gradually become saturated. As they reach the end of their useful capacity, you may notice the return of chlorine-like or earthy notes. Proper maintenance and timely replacement help keep taste improvements consistent.
Limitations of Pitcher Filters
While some pitcher filters are certified for specific contaminant reductions, they do not replace higher-capacity systems where water has more complex quality challenges. For example:
- Pitcher filters are point-of-use devices: they treat only the water poured through them, at modest volumes.
- They typically have relatively low flow rates compared to faucet-mount or under-sink systems.
- Their performance depends heavily on regular cartridge replacement and clean surfaces.
For households concerned about a wider set of contaminants, pitcher filters can be one part of a broader approach that may include other devices tested under NSF/ANSI 53, 401, or 58, depending on the technology.
NSF/ANSI Certifications and Taste-Focused Maintenance
NSF/ANSI standards provide a way to evaluate performance claims made by water treatment devices, including pitchers. While the main focus of this article is maintenance and taste, understanding the basic categories can help you align your expectations and maintenance habits with what the pitcher is designed to do.
Relevant Standards for Pitcher Filters
Pitcher-style filters most commonly reference:
- NSF/ANSI 42: Related to aesthetic effects such as chlorine taste and odor and particulate reduction.
- NSF/ANSI 53: Related to certain contaminants with potential health significance, such as some heavy metals or specific organic compounds, if the device is tested for them.
- NSF/ANSI 401: Related to certain emerging compounds such as some pharmaceutical and personal care product residues, if claimed.
Reverse osmosis systems and some under-sink systems may reference NSF/ANSI 58, which is focused on reverse osmosis technology. While this is not typical for standard pitchers, it is part of the broader water filtration landscape in a home.
Why Certification Matters for Maintenance
When a pitcher filter is independently tested for performance, the test conditions generally assume proper installation and maintenance. This includes:
- Using cartridges within their stated capacity and replacement intervals.
- Operating within the recommended temperature range.
- Maintaining the device in a clean, sanitary condition.
Neglecting maintenance can reduce both taste benefits and the performance related to any certified claims, even if the cartridge itself still has some remaining capacity.
Example values for illustration.
| Standard | Typical Technology | Main Focus | What to Verify on a Pitcher |
|---|---|---|---|
| NSF/ANSI 42 | Carbon and similar media | Aesthetic effects (chlorine, taste, odor, particulates) | Claims for chlorine taste/odor and sediment reduction |
| NSF/ANSI 53 | Carbon, ion exchange, specialty media | Selected contaminants with health relevance | Which specific contaminants, if any, are listed |
| NSF/ANSI 401 | Advanced carbon or mixed media | Certain emerging compounds (example: some pharmaceuticals) | Whether any emerging compounds are included in claims |
| NSF/ANSI 58 | Reverse osmosis systems | Performance of RO membranes and systems | More relevant to under-sink RO than to pitchers |
| NSF/ANSI 372 | Various devices and components | Lead content of materials in contact with water | Whether materials meet low-lead requirements |
Putting It All Together: A Practical Pitcher Care Routine
A simple, repeatable routine keeps a pitcher filter performing as expected and minimizes off-flavors:
- Daily: Empty and refill with fresh tap water as needed, avoid long stagnation, and store away from strong odors.
- Weekly: Remove the cartridge, wash and rinse the pitcher body, lid, and reservoir with mild unscented soap, and let them dry fully.
- Monthly (example): Include a sanitizing step suitable for your pitcher materials, and discard at least the first full pitcher of filtered water afterward.
- Every 1–3 months (example): Replace the filter cartridge, following the stated capacity and any relevant NSF/ANSI performance claims.
- Long term: Monitor for cracks, discoloration, and scratches in the pitcher body and consider replacing it when cleaning no longer restores neutral taste and clarity.
Consistent cleaning and careful sanitizing, paired with timely cartridge replacement, let a pitcher filter do what it does best: provide clearer, better-tasting water in a simple format that fits easily into everyday home routines.
Frequently asked questions
How can I sanitize pitcher parts without contaminating or damaging the filter cartridge?
Always remove the cartridge before sanitizing plastic parts; sanitize only the pitcher body, lid, and reservoir. Use mild options such as a dishwasher-safe hot cycle (if parts are rated) or a diluted unscented bleach solution at food-contact concentrations, rinse thoroughly, and air-dry completely. Never soak or expose the cartridge to chemical sanitizers or hot water.
Is it safe to clean the filter cartridge with soap, vinegar, or baking soda?
Most cartridges should not be washed with soap, vinegar, or baking soda because these substances can leave residues in the media and affect taste or performance. If a cartridge smells or is near the end of its expected life, replacing it is usually safer and more effective than attempting to clean it. Follow the cartridge manufacturer’s guidance if available.
What should I do if I notice a lingering bleach or vinegar taste after sanitizing?
Rinse the pitcher parts thoroughly under running water until no chemical odor remains, then reassemble and discard the first one or two full pitchers of filtered water to clear residual tastes. Allow parts to air-dry fully before sealing the pitcher, and avoid using strong concentrations of vinegar or bleach in future sanitizing cycles.
What are the practical signs that my filter cartridge needs replacing even before the scheduled interval?
Look for reduced flow rate, the return of chlorine-like, metallic, or earthy tastes, visible discoloration or particles in filtered water, or persistent odors despite cleaning. These signs indicate media saturation, clogging, or diminished performance and warrant replacing the cartridge sooner than the nominal timeline.
Can I use my dishwasher to sanitize pitcher components, and what precautions should I take?
Only use the dishwasher if the pitcher parts are explicitly labeled dishwasher-safe (typically top-rack); a hot cycle can provide a mild sanitizing effect. Do not include the cartridge, avoid heated drying if plastics may warp, and verify material compatibility to prevent damage.
Recommended next:
- Best Pitcher Water Filters for Better-Tasting Tap Water (Chlorine Focus)
- Pitcher Filter vs Bottled Water: Cost per Gallon Breakdown
- How Often Should You Replace Pitcher Filters? (By Household Size)
- TDS in Pitcher-Filtered Water: What Changes and What Doesn’t
- Pitcher Filters for Renters: What to Look For (Capacity + Fridge Fit)
- Do Pitcher Filters Reduce Lead? How to Check Certified Claims
- More in Pitcher Filters →
- NSF/ANSI standards explained (42/53/401/58)
- Clear trade-offs: pitcher vs faucet vs under-sink vs RO
- Maintenance planning: cost per gallon and replacement cadence