
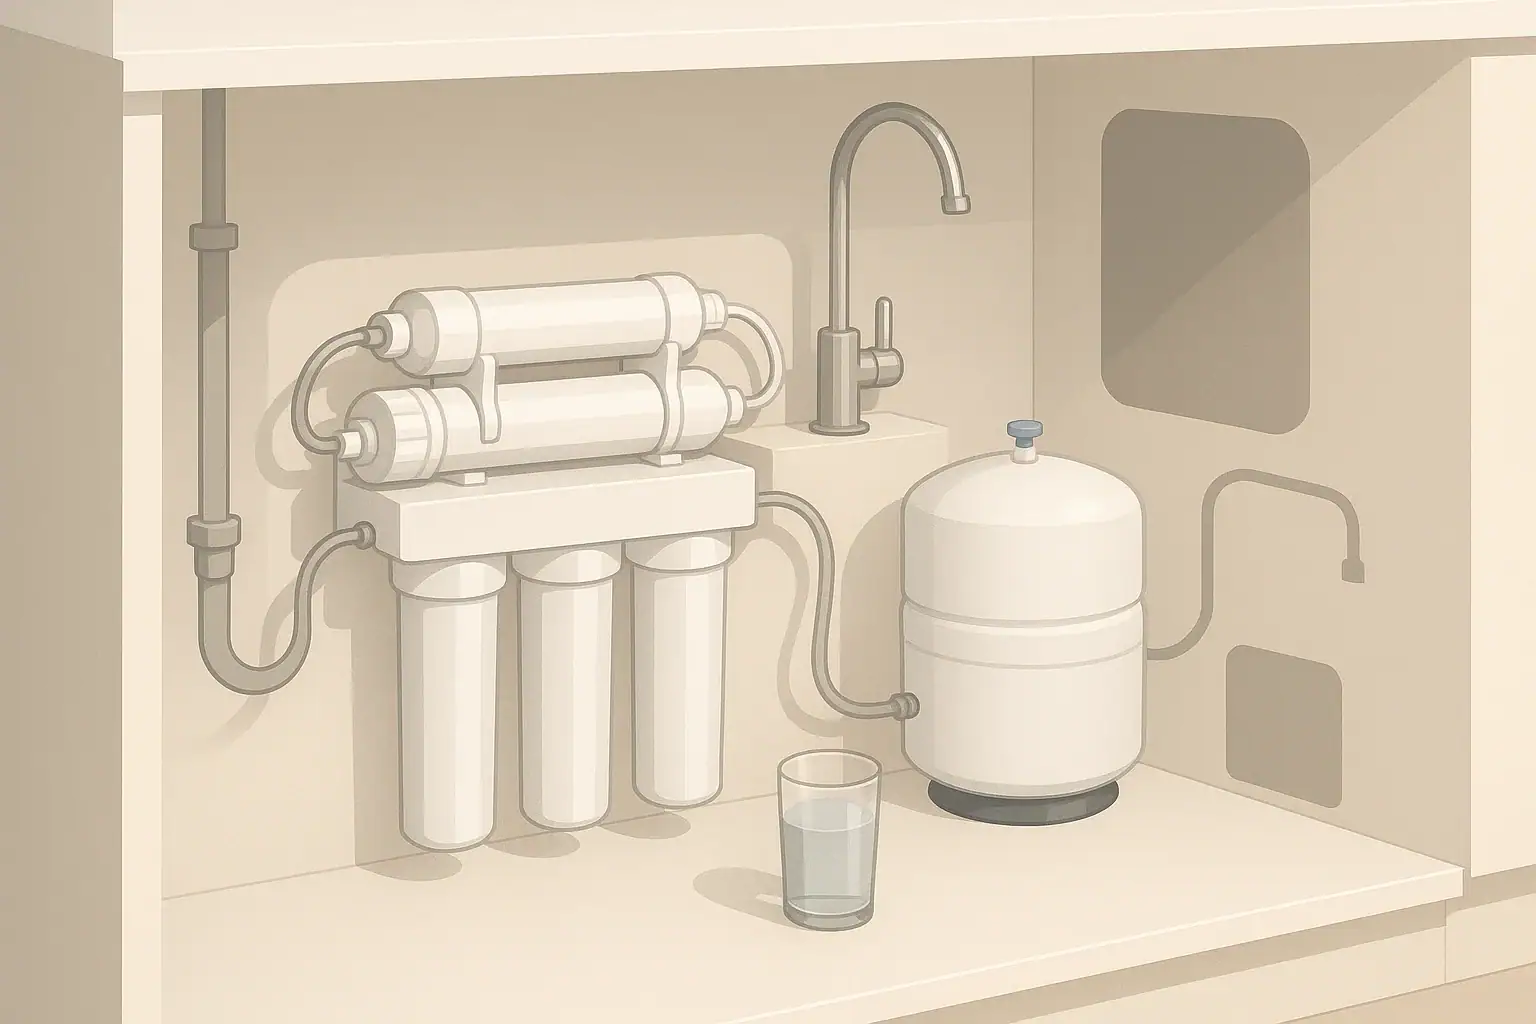
Why the shutoff valve matters before filtration
An under-sink water filter is usually a straightforward kitchen upgrade, but the small shutoff valve under the sink deserves close attention before any installation begins. That valve controls the cold water supply feeding the faucet and, in many installations, the filter system. If it is old, hard to reach, corroded, or mismatched to the filter tubing, the project can become more difficult than expected.
Under-sink filter shutoff valves are especially important for reverse osmosis systems, carbon block filters, sediment prefilters, and other point-of-use systems that connect to the cold water line. A reliable valve makes it possible to isolate the filter for cartridge changes, leak checks, sanitation, and service without shutting off water to the entire home.
The goal is not to overcomplicate the installation. The practical goal is to confirm that the water supply can be turned off fully, that the connection type is appropriate, and that the filter will have enough pressure and access for normal use. If any part of the plumbing looks damaged, improvised, or unfamiliar, a licensed plumber is the safer choice.
What a shutoff valve does
A shutoff valve is a control point. Under a kitchen sink, it is commonly installed on the hot and cold supply lines. Most under-sink drinking water filters connect to the cold side only. The valve may feed the faucet directly, or a tee adapter may be added so the faucet and filter can both receive cold water.
For filter ownership, the valve helps with:
- Turning off water before replacing cartridges
- Stopping flow quickly if a leak appears
- Testing fittings after installation
- Isolating the filter during troubleshooting
- Reducing mess during maintenance
A valve that does not close completely can allow water to seep during installation or service. That slow seep may not seem serious, but it can make fittings harder to assemble and leak testing less reliable.
Check the existing cold water shutoff valve
Start by identifying the cold water valve under the sink. In many kitchens, the cold valve is on the right side, but layouts vary. Follow the cold supply line from the faucet if you are unsure. Do not rely only on position.
Valve style and condition
Common residential under-sink valves include multi-turn valves and quarter-turn valves. A multi-turn valve uses several rotations to open or close. A quarter-turn valve usually moves from open to closed with a 90-degree turn. Either style can work when it is in good condition and compatible with the connection plan.
Look for signs that the valve may need attention before a filter is connected:
- Green, white, or blue crust on metal parts
- Water stains on the cabinet floor or wall
- A handle that will not turn smoothly
- Drips from the stem, outlet, or supply connection
- A valve that spins without changing flow
- Flexible supply lines that are kinked, cracked, or swollen
If the valve looks questionable, do not force it. Old valves and brittle supply tubing can fail when handled aggressively. A plumber can evaluate whether the valve, supply line, or angle stop should be replaced before the filtration system is installed.
Can it shut water off completely?
Before connecting a filter, the valve should be able to stop water flow to the faucet. A practical check is to turn the cold valve off, then open the cold side of the faucet to see whether flow stops after the remaining line pressure is released. A few drips can be normal at first, but ongoing flow suggests the valve is not sealing fully.
If the valve does not stop water, do not assume the filter inlet valve will solve the problem. The primary shutoff should be reliable because it protects the installation and future maintenance work.
Connection size and tubing compatibility
Under-sink filters may use flexible tubing, compression fittings, push-to-connect fittings, or adapter tees. The exact connection depends on the system design and local plumbing materials. Common kitchen faucet supply connections in the U.S. are often described by nominal sizes such as 3/8-inch compression, but sink plumbing is not universal.
Before installation, compare the filter kit instructions with the actual valve outlet, faucet supply line, and available space. Do not mix fitting types unless the parts are designed for that use. Avoid improvised reducers, stacked adapters, or cross-threaded connections, as these can increase leak risk.
Example values for illustration.
| Check item | What to look for | Why it matters |
|---|---|---|
| Cold water identification | Trace the line from the faucet cold side | Most drinking water filters connect to cold water only |
| Valve operation | Handle turns smoothly and stops flow | Needed for safe installation and service |
| Visible condition | No active drips, corrosion, swelling, or stains | Existing problems can worsen when disturbed |
| Outlet connection | Matches the tee, adapter, or supply line plan | Reduces cross-threading and adapter stacking |
| Cabinet access | Room to reach the valve by hand | Important for cartridge changes and emergencies |
| Tubing route | No sharp bends, pinches, or contact with hot surfaces | Protects flow and reduces wear |
| Filter inlet valve | Included or planned where appropriate | Allows filter isolation without disabling the faucet |
| Local code fit | Parts are rated for potable water and allowed locally | Helps avoid noncompliant or unsafe modifications |
Match valve choice to the filter type
Different under-sink systems place different demands on the inlet connection. A simple carbon filter may have fewer connections than a reverse osmosis system. An RO system may also include a storage tank, drain connection, automatic shutoff, check valve, and dedicated faucet. The shutoff arrangement should match the equipment rather than being treated as an afterthought.
Single-stage and multi-stage carbon filters
Many carbon and sediment under-sink filters connect to the cold line and send treated water to either the existing faucet or a dedicated drinking water faucet. These systems often need a clean, secure feed connection and enough room for cartridge replacement. Flow is usually limited more by the cartridge design than by the valve itself, as long as the valve is fully open and the tubing is not restricted.
For these systems, check that the shutoff can isolate the filter inlet and that the filter housing can be serviced without twisting the supply line. If the filter is mounted too close to the valve, routine cartridge changes can stress fittings.
Reverse osmosis systems
Reverse osmosis systems are more sensitive to feed pressure, tubing layout, and proper connection points. They typically use cold water only. Many also require a drain connection for concentrate water and may include a pressure storage tank. A reliable inlet shutoff is important because RO systems have several small-diameter tubing connections that need careful leak checks.
RO systems generally should not be installed on hot water lines. Hot water can damage membranes and other components. Also avoid connecting an RO system in a way that bypasses built-in safety features such as check valves or automatic shutoff devices. Those parts are included to manage flow direction and pressure behavior.
Refrigerator or icemaker connections
Some homeowners want an under-sink filter or RO system to also supply a refrigerator dispenser or icemaker. This can be practical, but it adds distance, extra tubing, and more fittings. The shutoff plan should allow the filter to be isolated without leaving hidden tubing pressurized in a way that is difficult to inspect.
If tubing must pass behind cabinets, walls, or appliances, plan for access and leak awareness. Concealed routes are harder to monitor. Follow the filter and appliance instructions, and use components suitable for potable water and the expected pressure.
Plan placement, access, and tubing route
A shutoff valve can be technically compatible but still inconvenient if it is buried behind a disposal, drain pipe, storage bin, or filter tank. Before drilling holes or mounting brackets, open the cabinet and imagine routine maintenance. You should be able to see and reach the valve without removing half the cabinet contents.
Leave room for service
Under-sink filters need periodic cartridge changes. RO systems may also need membrane replacement, tank pressure checks, and sanitation according to the manufacturer schedule. If the valve is blocked by the filter housing, each service visit becomes more difficult.
As a general planning approach, keep these areas accessible:
- The cold water shutoff valve
- Any filter-specific inlet shutoff valve
- Filter housings or cartridge heads
- RO tank valve, if a tank is used
- Drain connection, if present
- All push-fit or compression connections
Do not mount a system where tubing must be sharply bent to reach the valve. Tight bends can restrict flow and may place stress on fittings. Tubing should be neat, supported, and protected from abrasion.
Consider the cabinet floor
The cabinet floor often reveals past plumbing problems. Stains, soft spots, warped particleboard, or musty odors suggest previous leaks or ongoing moisture. Adding a filtration system into a damp or damaged cabinet can make troubleshooting harder. Address the underlying moisture issue before installing new equipment.
A small leak tray or water alarm may be useful in some homes, especially where a cabinet has a history of leaks. These tools do not replace proper installation, but they can provide early awareness.
Avoid questionable feed methods
Some older installations use self-piercing saddle valves to feed small tubing. These are not preferred in many modern plumbing practices and may be restricted by local code. They can clog, leak, or provide inconsistent flow. For a drinking water filter, a code-compliant tee, adapter, or properly installed valve is usually a better approach.
Because plumbing codes and accepted methods vary by location, the safest guidance is to use the connection method specified by the equipment instructions and permitted locally. When in doubt, ask a licensed plumber rather than improvising.
Leak prevention and first-day monitoring
Most under-sink filter leaks are practical problems: a fitting is not seated, tubing is cut unevenly, a gasket is misaligned, or an old valve starts dripping after being moved. Careful pre-checks reduce those risks, but monitoring after installation is still important.
Use the right parts for potable water
Any valve, tee, tube, or fitting used on a drinking water line should be intended for potable water. Materials should also be compatible with the tubing type and pressure range used by the filter. Do not use random hardware parts simply because the threads seem close. Thread standards and sealing surfaces vary, and a near match can leak.
Compression fittings, push-to-connect fittings, and threaded fittings rely on different sealing methods. Follow the filter instructions for each fitting type. Over-tightening can damage seals, while under-tightening can allow seepage.
Check slowly after pressurizing
After installation, water is usually turned back on gradually so fittings can be observed. The first few minutes matter, but they are not the only check. Some small leaks appear later after tubing relaxes or pressure cycles. Inspect the valve, tee, filter inlet, cartridges, faucet connection, tank valve, and drain area shortly after installation and again later the same day.
Use a dry paper towel around fittings to detect moisture. This is a simple observation method, not a substitute for fixing a known drip. If a fitting continues to weep after being properly assembled according to instructions, turn off the water and correct the issue before using the system normally.
Know when to stop
Stop the installation and seek help if a valve will not shut off, a pipe moves inside the wall, tubing is brittle, or corrosion is severe. Also stop if the installation would require cutting structural parts, bypassing a required backflow or shutoff feature, or making a connection you cannot inspect later. A filter is not worth creating a hidden plumbing risk.
Example values for illustration.
| Item | Typical concern | Practical response |
|---|---|---|
| Low feed pressure | Slow filtered water, especially with RO | Compare home pressure with the system instructions |
| Very high pressure | Stress on fittings, housings, or tubing | Confirm pressure is within equipment limits |
| Partly closed valve | Reduced flow to faucet or filter | Open fully after leak checks if appropriate |
| Kinked tubing | Restricted flow and noisy operation | Reroute with gentle bends and support |
| Long refrigerator run | Slower dispensing and harder leak monitoring | Plan accessible shutoffs and inspectable routing |
| RO storage tank | Flow changes as tank fills and empties | Check tank valve and tubing during service |
| New carbon cartridge | Initial fine particles or trapped air | Flush according to the filter instructions |
Related guides: Under-Sink Filter Installation: Tools, Parts, and Common Mistakes • Fixing Under-Sink Filter Leaks: 7 Quick Checks • Reverse Osmosis 101: What RO Removes (and What It Doesn’t)
Common questions before installation
Do I need a separate shutoff valve for the filter?
Many installations benefit from a separate filter inlet shutoff in addition to the main cold water valve. This allows the filter to be isolated while leaving the rest of the faucet plumbing easier to manage. Whether it is required depends on the system design, fitting arrangement, and local plumbing expectations.
Can an under-sink filter share the faucet cold water valve?
Yes, many systems are fed from the existing cold water supply using an approved tee or adapter. The important points are compatibility, access, and leak-free assembly. The existing valve should work properly before the filter is added.
Should the filter connect to hot or cold water?
Most under-sink drinking water filters and RO systems are designed for cold water. Hot water can damage certain cartridges, membranes, tubing, and seals. Always follow the equipment instructions.
What if my shutoff valve is stuck?
Do not force a stuck valve. Forcing it can break the handle, packing, supply line, or pipe connection. If gentle operation does not work, have the valve evaluated and replaced if needed before the filter is installed.
Is a small drip after installation normal?
No ongoing drip should be ignored. A few drops of leftover water can appear during assembly, but continued moisture at a valve or fitting needs attention. Turn off the water, relieve pressure as directed by the product instructions, and correct the connection before regular use.
Does the shutoff valve affect water taste?
The valve itself is not usually the main factor in taste and odor complaints. Taste is more often related to source water, chlorine or chloramine treatment, filter media, old cartridges, stagnant water, or tubing condition. However, all wetted parts should be suitable for potable water and kept in good condition.
Frequently asked questions
How do I know if my under-sink shutoff valve is compatible with a filter?
Check the valve outlet size, fitting type, and available space against the filter instructions. The valve should also close fully and be in good condition before you connect anything.
Can I install an under-sink filter if the valve is old?
Yes, but only if it still works properly and does not show signs of corrosion, dripping, or stiffness. If the valve looks worn or does not seal well, replace it first or have a plumber inspect it.
Should the cold water valve stay fully open after installation?
Yes, once leak checks are complete, the cold water valve should normally be left fully open so the filter gets proper flow. Partial closure can reduce performance and make troubleshooting harder.
What is the safest way to check for leaks after installing a filter?
Turn the water on slowly, then inspect each fitting with a dry paper towel. Check again after the system has been pressurized for a while, because small leaks can show up later.
Do reverse osmosis systems need anything different from a basic filter?
Yes. RO systems usually need more attention to pressure, tubing layout, drain connections, and isolation valves. Their small fittings and additional components make accessibility especially important.
When should I call a plumber instead of doing it myself?
Call a plumber if the valve will not shut off, the plumbing is badly corroded, tubing is brittle, or the installation would require improvised parts. Hidden leaks are more expensive than professional help upfront.
Recommended next:
- Under-Sink vs Pitcher: Which Is Better for Families?
- Best Under-Sink Filters for Chlorine Taste & Odor
- Under-Sink Filter Installation: Tools, Parts, and Common Mistakes
- No-Drill Under-Sink Filters for Renters: What’s Possible?
- Under-Sink Filters for Lead Reduction: What Certifications to Look For
- Under-Sink Filter Flow Rate Explained: Why GPM Matters
- More in Under-Sink Filters →
- NSF/ANSI standards explained (42/53/401/58)
- Clear trade-offs: pitcher vs faucet vs under-sink vs RO
- Maintenance planning: cost per gallon and replacement cadence