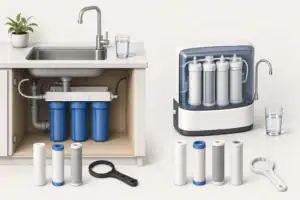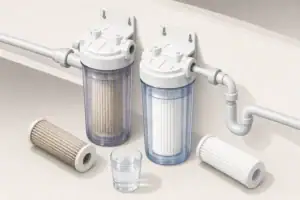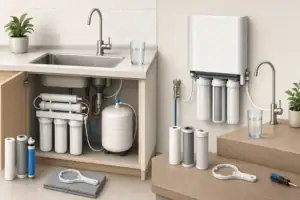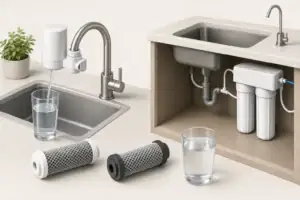
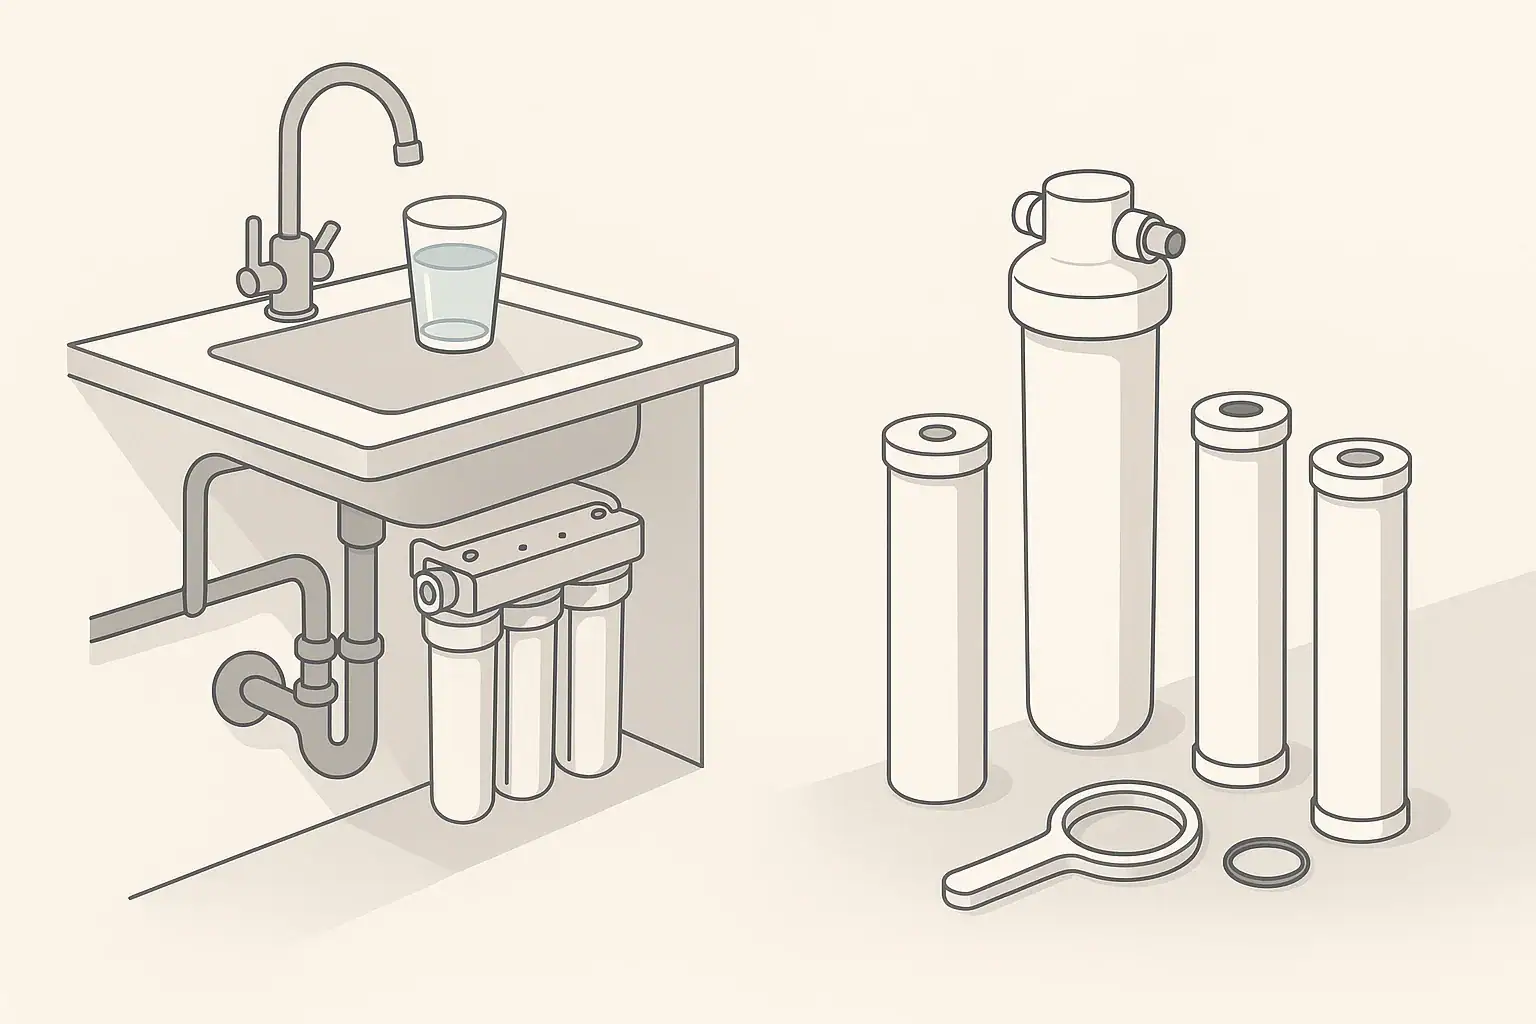
Filter housing O-rings are small parts, but they do a large share of the leak-prevention work in many home water filtration systems. They sit between the filter sump and the head of the housing, compressing just enough to create a watertight seal when the housing is tightened.
Because they are inexpensive and easy to overlook, O-rings are often blamed only after a drip appears under the sink, in a utility room, or near a whole-house filter. In practice, most O-ring problems are preventable with proper lubrication, careful inspection, and routine replacement.
This article focuses on practical maintenance for standard filter housings used with sediment cartridges, carbon cartridges, under-sink filters, and many whole-house housings. Always follow the instructions for your specific system, especially if it has unique sealing parts, pressure-release features, or nonstandard cartridges.
Why filter housing O-rings matter
An O-ring is a circular gasket, usually made from a flexible rubber-like material. In a filter housing, it fills the tiny gap between two rigid parts so water pressure cannot push through the joint.
A good seal depends on several things happening at once:
- The O-ring must be the correct size and shape for the housing groove.
- The sealing surfaces must be clean and free of grit.
- The O-ring must be flexible, not cracked or flattened.
- The housing must be tightened evenly without cross-threading.
- The system pressure must be within the housing rating.
When any of these conditions are missing, water may escape as a slow weep, an intermittent drip, or a more obvious leak after a cartridge change. O-rings do not filter water. Their job is mechanical: seal the housing safely while water flows through the cartridge.
How O-rings seal a filter housing
Most common filter housings use a sump that screws into a fixed head. The O-ring sits in a groove near the top of the sump or in a matching channel, depending on the housing design. When the sump is tightened, the O-ring is gently compressed.
That compression is important. Too little compression may allow a leak. Too much force, especially from overtightening, can distort the O-ring, damage threads, or make the housing difficult to remove later. If you are deciding on a new setup, it helps to understand whole house filters vs water softeners so the housing is matched to the right job.
Static seal, not a moving part
In a typical filter housing, the O-ring creates a static seal. It is not intended to rotate continuously or act like a moving valve seal. During tightening, however, the O-ring can twist or drag against the housing surface. This is one reason lubrication matters.
Why small debris causes big leaks
A grain of sand, a piece of old cartridge media, or hardened residue in the O-ring groove can create a tiny path for water. Under household water pressure, that path may become a visible drip. Cleaning the groove is often just as important as replacing the O-ring. For a similar example of how buildup affects performance, see whole house filters for iron and rust.
Example values for illustration.
| Condition noticed | Likely concern | Practical response |
|---|---|---|
| Dry but flexible O-ring | May seal if clean and lubricated | Clean and apply compatible lubricant lightly |
| Flattened or squared edges | Compression set from age or pressure | Replace before reassembly |
| Small cracks or cuts | Seal may fail under pressure | Replace rather than reuse |
| Swollen or sticky surface | Possible chemical or lubricant incompatibility | Replace and use a compatible lubricant |
| Sand or grit in groove | Debris can create a leak path | Clean groove and sealing surface carefully |
| O-ring pops out of groove | Wrong size, deformation, or excess lubricant | Confirm size and reseat correctly |
| Leak starts after cartridge change | Pinched, twisted, dry, or dirty O-ring | Depressurize, inspect, clean, lubricate, and reassemble |
Choosing the right lubricant
Lubrication helps the O-ring seat smoothly and reduces the chance of twisting, pinching, or dragging during reassembly. It also helps keep the rubber flexible between maintenance intervals.
For most home water filter housings, a small amount of silicone-based lubricant intended for potable water system seals is commonly recommended. The key point is compatibility. The lubricant should be safe for contact with drinking water components and compatible with the O-ring material used by the housing manufacturer.
Use a light film, not a heavy coating
More lubricant is not better. A thin, even film is usually enough. Heavy globs can attract sediment, interfere with seating, or make the O-ring slip out of its groove during assembly.
A practical approach is to place a small amount on clean fingers and coat the entire O-ring surface until it looks slightly glossy, not smeared. Wipe away excess if the grease is visible in clumps.
Avoid petroleum-based products unless specified
Petroleum jelly, general-purpose grease, and some household lubricants can degrade or swell certain rubber materials. That can lead to softening, stickiness, or premature failure. Unless the housing documentation specifically allows a product, avoid improvised lubricants.
Cooking oils are also not a good substitute. They can become sticky, may not be compatible with the seal material, and are not designed for long-term mechanical sealing in a pressurized housing.
Check the system manual when possible
Not all O-rings are made from the same material. Common materials may include EPDM, nitrile, silicone, or other elastomers. A manual, parts diagram, or replacement parts list may specify the correct O-ring and lubricant type. When in doubt, use replacement parts intended for the housing design rather than trying to match by appearance alone.
When to replace an O-ring
An O-ring does not need to be replaced at every cartridge change in every system, but it should be inspected every time the housing is opened. Replacement timing depends on age, water pressure, temperature, frequency of service, and how often the housing is opened.
Replace the O-ring if you see any of the following:
- Cracks, cuts, nicks, or missing material
- Permanent flattening or a squared-off shape
- Swelling, stickiness, or unusual softness
- Hardness, brittleness, or loss of flexibility
- Stretching that prevents it from staying in the groove
- Repeated leaks even after cleaning and proper lubrication
Keeping a spare O-ring near the filter system is useful. Many leaks happen during routine cartridge changes, and a worn seal may not be obvious until the housing is pressurized again. A replacement planner can help you stay ahead of routine service.
Do not assume the old seal is correct
If a moved-in home already has a filter housing installed, the existing O-ring may not be the original size. Prior owners may have substituted a close but incorrect seal. A seal that looks similar can still be too thick, too thin, too large, or too small.
An incorrect O-ring can cause a leak, make the housing difficult to tighten, or prevent proper compression. If the history is unknown, confirm the part based on the housing model or documented dimensions.
Step-by-step leak prevention during cartridge changes
Routine cartridge changes are the most common time for O-ring problems to appear. A careful process can reduce the chance of leaks without requiring unusual tools or plumbing changes.
1. Shut off water and relieve pressure
Use the system shutoff valve or the appropriate upstream valve. If the housing has a pressure-release button, use it according to the instructions. Opening a downstream faucet can also help relieve pressure in many setups. Do not open a pressurized housing.
2. Remove the sump carefully
Use a housing wrench only as intended. Avoid excessive force. If the housing is stuck, do not strike it or apply heat. Excessive force can crack plastic housings or damage fittings.
3. Remove and inspect the O-ring
Lift the O-ring gently from the groove using fingers or a dull plastic tool. Avoid sharp metal picks that can nick the seal or scratch the groove. Inspect both the O-ring and the seating surface.
4. Clean the groove and sealing surfaces
Wipe away grit, old lubricant, and cartridge debris with a clean cloth. If residue is present, use clean water and mild cleaning methods compatible with the housing. Do not use harsh solvents unless the manufacturer specifically allows them. If you are working inside a compact installation, the same care used for under-sink filter installation can help prevent leaks later.
5. Lubricate and reseat
Apply a light film of compatible silicone lubricant, then place the O-ring evenly into the groove. Make sure it is not twisted, stretched, or riding up on one side.
6. Reassemble without overtightening
Install the new cartridge, align parts correctly, and tighten the sump by hand according to the housing instructions. Some housings call for final snugging with a wrench, while others do not. Overtightening is a common cause of future service problems.
7. Pressurize slowly and check
Turn the water back on gradually. Watch the housing closely while it fills. Check around the seam, pressure-release button, fittings, and nearby tubing. Keep observing for several minutes, then check again later after normal water use.
Troubleshooting leaks after reassembly
If a filter housing leaks after a cartridge change, stay calm and work methodically. A slow drip usually points to a seating, debris, or O-ring condition issue. Shut off the water and depressurize before taking anything apart.
Leak at the housing seam
A leak around the circular seam usually involves the main O-ring. Common causes include a dry seal, a twisted seal, debris in the groove, a cut O-ring, or a housing that is not threaded evenly.
Remove the sump, inspect the threads, clean the groove, relubricate the O-ring, and reassemble carefully. If the same leak returns, replace the O-ring rather than repeatedly tightening the housing.
Leak from a pressure-release button
Some housings include a button or valve to release pressure. If water leaks from that area, the main O-ring may not be the issue. The button may have its own small seal or may have debris lodged in it. Follow the housing instructions and avoid disabling pressure-release features.
Leak near fittings or tubing
A drip near an inlet, outlet, valve, or tube connection may be unrelated to the housing O-ring. Do not assume all leaks come from the sump seal. Identify the exact wet location before reopening the housing.
Leak caused by hairline cracks
Plastic housings can develop cracks from age, impact, freezing, overtightening, or stress at fittings. A cracked sump or head should be replaced. Do not try to rely on sealant or tape to repair a pressure-bearing housing body.
O-ring maintenance schedule and replacement planning
A simple maintenance routine helps prevent surprise leaks. The right schedule depends on the system type and how often the housing is opened, but inspection should be part of every filter change.
For under-sink filters, the housing may be opened a few times per year. For whole-house sediment filters on high-sediment water, the housing may be opened more often. More frequent opening means more opportunities for the O-ring to stretch, collect debris, or lose lubrication.
It is also useful to write the filter change date on a service tag or calendar. That helps separate a normal cartridge interval from an unexpected leak or pressure drop issue.
Example values for illustration.
| Service moment | O-ring task | Why it helps |
|---|---|---|
| Every cartridge change | Inspect, clean groove, and relubricate lightly | Prevents debris-related leaks |
| If the housing was hard to open | Check for flattening and thread stress | Identifies overtightening or aging seals |
| If a slow seam drip appears | Depressurize and reseat or replace O-ring | Addresses the most common seal issue |
| If the O-ring feels brittle | Replace before pressurizing | Reduces risk of failure under pressure |
| If the system sat unused for a long period | Inspect flexibility and housing condition | Finds dried or deformed seals |
| When buying replacement filters | Consider keeping a spare O-ring on hand | Avoids delays during maintenance |
| After any leak event | Monitor the housing after reassembly | Confirms the repair under normal use |
Common mistakes to avoid
Several common habits can shorten O-ring life or create leaks that look mysterious later.
- Overtightening the sump: A tighter housing is not always a better seal. Proper O-ring compression matters more than brute force.
- Reusing a damaged seal: A nicked O-ring may seal briefly and then leak after pressure changes.
- Skipping groove cleaning: Old grease and grit can prevent uniform sealing.
- Using the wrong lubricant: Petroleum-based products can be incompatible with some O-ring materials.
- Mixing up similar O-rings: Close does not always mean correct. Thickness and diameter both matter.
- Ignoring pressure concerns: A filter housing should be used only within its rated pressure and installation requirements.
Leak prevention is mostly about patience and consistency. Use the correct seal, keep the groove clean, lubricate lightly, tighten appropriately, and check carefully when the system is returned to service. If a leak continues after basic O-ring maintenance, the issue may be a cracked housing, a damaged fitting, an incorrect replacement part, or another system component that needs professional evaluation. For broader upkeep, a cleaning and sanitizing routine for filter housings can make the next service easier.
Frequently asked questions
How often should a filter housing O-ring be replaced?
Inspect it every time the housing is opened and replace it if it shows wear, flattening, cracks, swelling, or repeated leakage. Some O-rings last through several cartridge changes if they stay flexible and clean.
What lubricant is best for a filter housing O-ring?
A small amount of silicone-based lubricant made for potable water seals is commonly used. Apply only a thin film and avoid petroleum-based products unless the manufacturer specifically allows them.
Can I reuse an O-ring after cleaning it?
Yes, if it is still flexible, undamaged, and properly sized. Clean it, inspect it closely, and relubricate lightly before reinstalling it.
Why does my filter housing leak after I change the cartridge?
The most common causes are a pinched or twisted O-ring, debris in the groove, a dry seal, or uneven tightening. Depressurize the housing, inspect the seal, and reassemble carefully.
Should I overtighten the housing to stop a leak?
No. Overtightening can damage threads, distort the O-ring, or crack the housing. If proper reassembly does not stop the leak, the seal or housing may need replacement.
Related guides: Cartridge Change Mistakes That Cause Leaks • Cleaning and Sanitizing Filter Housings: A Simple Routine • Fixing Under-Sink Filter Leaks: 7 Quick Checks • Installing a Whole House Filter: Placement, Bypass, and Leak Prevention
Recommended next:
- Replacement Planner Basics: Estimate Your Next Filter Change Date
- Cartridge Change Mistakes That Cause Leaks
- Cleaning and Sanitizing Filter Housings: A Simple Routine
- Subscription Replacement Programs: Are They Worth It?
- Long-Life Filters: What “Long Life” Really Means
- How to Store Spare Filters Without Ruining Them
- More in Maintenance & Replacement →
- NSF/ANSI standards explained (42/53/401/58)
- Clear trade-offs: pitcher vs faucet vs under-sink vs RO
- Maintenance planning: cost per gallon and replacement cadence