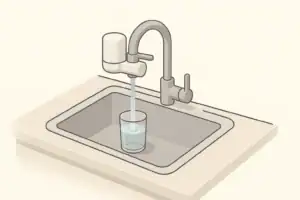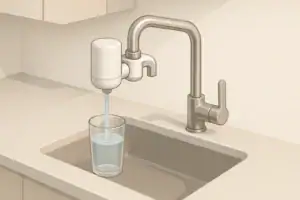
Why Faucet-Mount Cartridge Changes Matter
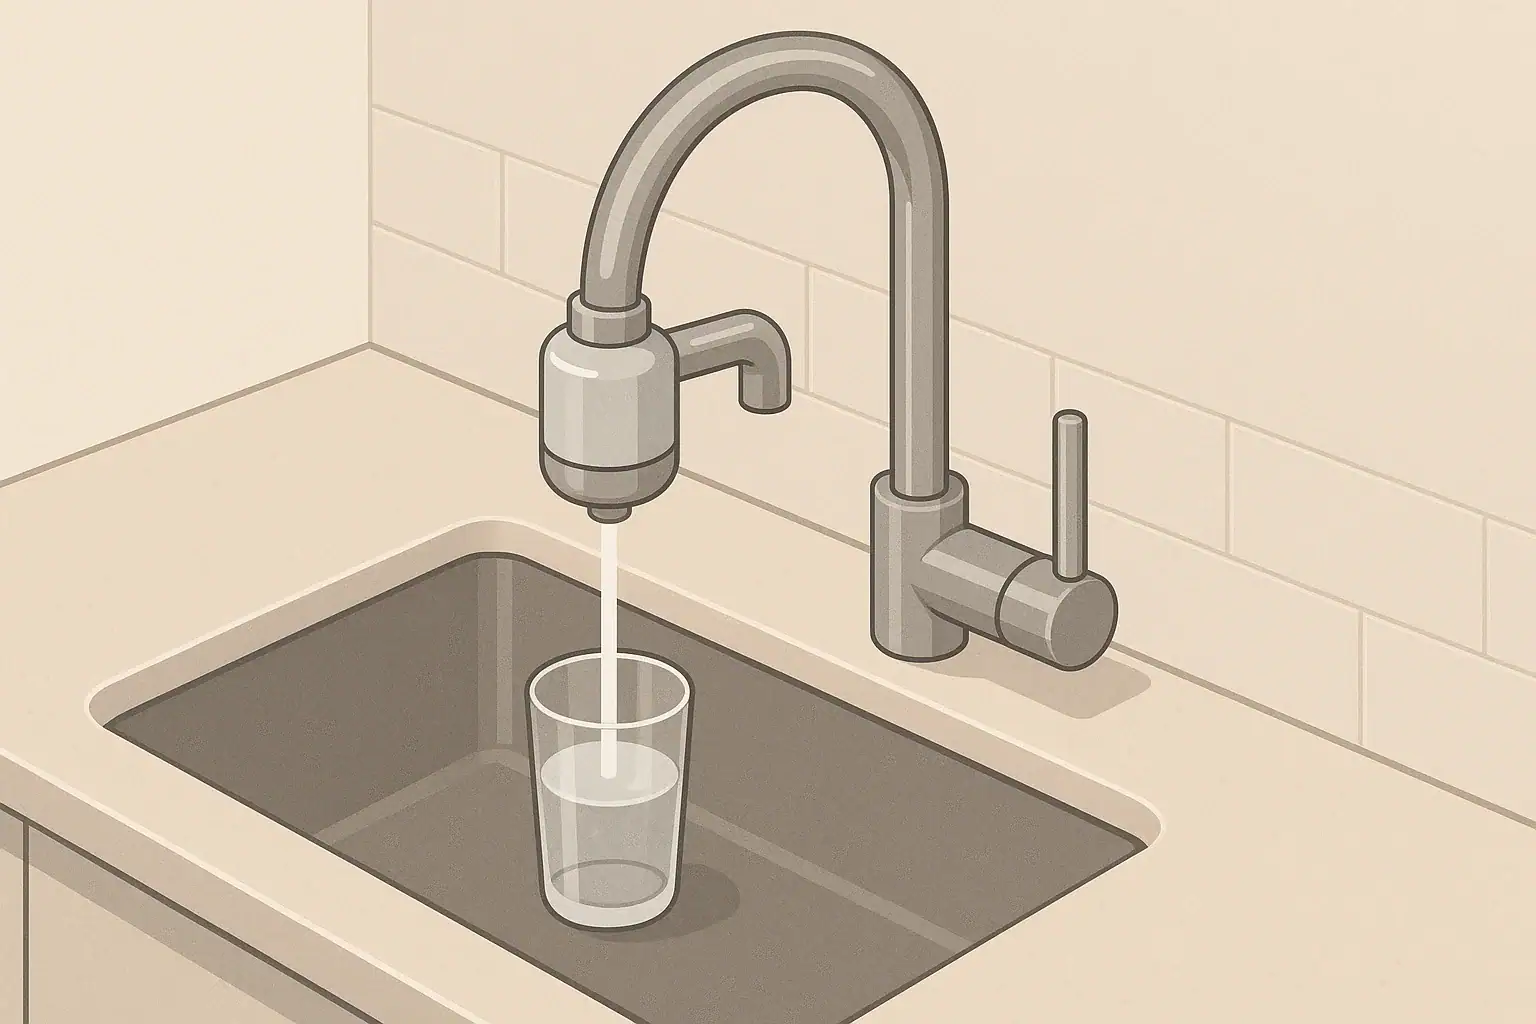
Faucet-mount water filters are popular because they are affordable, easy to install, and convenient for everyday kitchen use. But their performance depends on a small internal cartridge that needs regular replacement. Over time, the cartridge media becomes saturated with captured particles and chemicals, and flow can slow down as the filter clogs.
Changing the cartridge on schedule helps maintain:
- More consistent taste and odor reduction
- Stable flow rate for filling pots and glasses
- Filtering performance closer to the system’s original certifications
- Lower risk of bypassing or channeling through exhausted filter media
Most faucet-mount systems are designed for cartridge changes that take only a few minutes with simple tools or no tools at all. The exact process varies slightly by design, but the overall steps are similar. This guide walks through a general, step-by-step replacement that you can adapt to almost any faucet-mount filter.
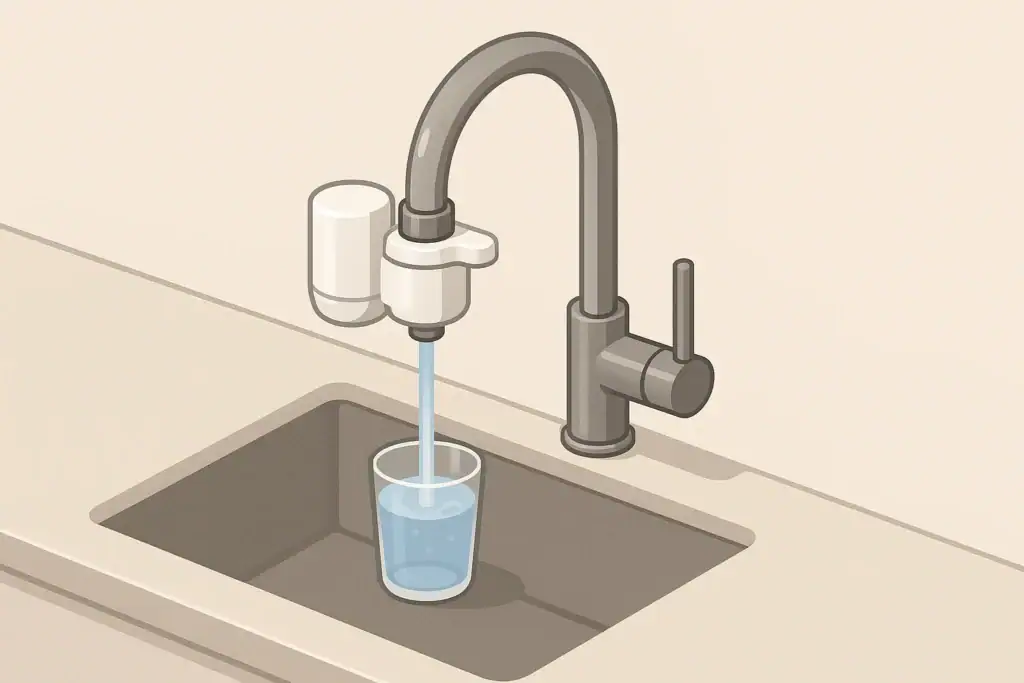
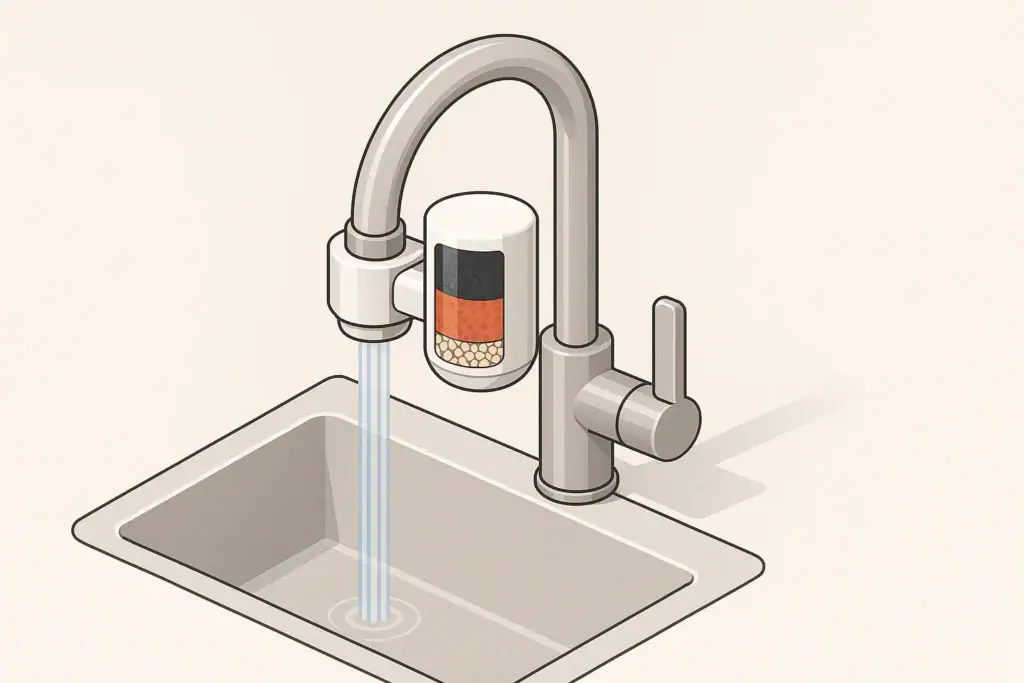
Know Your Faucet-Mount Filter Before You Start
Before you touch the filter, it helps to understand how your specific unit is put together. Faucet-mount filters usually share these basic parts:
- Faucet adapter: The connector that attaches to your kitchen faucet’s spout.
- Filter body or housing: The outer shell that holds the cartridge.
- Internal cartridge: The replaceable element that contains activated carbon and sometimes additional media.
- Diverter or mode switch: A knob or lever that switches between filtered and unfiltered water.
Check your user manual or the label on the device for:
- Cartridge model type (so you know you have the right replacement)
- Recommended capacity (often stated in gallons or liters)
- Typical time-based replacement interval (often every few months for average household use)
Many faucet-mount units come with a simple indicator (color window or mechanical dial) to remind you when to change the cartridge. Even if yours has an indicator, it is useful to track how long it has been since the last replacement and how much water you typically use.
Example values for illustration.
| Situation | What It Usually Indicates | Suggested Action |
|---|---|---|
| Cartridge has reached stated gallon capacity (for example, a few hundred gallons) | Media may be saturated with captured contaminants | Plan a cartridge change as soon as practical |
| Several months of regular use since last replacement | Time-based limit reached for typical household usage | Replace even if water still tastes acceptable |
| Noticeably slower filtered flow rate | Filter likely clogged with sediment or fine particles | Inspect and replace cartridge; check for sediment in aerator |
| Change in taste or odor returns when using filtered setting | Activated carbon may no longer be effective | Replace cartridge and flush thoroughly |
| Indicator window or dial shows “replace” or end-of-life state | Estimated capacity or time limit has been reached | Follow the device’s guidance and install new cartridge |
| Household water use has increased significantly | Cartridge may reach capacity sooner than expected | Shorten replacement interval and monitor flow and taste |
Tools, Materials, and Safety Basics
Most faucet-mount cartridge changes are simple and do not require special plumbing skills. Having a few basic items ready can prevent frustration and mess.
What You Will Need
- Replacement cartridge compatible with your faucet-mount filter
- Clean towel or cloth to catch drips
- Small bowl or container (optional, for holding small parts)
- Adjustable wrench or pliers with smooth jaws (only if your design uses threaded collars that are hard to turn by hand)
Always check the manufacturer’s instructions for any special tools or steps that apply to your specific model.
Water and Safety Precautions
Before you begin:
- Turn off the filtered water mode. Set the diverter to regular tap water or off if your faucet has a shutoff.
- Relieve pressure. Run tap water for a few seconds, then turn off the faucet.
- Avoid hot water through the filter. Faucet-mount filters are typically designed for cold or cool water only. Hot water can damage the cartridge media.
- Work over the sink so that drips and removed parts stay contained.
Step-by-Step Faucet-Mount Cartridge Replacement
The steps below describe a typical cartridge change for a faucet-mount filter. Your housing shape and opening method may be slightly different, but the general flow of the process is similar.
Step 1: Confirm the Correct Replacement Cartridge
Before you remove anything, verify that the new cartridge you have on hand matches your existing system. Check for:
- Cartridge shape and length
- End connections or alignment tabs
- Any O-rings or gaskets that need to be transferred or replaced
Using the wrong cartridge can cause leaks, poor sealing, or improper flow through the filter media.
Step 2: Prepare the Sink Area
Clear the area around your sink and faucet so you can work comfortably. Place a towel over the sink edge or basin to catch splashes and provide a non-slip surface for tools or parts. If your faucet has a removable aerator insert, you may want to take a quick look at it while you are working; sediment buildup here can also affect flow.
Step 3: Open the Filter Housing
How the housing opens depends on the design:
- Some units hinge open. You may press a release button and swing the housing shell down.
- Others unscrew with a threaded collar. You may need to rotate a cap or outer ring counterclockwise.
- A few designs use a sliding or snap cover that lifts off once a latch is pressed.
Support the filter body with one hand while opening it with the other. Work slowly to avoid stressing the adapter or faucet connection. A small amount of water may spill from the housing when opened; this is normal.
Step 4: Remove the Used Cartridge
Once open, you will see the old cartridge seated inside the housing. Gently pull it straight out. In some designs, you may need to twist slightly to disengage tabs or alignment features. Note how the cartridge is oriented, including which end faces up or toward the faucet.
Inspect the old cartridge briefly for:
- Heavy discoloration or sediment deposition
- Cracked housing or warped plastic
- Loose granules escaping from the media bed
These observations can help you judge water conditions and how hard the filter is working.
Step 5: Inspect and Clean the Housing
With the cartridge removed, look inside the filter body:
- Check O-rings and seals. Make sure they are not cracked, flattened, or missing.
- Wipe out debris. Use a clean, damp cloth to remove any loose particles.
- Rinse gently. If allowed by your manual, you can rinse the housing with cool tap water. Do not use harsh cleaners or soap inside the filter path unless specifically instructed.
Damage to O-rings or gaskets is a common cause of slow drips after a cartridge change. If your filter includes spare seals, this is a good time to replace worn ones.
Step 6: Install the New Cartridge
Remove any protective wraps or caps from the new cartridge. Avoid touching the filter media directly; handle the cartridge by its plastic surfaces.
Then:
- Align any tabs or notches on the cartridge with matching features in the housing.
- Insert the cartridge firmly until it seats. It should sit straight and fully engaged, not at an angle.
- Ensure any O-rings on the cartridge itself are lightly lubricated with clean water if recommended and not pinched.
If you feel resistance before the cartridge is fully seated, stop and check alignment again. Forcing it can damage the housing or seals.
Step 7: Close and Secure the Housing
Reassemble the housing according to its design:
- Hinged units: Swing the cover closed until it clicks or latches.
- Threaded collars: Screw the cap or ring on by hand. Tighten until snug but avoid over-tightening, which can distort seals.
- Snap covers: Align and press firmly until all latches engage.
Make sure the housing feels solid and does not wobble on the adapter. If something seems misaligned, open it again and double-check the cartridge seating.
Step 8: Flush the New Cartridge
Almost all faucet-mount filters require flushing a new cartridge before regular use. Flushing helps remove fine carbon particles and condition the media. Typical instructions call for running cold water through the filter setting for a few minutes, sometimes in multiple on/off cycles. Always follow the guidance for your specific cartridge, but a general process looks like this:
- Turn on cold tap water at a moderate flow.
- Switch the diverter to the filtered setting.
- Run water through the filter for several minutes, or as directed.
- If water appears gray or slightly cloudy at first, continue flushing until it clears.
Flushed water can be directed down the drain or used for non-consumption tasks such as watering outdoor plants if desired.
Step 9: Check for Leaks and Proper Flow
While the unit is flushing, inspect the filter body and faucet connection for any signs of leaking:
- Look around the housing seam where it opens or threads together.
- Check the faucet adapter connection to ensure it is still tight and properly sealed.
- Observe the stream pattern from both the filtered and unfiltered settings.
If you see small drips from the housing:
- Turn off the water.
- Open the housing again and verify O-rings are seated correctly.
- Check that the cartridge is fully inserted and not obstructing closure.
- Reassemble and test again.
Minor air bubbles at first use are common and usually resolve during flushing.
Tracking Cartridge Life and Water Quality Over Time
Once your new cartridge is in place and working, planning for the next replacement helps maintain consistent performance. Cartridge life depends on both time and water volume. High usage, higher levels of sediment, or higher levels of certain substances can all shorten functional life compared with the maximum stated capacity.
Using Manufacturer Guidance and Your Own Records
Most faucet-mount cartridges list a capacity in gallons and a suggested time interval. For example, a cartridge might be rated for a few hundred gallons or around two to three months for an average household. These values are general estimates under typical conditions.
To track more accurately:
- Write the installation date on a small label near the sink or in a household notebook.
- Note any visible indicators or dials and when they were reset.
- Pay attention to taste, odor, and flow changes over time.
Households that cook frequently, drink a lot of filtered water, or live in areas with more sediment may need to replace cartridges more often than the basic estimate.
Simple Checks Between Cartridge Changes
Between replacements, a few quick habits can keep your faucet-mount filter working smoothly:
- Use cold water only in the filtered mode to protect the media.
- Switch to unfiltered mode for hot water tasks like washing dishes.
- Run water briefly after the faucet has been idle for several hours to flush the filter and faucet line.
- Inspect for drips from the housing or adapter every so often.
- Clean the faucet aerator if the flow pattern becomes irregular.
These small actions support more stable filtration and can help you spot developing issues early.
Example values for illustration.
| What to Track | Typical Cues | Planning Method |
|---|---|---|
| Cartridge installation date | Several months have passed since last change | Mark a calendar or digital reminder for the expected interval |
| Estimated gallons used | Heavy daily use for drinking and cooking | Approximate by number of pitchers or pots filled per day |
| Flow rate and pressure | Noticeable slowdown in filtered mode | Compare weekly by timing how long it takes to fill a standard glass |
| Taste and odor of filtered water | Return of chlorine-like smell or other off-notes | Note any changes in a simple household log |
| Leak checks | Occasional drips at housing or adapter | Do a quick inspection while washing dishes or cleaning the sink |
| Local water quality changes | Utility notices about maintenance or seasonal shifts | Adjust replacement timing if water appears cloudier or more sedimented |
NSF/ANSI Certifications and Faucet-Mount Cartridge Changes
Many faucet-mount water filters are tested against NSF/ANSI standards to verify performance claims. When you change the cartridge, you are renewing the main component that those certifications are based on. The housing itself usually does not provide the treatment; the replaceable cartridge does.
Common standards you may see on faucet-mount systems include:
- NSF/ANSI 42: For aesthetic effects such as chlorine taste and odor reduction and particulate reduction.
- NSF/ANSI 53: For reduction of specific contaminants of concern, such as certain metals or organic compounds, where claimed.
- NSF/ANSI 401: For additional emerging compounds when specifically tested, such as certain pharmaceuticals and chemicals, where claimed.
Some households also use faucet-mount filters downstream of other treatment equipment, such as whole-house filters, to provide a final polishing step at the tap. In all cases, replacing cartridges on schedule helps keep performance within the scope of the system’s tested claims.
What to Check When Buying Replacement Cartridges
When you purchase replacement cartridges for your faucet-mount filter, consider:
- Whether the cartridge is designed specifically for your housing model.
- Any NSF/ANSI standard numbers printed on the packaging or documentation.
- The list of contaminants or performance categories the cartridge is claimed to address.
- Recommended replacement intervals and flushing instructions.
Always follow the usage and replacement guidance associated with the specific cartridge you install. Overextending cartridge life can lead to reduced effectiveness and can make taste and odor changes more likely.
Disposal and Cost-Per-Gallon Considerations
Once you have completed a faucet-mount cartridge change, you will have a used cartridge to dispose of. Most faucet-mount cartridges contain plastic shells and internal carbon-based media.
Cartridge Disposal Basics
In many areas, used cartridges are disposed of in regular household trash, but local regulations vary. Consider:
- Checking local waste guidelines for any specific instructions on filter cartridges.
- Draining excess water from the cartridge before disposal to reduce weight and mess.
- Separating packaging materials (such as cardboard boxes) for recycling where available.
If a take-back or specialized recycling program is available in your area, follow their instructions for storage and return of used filters.
Estimating Cost Per Gallon
Many people choose faucet-mount systems for their relatively low cost per gallon compared with bottled water. To estimate your cost per gallon:
- Divide the cartridge price by the manufacturer’s stated capacity in gallons.
- Adjust mentally if you plan to replace cartridges earlier than the maximum capacity.
This type of calculation helps you compare faucet-mount filtration to other options, such as pitcher filters, under-sink filters, or whole-house systems, in terms of ongoing operating cost. Combining cost-per-gallon considerations with the practical steps in this guide can help you maintain your faucet-mount filter effectively and consistently over time.
Frequently asked questions
How often should I perform a faucet-mount cartridge change?
Follow the manufacturer’s stated capacity and time interval, typically measured in gallons or months; many cartridges need replacement every few months under average household use. Households with higher water use, increased sediment, or noticeable taste or flow changes should replace cartridges sooner than the maximum rating.
Can I use hot water with the filter during or after a faucet-mount cartridge change?
Do not run hot water through faucet-mount filters because they are generally designed for cold or cool water and hot water can damage the filter media. During flushing and regular use after a change, use only cold water unless the cartridge documentation explicitly permits warm or hot water.
What steps should I take if the unit leaks after a faucet-mount cartridge change?
Turn off the water, open the housing, and check that O-rings and seals are present, undamaged, and correctly seated; reseat the cartridge and reassemble carefully. Replace any cracked or flattened seals and avoid over-tightening threaded collars, then retest for leaks while flushing the new cartridge.
How long do I need to flush a new cartridge after a faucet-mount cartridge change?
Flush a new cartridge with cold water for several minutes or follow the cartridge-specific instructions until the water runs clear; initial gray or cloudy water from fine carbon particles is common. Some manufacturers recommend multiple on/off cycles during the first flush to fully condition the media.
How should I dispose of or recycle a used cartridge after a faucet-mount cartridge change?
Drain excess water and consult local waste guidelines—many areas allow disposal in household trash while some offer recycling or take-back programs for filters. Separate and recycle packaging materials where possible and follow any specialized program instructions for storing and returning used cartridges.
Recommended next:
- Best Faucet-Mount Filters for Chlorine Taste (High Flow Picks)
- Faucet-Mount Filter Compatibility: How to Check Your Faucet Type
- Faucet-Mount vs Under-Sink Filters: Convenience vs Performance
- How to Install a Faucet-Mount Filter Without Leaks
- Faucet-Mount Filters for Renters: No-Drill Setup Guide
- Troubleshooting a Faucet-Mount Filter with Slow Flow
- More in Faucet-Mount Filters →
- NSF/ANSI standards explained (42/53/401/58)
- Clear trade-offs: pitcher vs faucet vs under-sink vs RO
- Maintenance planning: cost per gallon and replacement cadence