Why Tool-Free Shower Filter Installation Matters
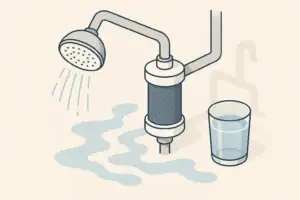
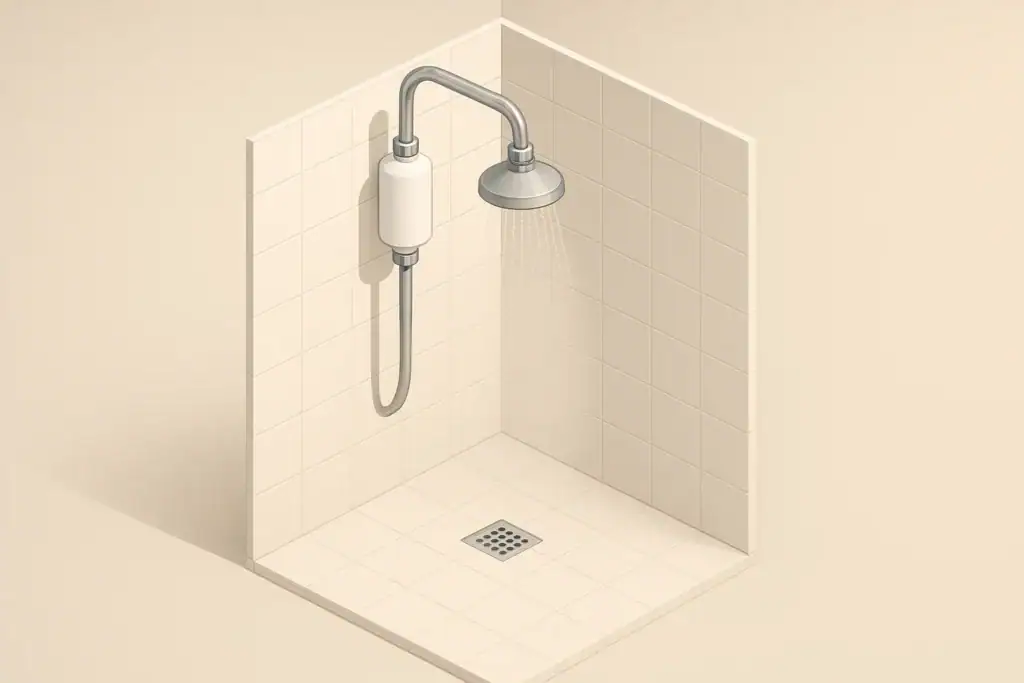
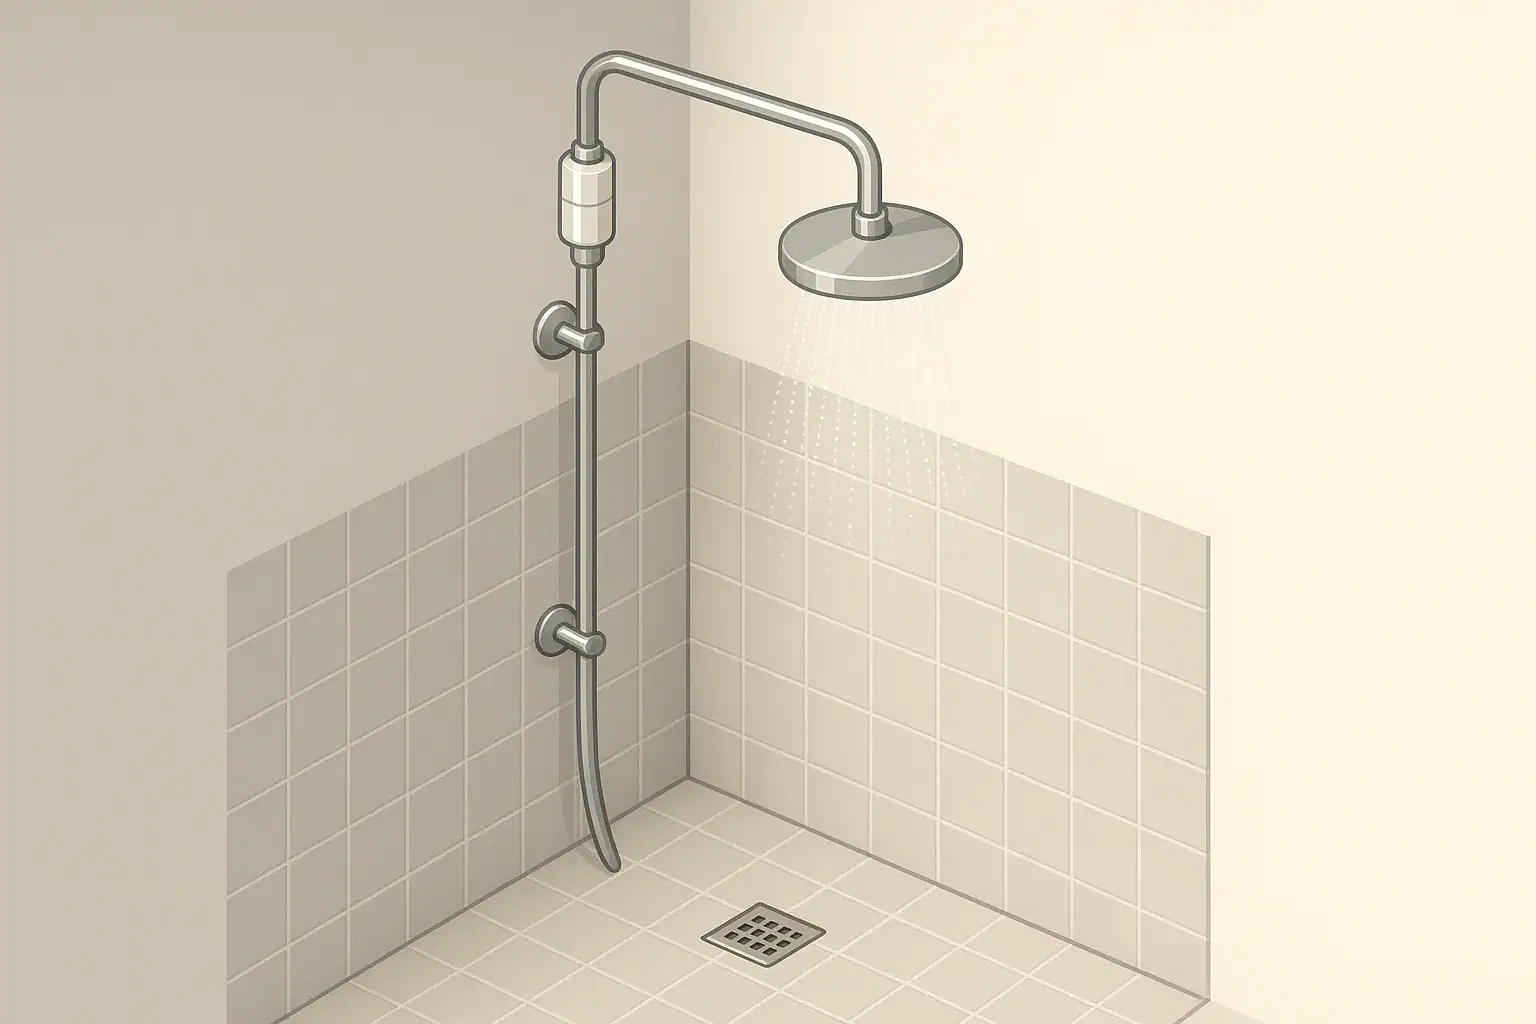
Many modern shower filters are designed for tool-free installation, using hand-tightened connections and built-in gaskets. This approach makes it easier for renters and homeowners to add filtration without modifying plumbing or risking damage to fixtures.
Installing a shower filter correctly supports consistent flow, reduces nuisance leaks, and helps the filter perform as intended for its rated capacity. Leaks are usually the result of small issues such as misaligned washers, cross-threaded fittings, or over-tightening rather than major plumbing problems.
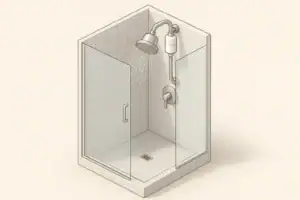
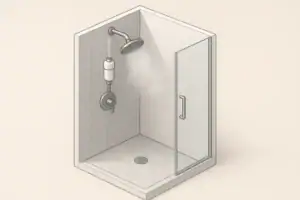
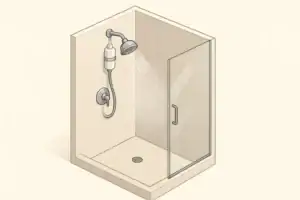
This guide focuses on typical U.S. shower setups: a threaded shower arm coming from the wall, a filter that attaches to the arm, and a showerhead that screws into the filter. Always confirm your filter’s instructions, but the steps and checks below apply broadly.
Before You Start: Know Your Shower Setup
A little preparation reduces the chance of leaks and rework. Spend a few minutes confirming what you have and what you need to adjust before installing the filter.
Confirm Thread Type and Condition
Most U.S. shower arms and showerheads use a standard threaded connection. Tool-free filters are designed to attach directly to these threads.
Before installation:
- Inspect the shower arm threads: Look for flattened, cracked, or rusted threads that might prevent a tight seal.
- Remove the existing showerhead: Many can be unscrewed by hand; if it is stuck, gently use a cloth for extra grip. Once removed, check that the old washer is not stuck on the arm.
- Clean the threads: Wipe away mineral deposits, debris, or old tape with a damp cloth so the filter gasket can seal cleanly.
Identify Included Seals and Gaskets
Tool-free filters rely on pre-installed gaskets or washers inside the filter’s threaded connections. These create the watertight seal when hand-tightened.
Confirm that:
- A rubber or silicone washer is seated inside the filter inlet (the side that attaches to the shower arm).
- A washer is present inside the outlet (where the showerhead attaches), if the design calls for one.
- Any additional O-rings included are installed in the locations shown in the product instructions.
Missing or twisted washers are a common cause of slow drips or sprays from the connection points.
Example values for illustration.
| If your situation is… | Then consider this filter style… | Notes on installation and leaks |
|---|---|---|
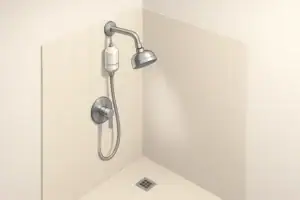
| Standard wall-mounted shower arm with basic head | Inline filter between arm and showerhead | Most direct tool-free install; focus on flat washers and straight threading. |
| Handheld shower with flexible hose | Filter at wall arm or hose connection | Check that hose fittings match; avoid twisting the hose while tightening. |
| Low ceiling or limited vertical space | Compact inline or integrated head-with-filter | Shorter body reduces leverage on arm threads and lowers leak risk. |
| Very high water pressure feel at shower | Filter with moderate flow restriction | May slightly reduce flow, which can help limit spray leaks at joints. |
| Older metal shower arm with worn finish | Filter with thicker gasket surfaces | Soft, wide gaskets can compensate for small surface irregularities. |
| Rental housing with strict rules | Completely reversible, hand-tightened filter | No pipe cutting or permanent changes; ensure original head can be reinstalled. |
Step-by-Step: Installing a Shower Filter Without Tools
The exact sequence can vary, but the general process is similar for most tool-free shower filters. Take your time at each step to prevent leaks and cross-threading.
1. Turn Off Water Flow and Prepare the Area
You do not need to shut off the home’s main water supply, but you should ensure the shower valve is fully closed. Allow any remaining water in the arm and showerhead to drain into the tub or shower base.
To prepare the workspace:
- Place a towel in the tub or shower floor to prevent small parts from bouncing down the drain.
- Keep the filter housing and any cartridges in a dry, clean area nearby.
- Have a soft cloth or sponge ready for wiping threads and surfaces.
2. Remove the Existing Showerhead
Most showerheads can be removed by hand by turning counterclockwise. If it is difficult to turn, use a dry towel or rubber grip pad for additional friction. Avoid metal tools if possible, since they can scratch the finish.
Once removed, set the showerhead aside where it will not be dropped. Check inside the showerhead connection for an old washer that might need to be reused or replaced according to the filter instructions.
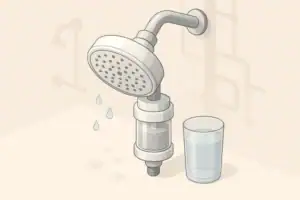
3. Attach the Filter to the Shower Arm
Dry-fit the filter body first to understand orientation. Many filters have an arrow or marking that indicates the direction of water flow from the arm to the head; follow this direction to avoid performance issues.
To attach:
- Align the filter’s inlet threads with the shower arm threads carefully, keeping the filter straight.
- Turn the filter clockwise by hand only, making sure it spins smoothly. If you feel resistance after less than one full turn, back off and realign to avoid cross-threading.
- Continue tightening by hand until the connection feels snug and the filter no longer wobbles. Do not force it beyond snug; over-tightening can crush washers or crack plastic parts.
Some installations include a small amount of thread sealing tape on worn metal threads. If your filter’s instructions allow it, use only a thin, even layer to avoid interfering with the gasket seal.
4. Reinstall the Showerhead onto the Filter
The showerhead typically screws into the filter’s outlet.
- Ensure any required washer is seated flat inside the filter outlet or showerhead inlet.
- Thread the showerhead onto the filter by hand, turning clockwise.
- Hold the filter body steady with one hand while tightening the showerhead with the other, to reduce strain on the shower arm connection.
Again, stop at a firm hand-tight connection. If the showerhead has an adjustable angle, you can usually rotate the ball joint or swivel section without loosening the main threaded connection.
5. Flush the Filter According to Instructions
Most shower filters need an initial flushing period to rinse out fine particles from the filter media. This step can also reveal any leaks at the connections.
Typical flushing steps include:
- Turn on the water gradually while standing aside in case the water is discolored during the first seconds.
- Run water for the time recommended by the manufacturer (often several minutes) on warm, not scalding hot.
- Observe the connections at the shower arm and the showerhead for any signs of dripping or spray.
If you see cloudy water initially, this is often normal for new filter media and should clear as the filter is flushed.
Common Leak Points and How to Fix Them
Even with tool-free designs, small leaks can appear at first. Most are easy to resolve with minor adjustments. Checking each potential leak point systematically can save time.
Leak at the Shower Arm to Filter Connection
This is the most common leak point. Water may drip directly down the arm or spray sideways from the joint.
Check for:
- Washer alignment: Ensure the inlet washer lies flat and is not twisted or pinched.
- Clean surfaces: Remove mineral buildup or debris from the shower arm threads and the filter inlet.
- Even tightening: Loosen, realign, and re-tighten by hand. If cross-threaded, the connection may feel uneven or tilted.
If the arm threads are significantly worn, a new washer or permitted use of a small amount of sealing tape (if compatible with the product instructions) may help create a better seal.
Leak at the Filter to Showerhead Connection
Leaks at this junction may show as droplets running down the outside of the filter or the showerhead, or as an irregular spray pattern around the joint.
To troubleshoot:
- Verify that the correct washer is present in the outlet or showerhead.
- Remove the showerhead, inspect the washer for damage, then reinstall and hand-tighten.
- Confirm that any swivel joint is not overtightened in a way that stresses the threaded connection.
If the washer is visibly flattened, cracked, or hardened, replacing it with a compatible washer of similar size usually resolves minor leaks.
Drips from the Filter Housing Itself
Some shower filters open for cartridge replacement using a twist or bayonet mechanism. If the housing halves are not fully seated, water may seep from the seam.
To address this:
- Turn off water and relieve pressure by briefly opening the shower valve.
- Open the housing as directed, check the internal O-ring for dirt, twisting, or damage.
- Wipe the sealing surfaces clean and ensure the O-ring is seated smoothly in its groove.
- Reassemble firmly by hand according to the alignment marks or stops.
A thin film of manufacturer-approved lubricant for O-rings can sometimes improve sealing and ease future maintenance, if recommended.
Managing Water Pressure, Flow, and Filter Performance
A filter adds resistance to the water path, which can alter flow and pressure at the showerhead. Proper installation reduces unwanted noise, spray, or spurting caused by trapped air or flow restrictions.
Effect of a Filter on Shower Flow
Filters typically have a rated flow capacity, and many include built-in flow restrictors consistent with common shower flow ranges in the U.S. The actual flow you experience depends on your home’s water pressure and pipe layout.
You might notice:
- A slight reduction in flow compared with an unfiltered showerhead.
- Smoother water feel if sediment or particulate is reduced.
- More stable temperature if the filter evens out pressure fluctuations.
If the flow becomes uncomfortably low, check for sediment buildup in the filter or showerhead screens and verify that shutoff valves feeding the bathroom are fully open.
Air Pockets and Initial Spurting
After installation or cartridge replacement, trapped air in the filter housing can cause temporary spurting or noise.
To minimize this:
- Turn the shower on slowly, allowing air to escape gradually.
- Run the water continuously during the flushing period rather than repeatedly turning it on and off.
- If your showerhead has multiple spray modes, start with the most open pattern to help release air.
Once air is purged, the flow should stabilize. Persistent spurting can signal partial blockage or an internal housing issue that needs inspection.
Understanding What Your Shower Filter Can and Cannot Do
Shower filters are often used to reduce chlorine, sediment, or other common tap water characteristics that affect taste, odor, or feel on skin and hair. Capabilities vary widely by design and media type.
Key points to keep in mind:
- A shower filter is usually focused on point-of-use reduction of specific chemical and aesthetic parameters, not comprehensive whole-house treatment.
- Some models are tested against standards such as NSF/ANSI 42 for aesthetic chlorine reduction. Check packaging or documentation for any third-party testing claims and how they were verified.
- For concerns related to a broad range of potential contaminants, many households combine shower filtration with other systems such as under-sink or whole-house filters.
Clarity on what the device is designed to do prevents unrealistic expectations and helps you select complementary filtration where needed.
Maintenance, Cartridges, and Tracking Replacement
A tool-free installation is only part of keeping your shower filter performing well. Regular cartridge replacement and simple checks prevent clogs and future leaks.
Typical Cartridge Lifespan and Indicators
Most shower filter cartridges have an approximate service life stated in months or gallons. The real interval can vary with local water quality, usage habits, and flow rate.
Common indicators that it may be time to replace a cartridge include:
- Noticeable drop in shower flow even after cleaning showerhead screens.
- Return of strong chlorine-like odors or other tastes and smells previously reduced.
- Discoloration of water during use that does not clear after brief flushing.
Following the manufacturer’s maximum recommended interval is a good baseline, even if no obvious changes occur, since filter media gradually becomes exhausted.
Leak Checks During Routine Maintenance
Every time you replace a cartridge or adjust the showerhead, briefly check for leaks once the water is turned back on. This is often when seals are disturbed.
During a quick inspection:
- Run the shower at normal temperature and watch each joint for at least 30 seconds.
- Feel around the connections with a dry hand to detect slow, fine leaks.
- Verify that the housing seam remains dry and that the filter does not move when you adjust spray settings.
Addressing small drips early can prevent mineral deposits from building up around joints over time.
Verifying Claims and Certifications
Some shower filters reference independent testing or standards, including NSF/ANSI standards that relate to chlorine reduction, structural integrity, or other performance attributes. Not all devices are certified, but many use similar terminology.
When you review product information:
- Distinguish between being “tested to” a standard and being independently “certified” by a recognized organization.
- Look for clear identification of which standard applies and what parameters were evaluated (for example, aesthetic effects versus specific contaminants).
- Confirm whether testing information is current, since standards can be updated over time.
Understanding certifications helps you match a shower filter’s documented capabilities to your water quality priorities.
Example values for illustration.
| Task | Typical timing (example) | What to look for | How to plan |
|---|---|---|---|
| Initial flush after install | First use, a few minutes | Cloudiness clearing, stable flow, no leaks at joints. | Set a timer and observe all connections while flushing. |
| Monthly visual check | Every 4–6 weeks | No drips, no mineral crusts, secure housing and head. | Align with other regular cleaning tasks in the bathroom. |
| Flow check | Every 2–3 months | Unchanged spray feel, no sudden pressure loss. | Note any changes in a simple log or calendar reminder. |
| Cartridge replacement | Every few months to a year (per instructions) | Return of odors, visible discoloration, or time-based interval reached. | Mark the expected change date when you install a new cartridge. |
| Washer and O-ring inspection | With each cartridge change | Cracks, flattening, or stiffness of seals. | Keep a small set of spare seals in a labeled container. |
| Full system review | Once per year | Condition of shower arm threads, housing body, and mounting. | Combine with broader home water filtration checks. |
Keeping Your Tool-Free Shower Filter Reliable
A carefully installed, tool-free shower filter can operate quietly in the background for months at a time. Paying attention to washers, thread alignment, and gentle hand-tightening goes a long way toward avoiding leaks.
Over the life of the filter, consistent maintenance and an understanding of its intended role in your overall water filtration setup will help you balance convenience, performance, and water use in your home.
Frequently asked questions
Can I install a shower filter tool-free if my shower arm threads are damaged?
Minor thread damage can sometimes be compensated for with a soft, wide washer or an allowed thin layer of thread sealing tape, but severely flattened or cracked threads may prevent a watertight seal. In such cases replace the shower arm or consult a professional to avoid persistent leaks or further damage.
Should I use plumber’s tape when installing a tool-free shower filter?
Most tool-free filters seal with internal gaskets and do not require thread sealing tape; adding tape can interfere with gasket compression if not recommended by the manufacturer. If instructions permit tape for worn metal threads, use only a thin, even layer and avoid overbuilding the thread thickness.
Why is my filter leaking after hand-tightening even though the washer appears intact?
Leaks after hand-tightening are often caused by cross-threading, a twisted or improperly seated washer, or mineral deposits preventing full contact between sealing surfaces. Loosen the connection, clean threads and gasket surfaces, realign carefully, and hand-tighten until snug; replace the washer if it shows signs of wear.
Will installing a tool-free shower filter reduce my water pressure?
A shower filter adds some resistance and can slightly reduce flow compared with an unfiltered setup, especially if it includes a flow restrictor or the cartridge is clogged. If flow is uncomfortably low after installation, check for sediment buildup, verify valves are fully open, and confirm the cartridge is not due for replacement.
How often should I check seals and replace the cartridge on a tool-free shower filter?
Inspect washers and O-rings each time you replace the cartridge or every few months, and perform a visual leak check monthly. Follow the manufacturer’s cartridge replacement interval as a baseline, adjusting for local water quality and any indicators like discoloration or reduced flow.
Recommended next:
- NSF/ANSI standards explained (42/53/401/58)
- Clear trade-offs: pitcher vs faucet vs under-sink vs RO
- Maintenance planning: cost per gallon and replacement cadence