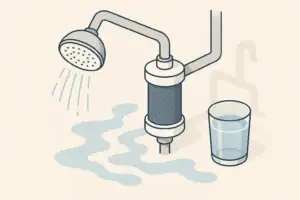
Shower filters can sometimes develop unpleasant odors that make daily routines uncomfortable. This guide explains common causes of a smelly shower filter, how to determine whether the issue is due to bacterial growth, mineral buildup, stagnant water, or an exhausted cartridge, and practical steps to clean, sanitize, or replace components safely. You’ll also find advice on routine maintenance to prevent odors, when to pause use and inspect the filter, and what performance standards like NSF/ANSI certifications mean for odor control. Use these practical tips to troubleshoot smells, choose appropriate sanitizing methods for housing components, and decide whether cleaning or replacement is the most effective course of action based on your household water quality and usage patterns. Simple preventive habits and tracking service life help keep filters functioning well between replacements.
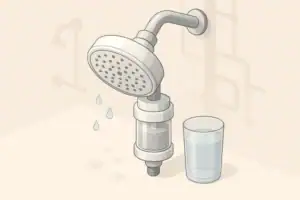
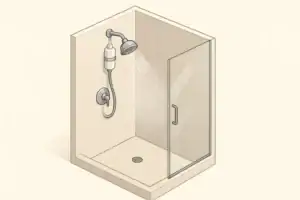
Why Your Shower Filter Smells Bad
A bad smell from a shower filter is usually a sign of trapped organic material, stagnant water, or mineral buildup inside the filter housing or cartridge. The odor is often described as musty, earthy, metallic, or like rotten eggs. While it can be unpleasant, it often points to maintenance issues rather than a single serious contaminant.
Understanding the most common causes can help you decide whether to clean, sanitize, or replace your shower filter.
Stagnant Water and Bacterial Growth
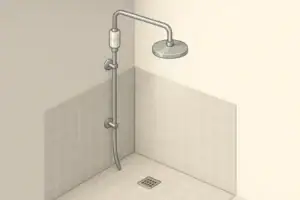
Shower filters hold water between uses. If the shower is used infrequently or left unused for several days, water can sit in the housing. Stagnant water, especially in warm bathrooms, can support microbial growth on the filter media and inside the housing.
This can create:
- Musty or earthy odors when you first turn on the shower
- Short bursts of discolored water at startup
- Occasional slimy film on the housing or cartridge when opened
Most shower filters are designed to improve taste and odor from chlorine and other compounds in municipal water, but they still require regular flushing and replacement to avoid stagnant conditions.
Mineral and Sediment Buildup
Hard water with high mineral content can leave scale inside the filter housing. Sediment in the water supply can also become trapped in pre-filter screens and cartridges. Over time, this buildup can trap organic material and create spaces where microbes can adhere.
Signs that mineral or sediment buildup may be contributing to a smell include:
- Noticeably reduced water flow through the showerhead
- White or rusty deposits on the filter connections
- Odor that seems stronger when the water is first turned on and then fades
Expired or Oversaturated Filter Media
Filter cartridges have a finite capacity. Once they reach that capacity, they can begin to trap more material than they can effectively manage. For example, a cartridge designed to reduce chlorine or other common compounds may begin to accumulate organic matter and fine sediment as it nears the end of its service life.
Common indicators of an exhausted cartridge include:
- Bad smell returning soon after cleaning the housing
- Water feeling different on the skin compared with when the cartridge was new
- Service life (months or gallons) clearly exceeded based on manufacturer guidance or your own usage records
Intermittent Use and Vacation Stagnation
Even a relatively new filter can smell if the shower has not been used for an extended period, such as after a vacation or in a rarely used guest bathroom. Warm temperatures and lack of flow allow water to sit in the housing and create odors.
In these cases, thorough flushing and sanitizing are often more important than immediately replacing a new cartridge, as long as you are within the recommended service life.
Is a Smelly Shower Filter Dangerous?
A bad smell by itself does not reveal exactly what is growing or accumulating in the filter. However, it does indicate that the filter is no longer in an ideal state. The main concerns are usually comfort, aesthetics, and basic hygiene rather than clearly defined health risks.
What Odor Can and Cannot Tell You
Odor is a useful early warning sign but not a diagnostic tool. It can suggest:
- Musty or earthy smells: Possible microbial growth and stagnant water.
- Metallic or rusty smells: Interaction with iron, old plumbing, or sediment.
- Rotten egg smell: Possible hydrogen sulfide from the water source or from reactions in the plumbing.
Odor alone cannot identify a specific microbe, chemical, or concentration level. For that, laboratory testing of water before and after the filter would be required. For typical home use, most people rely on routine maintenance, manufacturer instructions, and basic water quality reports from their local utility.
When You Should Not Use the Shower Until Checking the Filter
It is generally wise to pause use of a smelly shower filter and inspect it if you notice:
- Sudden, strong odor that appears from one day to the next
- Noticeable slime or visible growth inside the housing
- Dark, cloudy, or unusually discolored water at the showerhead that does not clear after flushing
If you are unsure, you can temporarily bypass or remove the filter and run the shower without it while you clean or replace components, following all manufacturer instructions for safe installation and use.
Example values for illustration.
| Situation | What You Notice | Recommended Action |
|---|---|---|
| New filter, first week of use | Mild plastic or new-material smell that fades quickly | Flush several minutes and monitor; no special cleaning usually needed |
| Filter under 3 months of typical use | Light musty odor only after several days of no use | Flush thoroughly, then sanitize housing if odor returns |
| Filter at mid-life (example: 3–6 months) | Persistent musty smell and some visible film inside | Clean and sanitize housing, consider replacing cartridge early |
| Filter beyond suggested service interval | Strong odor and reduced flow | Replace cartridge and clean housing during change |
| Long vacancy or vacation | Stale smell when shower is first turned on | Flush several minutes, then sanitize if smell persists |
| Repeat odor after recent cartridge change | Smell returns within days | Inspect for plumbing issues and verify correct installation |
Step-by-Step: How to Clean a Smelly Shower Filter
Cleaning focuses on removing physical deposits such as sediment, scale, and visible film. Sanitizing, covered in the next section, focuses on reducing microbial growth inside the housing. Both are important when you are dealing with a bad smell.
Gather Your Supplies
Before starting, assemble basic supplies so you can complete the job in one session. Common supplies include:
- Soft cloths or non-scratch sponges
- An old toothbrush or small detailing brush
- A mild dish soap
- Distilled white vinegar for mineral deposits (if compatible with your materials)
- A clean bucket or basin
- Thread-safe plumber’s tape if recommended by the manufacturer
Always check your specific filter’s manual for any materials or cleaning agents that should be avoided to prevent damage.
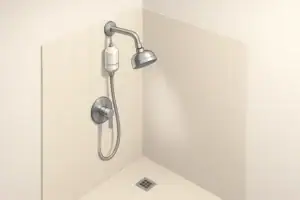
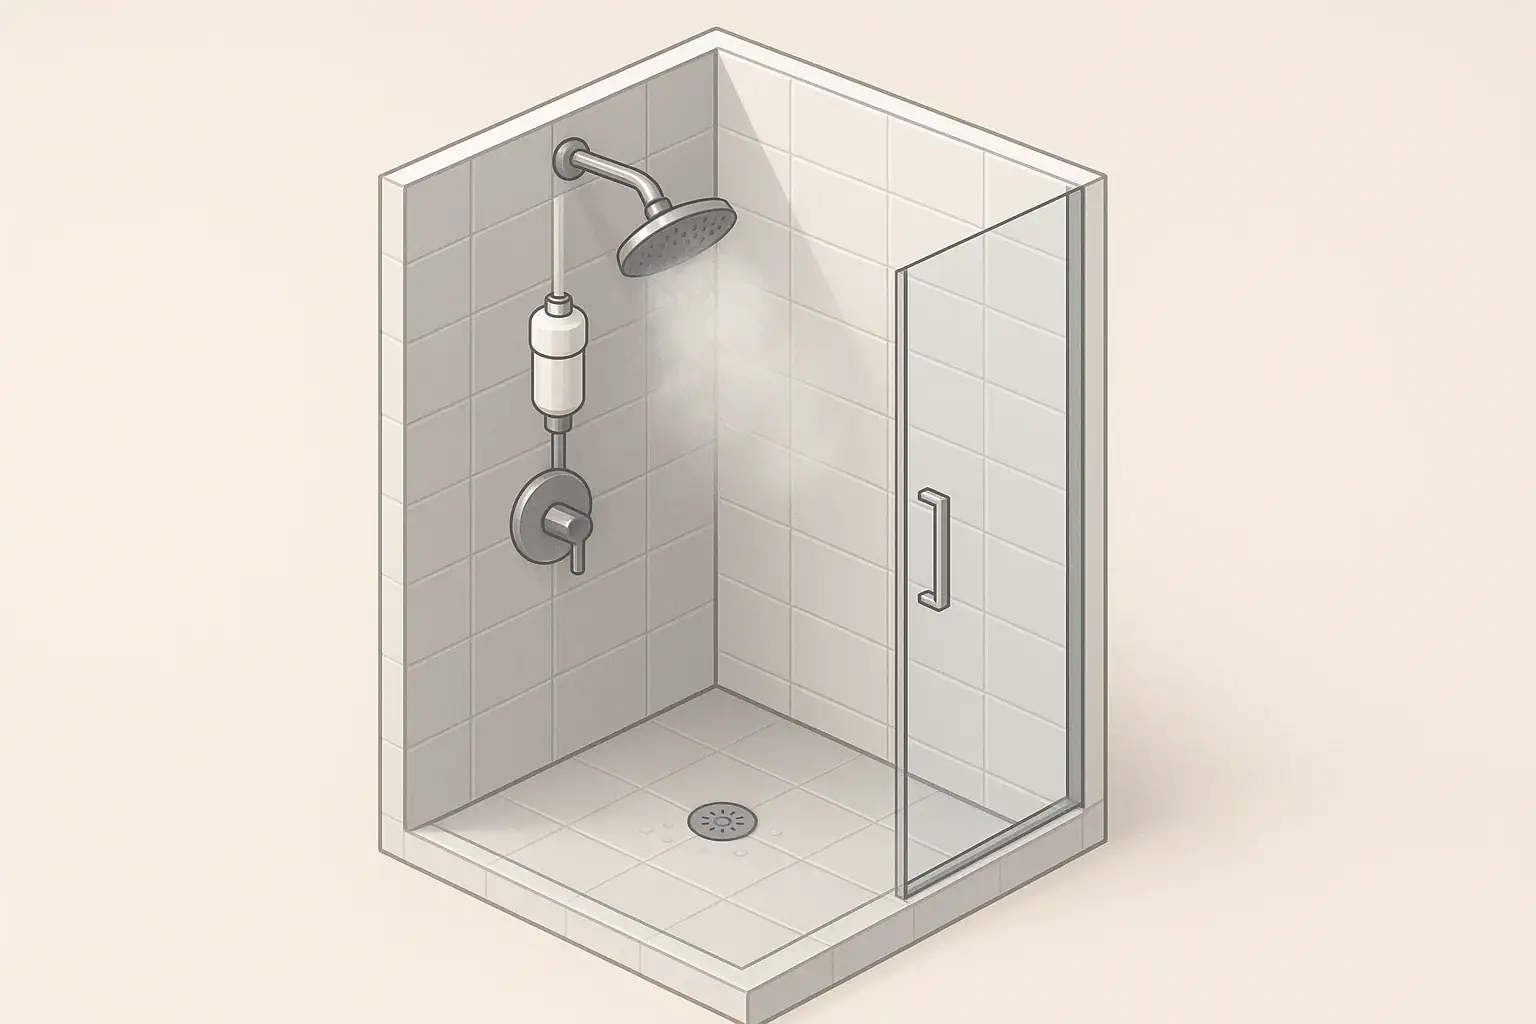
Turn Off Water and Remove the Filter
Most shower filters are installed between the shower arm and the showerhead. To safely remove the unit:
- Turn off the shower and allow the fixture to cool if recently used.
- Place a towel over the tub or shower floor to prevent scratches and catch drips.
- Unscrew the showerhead and filter according to the manufacturer’s directions. You may need a wrench, but many units can be removed by hand.
Keep track of washers, O-rings, and any small components so you can reassemble the filter securely.
Open the Housing and Inspect the Cartridge
Once the housing is removed, open it carefully. Take note of how the cartridge is oriented inside the housing so you can reinstall it correctly. Inspect for:
- Dark or slimy buildup on the inside walls
- Sediment accumulation on screens or flow restrictors
- Cracked or deformed O-rings
- Cartridges that look swollen, unusually discolored, or obviously worn out
If the cartridge is already near the end of its recommended life, it is often easiest to replace it rather than attempting to clean it.
Clean the Housing and Components
To clean the housing and non-cartridge parts:
- Rinse the housing, end caps, and any removable screens in warm water.
- Use a small brush and mild dish soap to gently scrub away visible deposits.
- For scale or mineral deposits, soak affected parts (not the cartridge) in a mixture of equal parts distilled white vinegar and water for 15–30 minutes, if compatible.
- Rinse thoroughly until no soap or vinegar odor remains.
Do not use abrasive cleaners, harsh chemicals, or very hot water unless your manufacturer specifically allows it, as these can damage seals or plastic components.
Clean the Showerhead as Well
Sometimes the bad smell comes from the showerhead rather than the filter. Mineral and organic buildup in the showerhead can trap water and create similar odors. To address this:
- Remove the showerhead if possible.
- Soak it in a mild vinegar-and-water solution (if material-safe) to dissolve scale.
- Use a brush or toothpick to clean spray nozzles and internal passages.
- Rinse thoroughly before reattaching it to the arm or filter.
How to Sanitize a Shower Filter Housing Safely
Sanitizing goes beyond surface cleaning to reduce microbial growth in the filter housing and non-filter parts. This is especially useful after periods of disuse or when you notice repeated musty odors even after cleaning.
Choose a Gentle Sanitizing Method
Many homeowners use diluted household bleach or a food-contact sanitizer for housings, but it is important to avoid damaging plastics and seals. Always check your filter’s care instructions first. Common approaches include:
- Diluted unscented bleach: A small amount in a larger volume of clean water, mixed according to label directions for general surface sanitizing.
- Hydrogen peroxide solutions: Sometimes used as an alternative, depending on materials and instructions.
- Hot water flush: Where compatible, a warm (not scalding) water rinse can assist with basic sanitation, though it is not a substitute for a true sanitizing step.
Never mix bleach with vinegar, ammonia, or other cleaners. Use sanitizing agents in a well-ventilated area and follow the product label carefully.
Sanitizing Steps for the Housing
With the cartridge removed and set aside (or discarded if replacing), sanitize the housing and any removable non-filter components:
- Prepare your sanitizing solution in a basin according to the product label.
- Submerge the housing and removable parts fully, ensuring all interior surfaces contact the solution.
- Allow them to soak for the contact time listed on the sanitizer’s instructions.
- After soaking, rinse thoroughly with clean water until no sanitizer odor remains.
- Set the parts on a clean towel or rack to air dry briefly before reassembly.
Do not soak the filter cartridge itself unless the manufacturer explicitly allows it; most cartridges are designed to be replaced when fouled, not chemically sanitized.
Reassemble, Flush, and Check for Odor
Once the housing is sanitized and fully rinsed:
- Install a new cartridge if you are replacing the old one, following orientation markings.
- Check all O-rings for damage, lubricating with a manufacturer-approved lubricant if recommended.
- Reattach the filter to the shower arm and then reinstall the showerhead.
- Turn on the water slowly and check for leaks around threaded joints.
- Flush the filter for several minutes to clear any trapped air and residual cleaning solution.
If the bad smell is gone after flushing and does not return after a day or two, the cleaning and sanitizing were likely successful.
When to Replace the Cartridge vs. Clean the Housing
Good results usually come from pairing regular cartridge changes with periodic cleaning and sanitizing of the housing. Relying on cleaning alone while using an expired cartridge often leads to recurring odor and flow problems.
Typical Replacement Intervals
Most shower filter cartridges are rated for a certain number of months or gallons under typical household use. As a general example, many cartridges are replaced every few months in an average home, but actual timing varies with:
- Daily shower time and household size
- Water quality (hardness, sediment load, and disinfectant levels)
- Presence of pre-filtration elsewhere in the home
If you are in doubt, erring on the side of earlier replacement usually gives better water aesthetics and reduces the likelihood of odors.
Signs It Is Time to Replace Immediately
Regardless of calendar time, replace the cartridge promptly if you notice:
- Persistent bad smell even after cleaning the housing
- Significant drop in water pressure through the shower
- Obvious dark discoloration, cracking, or deformation of the cartridge
- A service life indicator (if present) signaling that capacity is reached
How Water Quality Affects Cartridge Life
Water with higher levels of sediment, iron, or hardness minerals can shorten the effective life of a shower filter. The cartridge may plug more quickly, leading to reduced flow and increasing the risk of stagnant pockets within the housing. If your municipal water report or a basic home test indicates higher levels of sediment or hardness, you may want to:
- Shorten your replacement interval compared with generic guidance.
- Consider pre-filtration upstream of the shower filter, such as a whole-house sediment filter, if appropriate for your home.
Preventing Future Odors in Shower Filters
Once you have removed the bad smell, simple habits can help prevent it from returning. Prevention focuses on regular use, timely replacement, and avoiding long periods of stagnation.
Flush the Filter Regularly
Many cartridges work best when flushed with water for a few minutes after installation and periodically during use. To reduce odor risk:
- Flush the shower filter for a minute at the start of the day’s first shower.
- After several days of non-use, run water for a few minutes before stepping in.
- Open the housing for inspection if odor persists beyond flushing.
Avoid Extended Stagnation
For rarely used bathrooms, consider:
- Running the shower for several minutes every week to refresh water in the filter.
- Removing the cartridge and storing it according to manufacturer instructions during long absences, when recommended.
- Marking a calendar reminder to inspect filters in little-used spaces every few months.
Track Service Life and Maintenance
Odors often appear when cartridges are used longer than planned. A simple schedule can help:
- Write installation and expected replacement dates on the housing with removable marker or keep a note on your phone.
- Record any odor incidents, cleaning dates, and flow changes.
- Adjust replacement timing if you consistently notice smell or reduced flow before the expected interval.
Consider Whole-Home Water Quality
Shower filter performance depends on the incoming water. If you regularly observe sediment, rust, or strong chlorine odors at multiple fixtures, it may be helpful to:
- Review your municipality’s water quality report for information on disinfectants, hardness, and typical contaminants.
- Check whether you already have whole-house filtration or softening equipment and verify its maintenance schedule.
- Adjust your shower filter maintenance to reflect the broader water conditions in your home.
NSF/ANSI Certifications and Shower Filter Odor Control
Some shower filters are tested and certified to NSF/ANSI standards. These certifications focus on performance claims such as chlorine reduction, structural integrity, and material safety rather than smell alone. However, understanding them can help you choose and maintain filters that perform consistently over their rated life when used as directed.
Common Standards Relevant to Shower Filtration
While not every shower filter is certified, some manufacturers seek independent verification for claims like taste and odor reduction. Common standards in residential water filtration include:
- NSF/ANSI 42: Typically addresses aesthetic effects such as chlorine taste and odor reduction and particulate reduction.
- NSF/ANSI 53: Often focuses on specific contaminant reduction, such as certain metals or organic compounds, when claimed and tested.
- NSF/ANSI 401: Addresses additional contaminants of emerging concern, when applicable and claimed.
- NSF/ANSI 58: Commonly associated with reverse osmosis systems rather than shower filters, but sometimes referenced in broader filtration discussions.
Certification does not guarantee that a filter will never smell. It does, however, indicate that specific performance claims have been independently evaluated under defined test conditions, as long as the filter is installed and maintained as directed.
What to Verify When Comparing Shower Filters
When choosing or reviewing a shower filter with odor control in mind, you may want to:
- Check whether the product claims any NSF/ANSI certifications and for which standards.
- Review the recommended service life in months or gallons and match it to your usage patterns.
- Look for clear instructions on cleaning, sanitizing, and replacing cartridges.
Consistent maintenance based on realistic expectations tends to have more impact on odor control than any single performance claim on the packaging.
Example values for illustration.
| Standard | General Focus | What a Homeowner Can Verify |
|---|---|---|
| NSF/ANSI 42 | Aesthetic effects such as chlorine taste and odor reduction | Confirm the specific claims (for example, chlorine reduction) and the maximum service life listed |
| NSF/ANSI 53 | Reduction of specific contaminants when claimed and tested | Check which contaminants are listed and ensure they match your water report, if available |
| NSF/ANSI 401 | Additional contaminants of emerging concern, when applicable | See if any of the listed substances are relevant to your local water conditions |
| NSF/ANSI 58 | Reverse osmosis system performance | Recognize that this usually applies to drinking water RO units, not typical shower filters |
| Material safety checks | Materials in contact with water meet specified requirements | Look for statements about materials being tested to applicable standards |
| Structural integrity tests | System withstands specified pressures without failure | Confirm maximum operating pressure and compare with typical household water pressure |
Key Takeaways for Managing Shower Filter Smells
Bad smells from shower filters most often arise from stagnant water, expired cartridges, or mineral and sediment buildup. Addressing them usually involves three steps: cleaning the housing and showerhead, sanitizing non-filter components with a compatible solution, and replacing the cartridge on a realistic schedule based on your household’s water quality and usage.
Flushing the filter regularly, avoiding long periods of stagnation, and noting installation and replacement dates can significantly reduce the chances of odor returning. For homeowners who want additional assurance about performance, reviewing any NSF/ANSI certifications and matching them to your maintenance habits can help you keep your shower water clear, fresh-smelling, and consistent over time.
Frequently asked questions
How can I tell whether the smell is from bacterial growth or mineral buildup?
Musty, earthy smells and visible slimy film when you open the housing commonly indicate microbial growth and stagnant water, whereas metallic or rotten-egg odors often point to iron or hydrogen sulfide and other mineral or plumbing-related issues. Flushing the system and inspecting the housing and cartridge can help narrow the cause, but laboratory water testing is required for definitive identification. Practically, treat musty smells with cleaning and sanitizing and persistent mineral-type odors by checking plumbing and considering cartridge replacement.
Is it safe to shower if the filter smells bad?
A bad smell is usually an indication of maintenance issues rather than an immediate acute health hazard, but strong odors, visible slime, or persistent discolored water warrant pausing use until you inspect the system. If you’re uncertain, bypass or remove the filter and run the shower without it while you clean or replace components, following the manufacturer’s instructions for safe installation and use.
Can I sanitize the cartridge itself to remove odors?
Most cartridges are not designed to be chemically sanitized and are intended to be replaced when fouled; soaking or applying strong chemicals can damage filter media and reduce performance. It’s generally recommended to sanitize the housing and non-filter parts while replacing the cartridge if the cartridge shows signs of exhaustion or contamination. Always follow the cartridge manufacturer’s guidance before attempting any cleaning.
What sanitizing solutions are safe for the filter housing?
Common safe approaches for housings include diluted unscented household bleach prepared per label directions or appropriate hydrogen peroxide solutions, provided the materials are compatible and you follow contact-time instructions. Never mix bleach with vinegar, ammonia, or other cleaners, and always rinse parts thoroughly until no sanitizer odor remains before reassembly.
How often should I replace the shower filter cartridge to prevent bad smells?
Replacement interval depends on the cartridge’s rated months or gallons, household shower frequency, and incoming water quality; many homeowners replace cartridges every few months under typical use. If your water has high sediment, iron, or hardness, shorten the interval and consider upstream pre-filtration; tracking installation dates and odor incidents helps set a reliable schedule.
Recommended next:
- NSF/ANSI standards explained (42/53/401/58)
- Clear trade-offs: pitcher vs faucet vs under-sink vs RO
- Maintenance planning: cost per gallon and replacement cadence