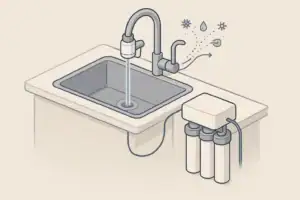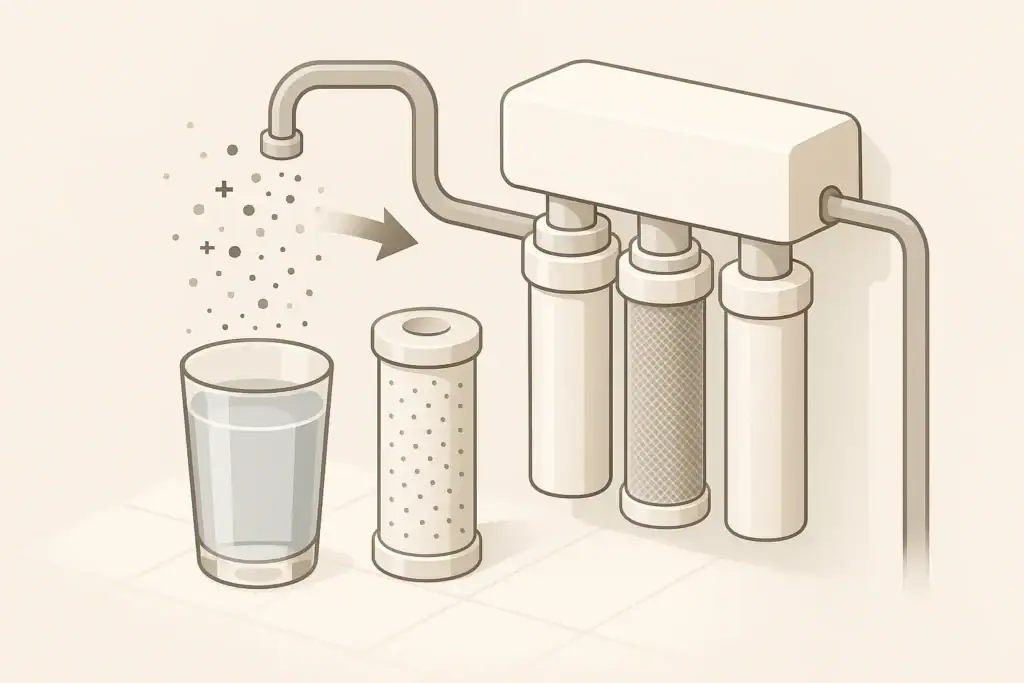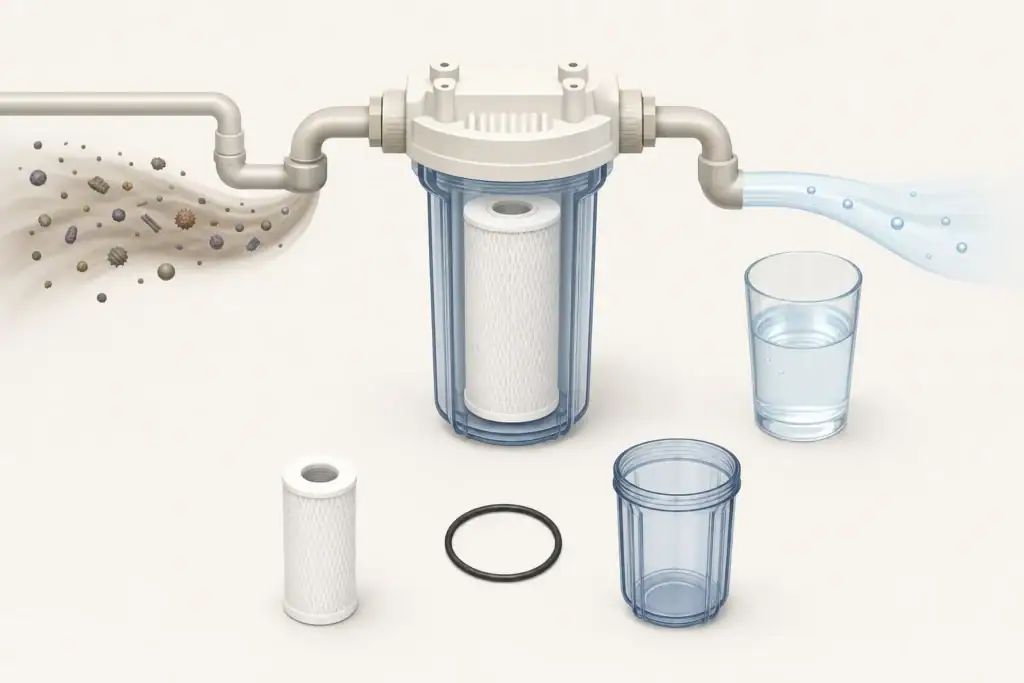
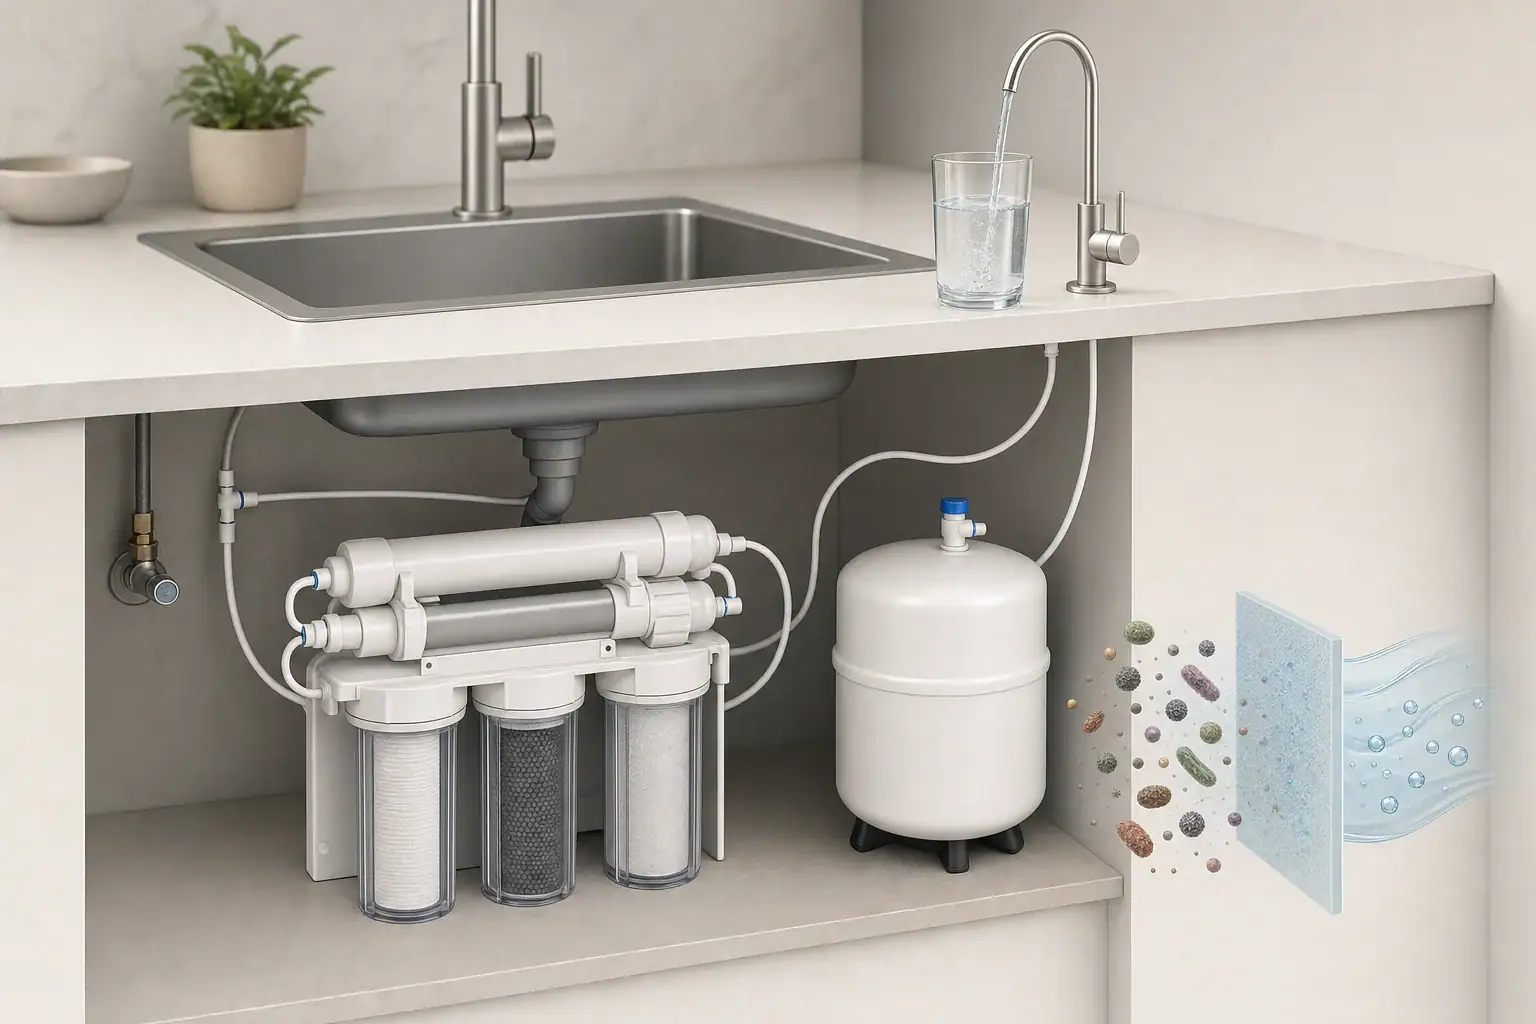
An RO faucet spitting air immediately after a filter change is usually a temporary maintenance issue. Opening filter housings, disconnecting tubing, or draining the storage tank allows air to enter the system. That air must move through the membrane, postfilter, tubing, and faucet before water flow becomes steady again.
Brief spurting, bubbling, or cloudy-looking water can therefore be normal during startup. Persistent sputtering, especially when accompanied by leaks, poor flow, unusual pump behavior, or a tank that will not fill, calls for additional troubleshooting.
Why an RO faucet spits after filter replacement
A reverse osmosis system contains several enclosed spaces where air can collect. These include vertical filter housings, the membrane housing, the postfilter, high points in the tubing, and the product-water side of the system.
When the feed water is restored, incoming water compresses and pushes this trapped air toward the drinking-water faucet. The result may be an initial hiss followed by bursts of water. Flow can alternate between strong and weak until the air has been displaced.
Tank-style systems may take longer to stabilize than expected. If the storage tank was emptied during maintenance, the system must produce enough RO water to refill it. Depending on membrane capacity, feed pressure, water temperature, and tank size, this can take several hours.
Air bubbles versus particles
Water containing tiny air bubbles can look milky when it first enters a glass. It generally clears within a short time as the bubbles rise. This is different from sediment or carbon fines, which may settle, float, or remain visible.
A small amount of dark carbon dust can appear after a carbon cartridge is replaced. Flushing the system according to its maintenance instructions normally removes it. Material that continues appearing after the specified flush period should not automatically be treated as harmless air.
Common causes after a filter change
Trapped air in new cartridges and housings
New cartridges contain dry internal spaces. Even pre-rinsed media can retain air. Housings that were drained during replacement also refill from the bottom or side, leaving pockets near the top until water flow carries them away.
An emptied storage tank
Many maintenance procedures involve draining the RO tank. After service, the first faucet opening may release compressed air and only a small amount of water. Several fill-and-drain cycles may be needed when the system instructions call for a full startup flush.
Air trapped in tubing loops
Long tubing runs and high loops can hold air. This is more likely when tubing was moved to reach the cartridges or when a refrigerator line is also connected. The trapped air may reach the faucet intermittently rather than all at once.
A cartridge or housing that is not seated correctly
A misaligned cartridge, pinched seal, obstructed port, or housing tightened unevenly can restrict flow. Restrictions do not necessarily introduce air, but they can produce surging that resembles air spitting. They may also prevent the storage tank from filling normally.
Feed-water interruption or low pressure
If the household feed supply was not fully restored, the RO system may alternate between inadequate flow and normal flow. Homes supplied by a private well may also experience pressure cycling that becomes more noticeable after the system has been drained.
Storage tank pressure or bladder trouble
The sealed air chamber in an RO storage tank is normally separated from product water by a flexible bladder. Incorrect precharge or a damaged bladder can cause weak, pulsing, or short-lived flow. This is less common than ordinary trapped air immediately after maintenance.
Air-gap faucet drain noise
Some RO faucets include an air gap for the drain connection. Gurgling or splashing from the drain path can be mistaken for air in the drinking water. Drain noise is often related to drain flow, tubing position, or a partial obstruction rather than air on the product-water side.
Example values for illustration.
| Observation | Likely explanation | Practical response |
|---|---|---|
| Brief hiss followed by steady water | Air near the faucet | Continue the normal flush |
| Milky water that clears in a glass | Microbubbles | Allow trapped air to purge |
| Intermittent spurting after the tank was drained | Air in the tank-side tubing | Complete the prescribed fill-and-drain cycle |
| Weak flow with no visible bubbles | Restriction or incomplete tank fill | Check cartridge seating and valve positions |
| Water around a housing or fitting | Seal or connection problem | Shut off the feed and correct the leak safely |
| Gurgling near the faucet base | Air-gap drain noise | Inspect the accessible drain path for kinks |
| Sputtering continues after repeated flushing | Pressure, tank, or installation issue | Follow model-specific diagnostics or seek service |
How to purge air safely
Use the startup and flushing procedure supplied for the specific RO system whenever it is available. Tank-style and tankless designs do not all use the same sequence. Some tankless units also have an automatic flush or startup mode that should not be interrupted.
Confirm the system is reassembled
Before restoring pressure, confirm that each cartridge is in the intended stage, housings are properly engaged, tubing is fully inserted where it was disconnected, and valves are in their normal operating positions.
Do not open a filter housing while it is pressurized. If a correction is needed, shut off the feed water and relieve pressure according to the system instructions first.
Restore water gradually and inspect for leaks
Restore the feed supply as directed and inspect each serviced housing and connection. Use a dry paper towel around accessible joints to reveal small amounts of moisture. If water appears, shut off the supply before attempting to reseat a component.
Open the RO faucet
Opening the drinking-water faucet gives displaced air a controlled exit. Initial hissing and uneven flow are expected in many systems. Let the faucet run for the specified initial flush period rather than repeatedly snapping it open and closed.
Complete tank fill-and-drain cycles
For a tank system, close the faucet after the initial purge and allow the tank to fill completely. A full fill may require hours rather than minutes. Drain the tank through the RO faucet and repeat only as required by the replacement or startup instructions.
Water discharged during a required startup flush should not be used for drinking or cooking. The flush removes trapped air, loose media particles, and any approved storage solution associated with a new membrane.
Diagnosing sputtering that does not stop
If spitting continues beyond the normal flushing process, work through the conditions changed during maintenance. Avoid adjusting unrelated components before checking the cartridges, housings, valves, and tubing that were handled.
Check valve positions
Verify that the feed valve and tank valve are fully in their intended operating positions. A partially opened valve can limit flow and lengthen refill time. Do not force a valve that is stuck or damaged.
Review cartridge placement and flow direction
Some inline filters have a required direction of flow. Other cartridges must engage a cap, stem, or internal seal. Incorrect installation can restrict product-water flow or prevent an automatic shutoff mechanism from operating correctly.
Look for pinched seals and tubing
A housing seal should be clean, correctly seated, and suitable for the housing. Twisted tubing behind the system or under stored items can also reduce flow. Correct only accessible issues using the documented installation method; do not alter safety devices or drill pressurized components.
Separate faucet flow from drain noise
Listen for where the sound originates. Air leaving the product-water line is usually accompanied by spurting from the faucet outlet. Air-gap or drain noise comes from the faucet base, sink drain, or drain tubing while the membrane is producing reject water.
When the symptom may not be trapped air
Persistent low flow can result from a clogged prefilter, a membrane flow restriction, cold feed water, low feed pressure, or a storage tank issue. Replacing cartridges does not necessarily resolve every underlying flow problem.
A storage tank that provides only a brief stream before slowing to a trickle may not be holding its expected usable water volume. Tank precharge should be checked only with the water side fully empty and only by following the tank or system procedure. An arbitrary pressure setting can reduce storage capacity or damage system performance.
Continuous discharge to the drain, failure to shut off, repeated pump cycling, or sputtering that returns every day may point to a valve, check valve, pump, tank, or automatic shutoff problem. These symptoms deserve model-specific diagnosis rather than indefinite flushing.
If untreated water can enter the product line because of an incorrect connection, damaged component, or cross-connection concern, stop using the faucet until the plumbing arrangement has been verified.
How to reduce spitting during the next filter change
- Read the replacement sequence before shutting down the system.
- Close the feed and tank valves in the order specified for the design.
- Relieve pressure before opening any housing.
- Keep tubing routed smoothly and avoid unnecessary high loops.
- Confirm cartridge orientation, seals, and housing engagement before repressurizing.
- Restore the water supply gradually while checking for leaks.
- Allow enough time for a complete tank refill before judging flow.
- Record the replacement date and any unusual pressure or flow symptoms.
Pressure conditions can affect how quickly an RO system purges and refills. The correct operating range depends on the system design, membrane, pump configuration, and household plumbing.
Example values for illustration.
| Condition | Possible effect | Next step |
|---|---|---|
| Feed valve partly closed | Slow refill and uneven flow | Place the valve in its documented operating position |
| Household pressure temporarily low | Reduced membrane production | Recheck when household demand is lower |
| Well pump pressure cycling | Noticeable changes in faucet flow | Compare RO behavior across a normal pump cycle |
| Tank not yet fully refilled | Short or sputtering faucet flow | Allow a complete refill period |
| Tank precharge suspected | Low usable volume or pulsing | Use the specified empty-tank test procedure |
| Pressure outside the system range | Poor production or component stress | Have supply pressure and system requirements verified |
Related guides:
Air in the Line After a Filter Change: How to Purge It •
Troubleshooting Low RO Flow: Pressure, Tank, or Clogged Filters? •
RO Tank Pressure: How to Check and Adjust It Safely •
Noisy RO System: Common Causes and Fixes
When to contact a water treatment or plumbing professional
Professional help is appropriate when the system leaks after reassembly, a housing will not seal, tubing connections are damaged, or feed pressure cannot be confirmed safely. Shut off the water supply to a leaking system rather than leaving it pressurized.
Service may also be needed when sputtering persists after the documented flush procedure, the tank will not fill, a booster pump cycles abnormally, or water continuously runs to the drain. A technician can distinguish among pressure, tank, valve, membrane, and installation problems without bypassing protective components.
Ordinary trapped air should steadily improve as the system purges. Symptoms that remain unchanged, worsen, or return after each refill are more likely to reflect a flow, pressure, tank, or connection issue that needs targeted diagnosis.
Frequently asked questions
How long should an RO faucet spit air after a filter change?
Brief sputtering during the initial flush is common. A tank-style system may need several hours to refill after maintenance, but the spurting should steadily improve rather than remain unchanged.
Why does RO water look cloudy after changing filters?
Cloudiness that clears quickly in a glass is usually caused by tiny air bubbles. Follow the required flush procedure, and investigate further if visible material continues after flushing.
Should I leave the RO faucet open to remove trapped air?
Open the faucet for the initial flush period specified by the system instructions. For a tank system, then close it and allow the storage tank to refill completely before completing any required drain cycles.
Why is my RO faucet still sputtering after the tank refills?
Check that the feed and tank valves are fully in their normal positions and inspect cartridge seating, seals, and tubing for restrictions. Continued sputtering may indicate a tank, pressure, valve, or installation issue.
Is gurgling at the base of an RO faucet the same as air in the water line?
Not necessarily. Gurgling at the faucet base may come from an air-gap drain connection, while air in the product-water line usually causes spurting from the faucet outlet.
- NSF/ANSI standards explained (42/53/401/58)
- Clear trade-offs: pitcher vs faucet vs under-sink vs RO
- Maintenance planning: cost per gallon and replacement cadence